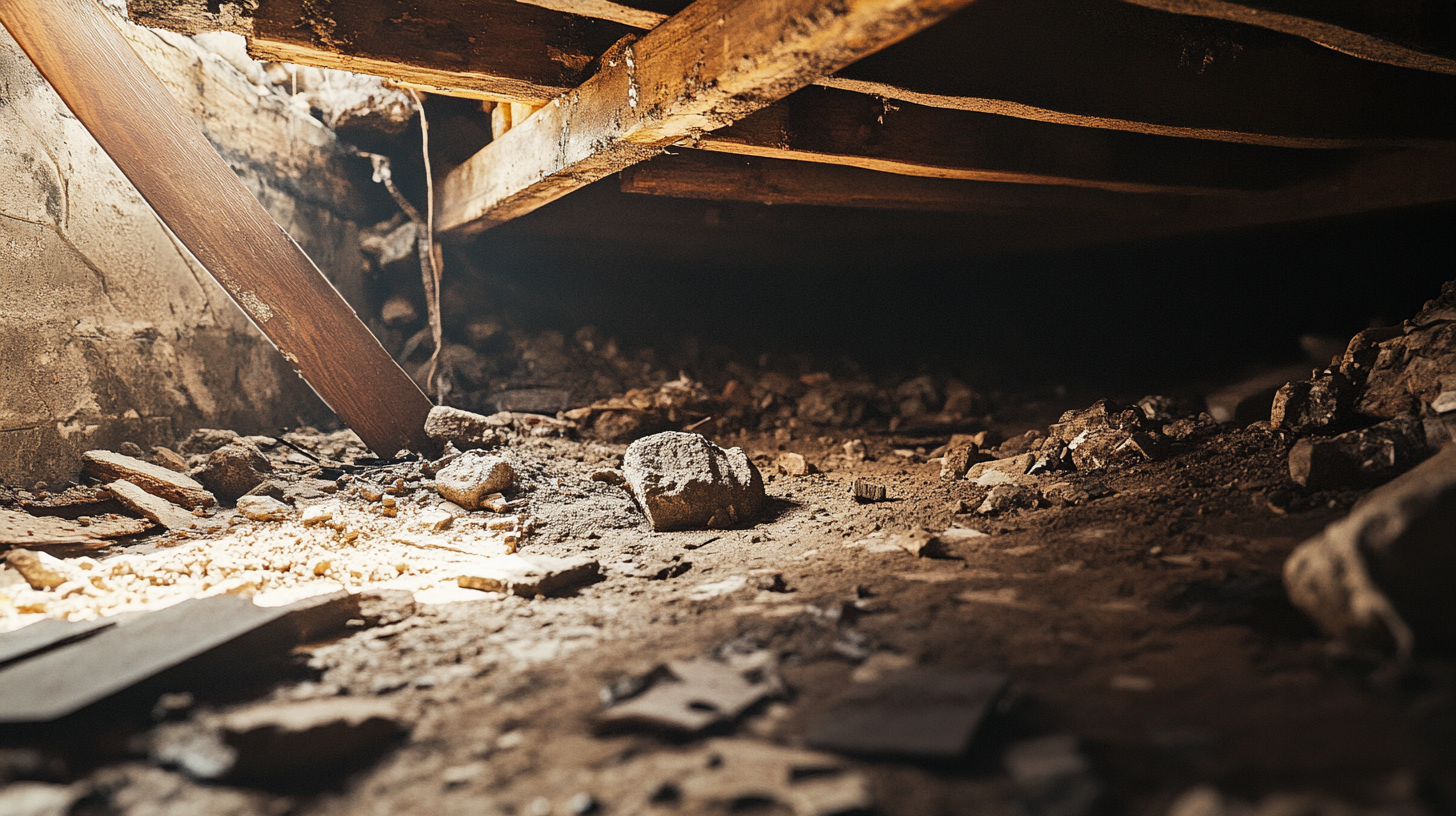
Crawl space insulation plays a critical role in maintaining a home’s overall energy efficiency and ensuring a comfortable indoor environment. Often overlooked, crawl spaces can be a significant source of energy loss, especially in homes without proper insulation. By creating a thermal barrier, crawl space insulation helps regulate indoor temperatures, preventing heat loss in the winter and minimizing heat gain during the summer.
Not only does this improve the comfort of living spaces above the crawl space, but it also reduces the strain on HVAC systems, leading to lower energy consumption and utility bills. In addition, crawl space insulation plays a key role in minimizing moisture-related issues, such as mold growth and structural damage, which can impact both the home’s integrity and indoor air quality.
For homeowners seeking to improve their property’s energy performance, temperature consistency, and long-term cost savings, understanding the importance of crawl space insulation is essential. In this blog, we’ll explore how insulating this often-neglected part of the home contributes to greater energy efficiency, better temperature regulation, and a healthier living environment.
Signs Your Crawl Space Insulation Needs Replacement
A well-maintained crawl space is vital for preserving your home's energy efficiency, structural integrity, and indoor air quality. Over time, insulation in the crawl space can deteriorate due to natural wear, environmental factors, or external damage. Identifying these issues early can prevent larger problems and ensure your home remains energy-efficient and comfortable. Below are key signs that indicate it’s time to replace your crawl space insulation.
Visible Wear and Damage
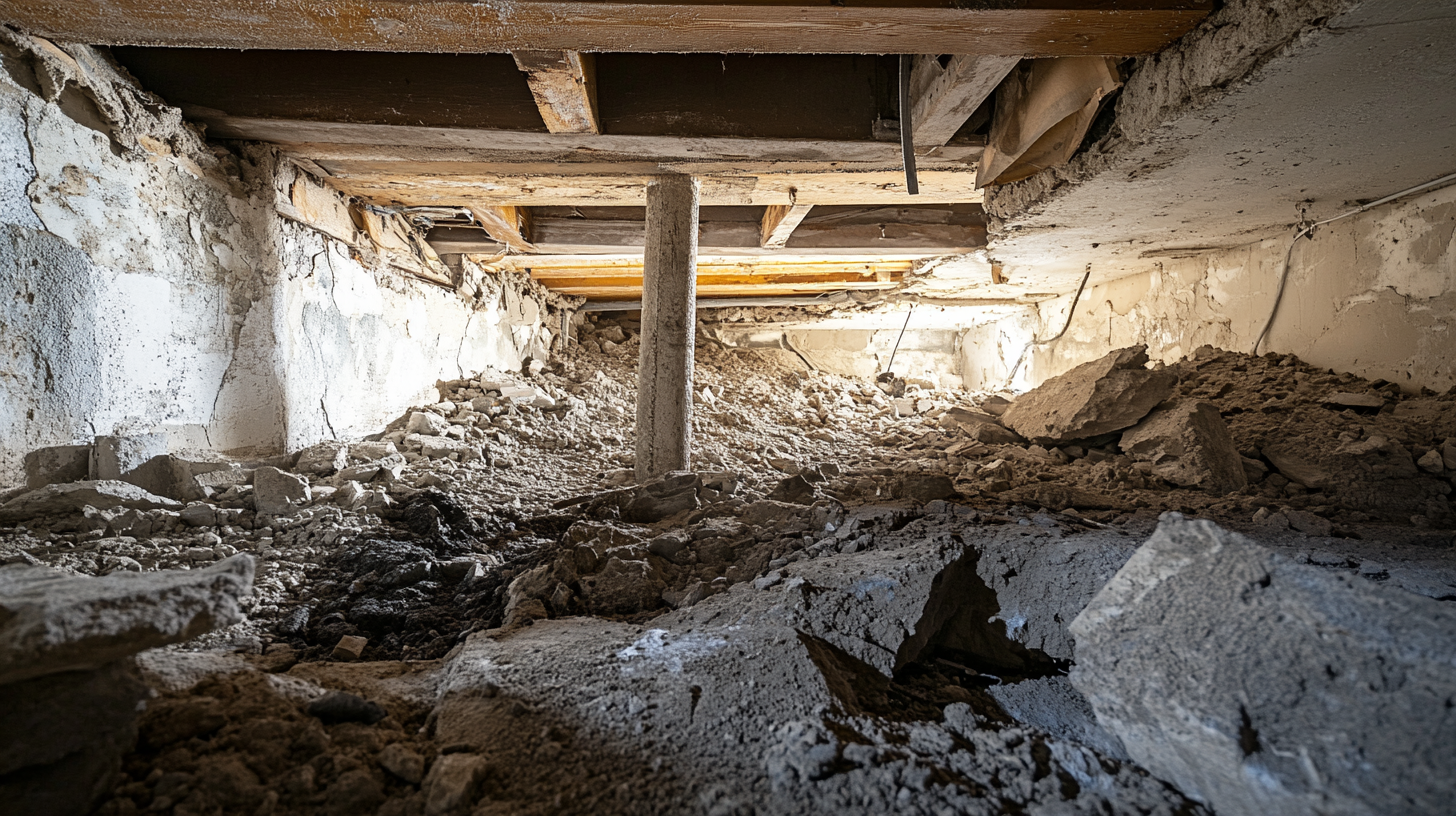
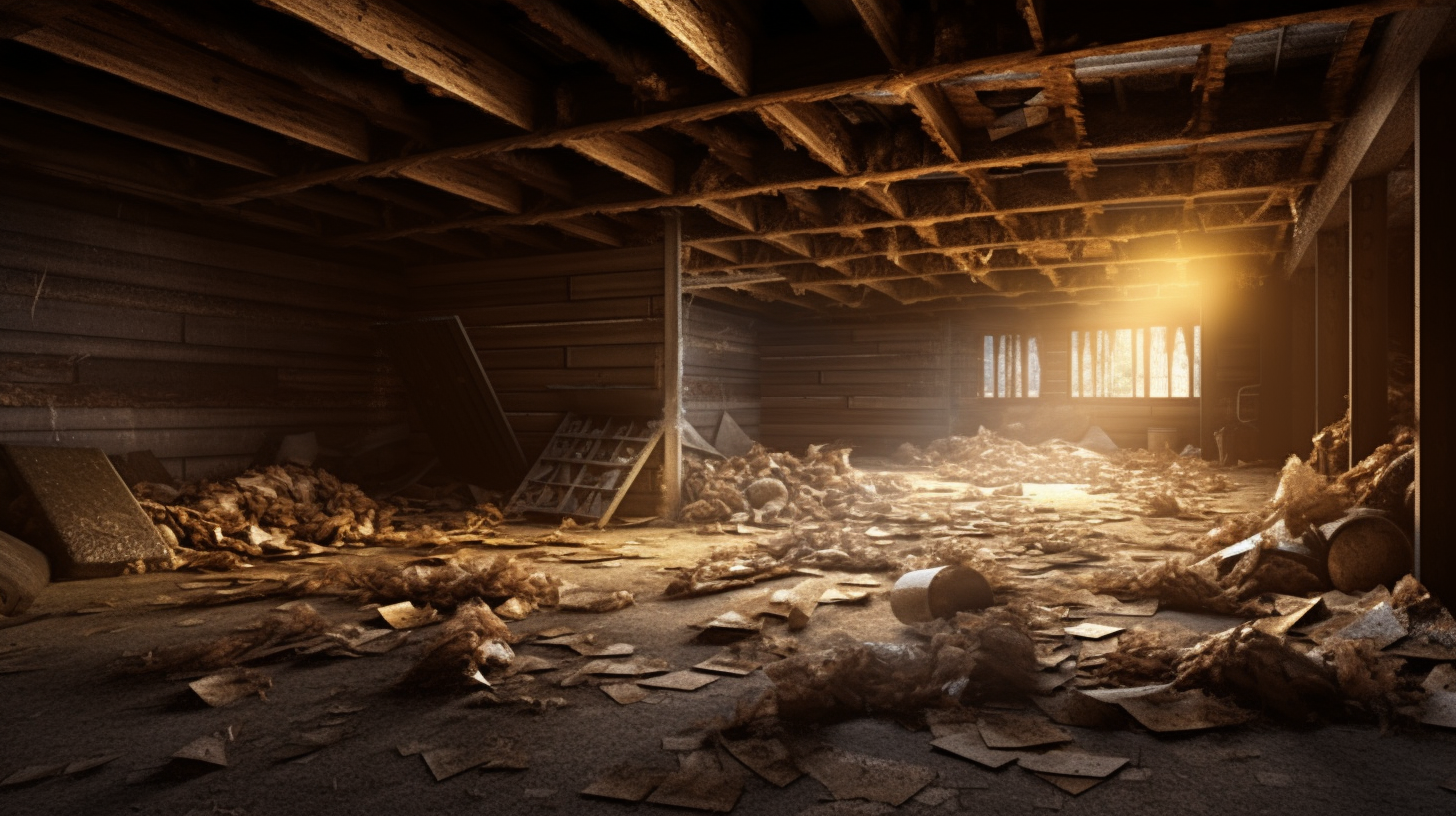
One of the most apparent signs that your crawl space insulation needs replacement is its physical condition. Over time, insulation may start to show visible wear, such as sagging, tearing, or crumbling. These signs suggest the insulation has lost its effectiveness and can no longer provide a proper thermal barrier.
In addition, the presence of mold, mildew, or pest infestations is a strong indicator that your insulation has been compromised. Moisture buildup creates an environment where mold thrives, and pests like rodents and insects often nest in damaged insulation. Not only does this reduce the insulation's performance, but it also poses health risks to occupants due to poor air quality and potential allergens.
Increased Energy Bills
A sudden or gradual increase in your energy bills may point to failing crawl space insulation. When insulation deteriorates, it no longer prevents heat loss during the winter or heat intrusion in the summer. This forces your heating and cooling systems to work harder to maintain consistent indoor temperatures, resulting in higher energy consumption and utility costs.
Monitoring your energy usage patterns and comparing them to previous months can help identify whether insulation issues might be contributing to inefficiencies in your home's energy performance.
Moisture and Odors
Moisture and musty odors are strong indicators of insulation failure in your crawl space. If the insulation appears damp or waterlogged, it can no longer serve as an effective barrier. Excess moisture in the crawl space not only damages insulation but also promotes the growth of mold and mildew, which can create unpleasant, musty smells that seep into your living spaces.
Addressing these moisture problems promptly is essential, as prolonged exposure to damp conditions can lead to structural damage, pest infestations, and unhealthy indoor air quality. Properly replacing the insulation and addressing any underlying moisture issues will restore the crawl space's functionality and protect your home.
Tools and Materials Needed
Before starting any crawl space insulation project, having the right tools and materials is essential to ensure a safe, efficient, and effective process. Proper preparation not only improves the quality of the installation but also minimizes risks associated with handling insulation materials. Below is a comprehensive list of the tools and materials you’ll need for the job.
Tools
- Safety Gear: Protecting yourself is a top priority when working in a crawl space. Wear gloves to shield your hands from sharp edges or insulation fibers, goggles to protect your eyes from dust and debris, and a dust mask to prevent inhalation of insulation particles or contaminants. Safety gear ensures a clean and secure work environment.
- Utility Knife: A sharp utility knife is crucial for cutting insulation materials to fit snugly between floor joists or in tight spaces. Precision cutting helps maintain insulation efficiency and ensures a proper fit.
- Staple Gun and Staples: A staple gun is necessary for securing insulation batts or vapor barriers in place. It ensures the materials are firmly attached and won’t sag or shift over time.
- Pry Bar: Use a pry bar to remove old insulation supports, nails, or other obstructions in the crawl space. Clearing out damaged or outdated supports makes the area ready for the new insulation.
Materials
- Mold-Resistant Insulation: Choose mold-resistant insulation like fiberglass, rigid foam, or spray foam. Each type has its benefits:
- Fiberglass Insulation: Affordable and widely used, fiberglass batts are easy to install and effective in preventing heat loss.
- Rigid Foam: Provides excellent thermal resistance and moisture resistance, making it ideal for crawl spaces prone to dampness.
- Spray Foam: Offers superior air sealing and insulation performance, effectively preventing moisture and drafts.
- Vapor Barrier: A vapor barrier is essential for controlling ground moisture and preventing it from seeping into the insulation and the home. By creating a moisture-resistant layer, the vapor barrier protects both the insulation and the structural components of the crawl space.
- Insulation Supports or Wire Hangers: Insulation supports or wire hangers hold the insulation in place between floor joists. They prevent sagging over time, ensuring the insulation remains effective and secure.
- Tape and Adhesive: Use high-quality tape and adhesive to seal the edges of insulation and vapor barriers. Proper sealing eliminates air gaps, prevents drafts, and enhances the overall thermal efficiency of the crawl space.
Preparing Your Crawl Space for Insulation Replacement
Proper preparation of your crawl space is essential for ensuring a smooth insulation replacement process and achieving long-term efficiency and comfort. Taking the time to inspect, clean, and address any underlying issues before installation will ensure that your insulation performs optimally and prevents future problems. Below is a step-by-step guide to preparing your crawl space.
Step 1: Inspect and Plan
Before beginning any work, a thorough inspection and plan are critical to assess the condition of your crawl space and determine the scope of the project.
- Check for Leaks, Pests, or Structural Damage: Start by examining the crawl space for any signs of water leaks, pest infestations, or structural damage. Look for damp spots, rotting wood, droppings, or other indicators of existing problems that may compromise new insulation. Addressing these issues now will prevent them from worsening over time.
- Measure the Area: Measure the dimensions of your crawl space carefully to calculate how much insulation you will need. Accurate measurements ensure you purchase the right amount of material, reducing waste and ensuring complete coverage.
A well-planned inspection helps you anticipate challenges, gather the necessary tools and materials, and create a smooth workflow for the installation process.
Step 2: Remove Old Insulation
Before installing new insulation, removing the old, damaged materials is crucial to maintain a clean and effective environment.
- Carefully Pull Down Old Insulation: Gently pull down the existing insulation, ensuring that you avoid spreading insulation fibers or contaminants throughout the space. Place the old insulation in sealed, heavy-duty bags to contain debris and prevent exposure to harmful particles like mold or fiberglass dust.
- Remove Nails, Staples, or Supports: After removing the insulation, carefully extract any nails, staples, or leftover supports from the floor joists. This step clears the space and prevents obstructions when installing the new insulation.
- Clean the Area: Use a shop vacuum or broom to clean up debris, dirt, and any remnants of insulation. If you detect mold, mildew, or excessive moisture, take note of these areas as they will require treatment before proceeding.
Thorough removal of old insulation and debris creates a clean foundation for the new materials, ensuring a successful and efficient installation.
Step 3: Address Underlying Issues
Addressing any underlying problems in the crawl space is critical to preventing future damage and ensuring your insulation lasts.
- Repair Leaks or Cracks: Inspect the foundation walls, floors, and pipes for cracks, leaks, or other signs of structural damage. Seal any cracks or leaks to prevent moisture intrusion, which can damage insulation and compromise its effectiveness.
- Treat Mold or Mildew: If you find mold or mildew, treat the affected areas using an appropriate mold treatment solution or consult a professional for remediation. Ignoring mold can lead to ongoing air quality issues and damage both the insulation and home structure.
- Install a Vapor Barrier: If a vapor barrier is not already in place, install one on the crawl space floor. A vapor barrier helps control ground moisture, preventing it from seeping into the insulation and the structure of the home. Proper moisture management is essential for maintaining the performance and longevity of your new insulation.
Step-by-Step Guide to Installing New Crawl Space Insulation
Properly installing crawl space insulation is key to maintaining energy efficiency, temperature regulation, and moisture control in your home. By following this step-by-step guide, you can ensure a smooth and effective installation process while selecting the right insulation materials for your crawl space.
Step 1: Choose the Right Insulation
Selecting the appropriate type of insulation is the foundation for a successful installation. Different insulation materials offer unique benefits depending on your crawl space needs:
- Fiberglass Batts:
- Fiberglass batts are a cost-effective and widely available option.
- They are easy to install and fit snugly between floor joists, making them ideal for open crawl spaces with accessible joist bays.
- Best suited for climates with moderate moisture levels.
- Rigid Foam Boards:
- Rigid foam boards are highly resistant to moisture and provide excellent thermal resistance.
- They are ideal for insulating crawl space walls, offering a durable and long-lasting solution.
- This option works well in areas where moisture control is a priority.
- Spray Foam Insulation:
- Spray foam insulation creates an airtight seal, making it perfect for preventing drafts and improving energy efficiency.
- It is ideal for hard-to-reach spaces, irregular surfaces, or areas requiring extra sealing.
- While more expensive, it provides superior insulation and moisture protection.
Carefully consider the needs of your crawl space, including moisture levels and accessibility, when selecting the insulation material.
Step 2: Install Insulation Between Joists
For floor insulation, placing the insulation snugly between joists is critical to creating a thermal barrier:
- Cut Insulation to Fit:
- Use a utility knife to cut the insulation material to fit securely between the floor joists. Proper sizing ensures there are no gaps that allow air or moisture to penetrate.
- Position the Vapor Barrier Side:
- If the insulation has a vapor barrier, position it so that the barrier faces upward toward the floor above. This placement helps prevent moisture from rising into the living space.
- Secure with Supports or Wire Hangers:
- Use insulation supports or wire hangers to hold the insulation firmly in place. These supports prevent sagging and ensure long-term performance.
By installing insulation between joists, you effectively reduce heat loss and improve energy efficiency in your home.
Step 3: Insulate Crawl Space Walls
In addition to insulating the floor, insulating crawl space walls helps improve thermal performance and manage moisture:
- Attach Rigid Foam Boards:
- Cut rigid foam boards to size and attach them directly to the crawl space walls using adhesive or screws. This method ensures full wall coverage.
- Seal Edges for Airtight Protection:
- Use tape or caulk to seal the edges and joints between the foam boards. Creating a tight seal prevents air leaks and moisture infiltration.
- Fire-Retardant Covering (if required):
- In some cases, local building codes require a fire-retardant layer to cover rigid foam boards. Check local regulations and add a protective layer as needed.
Insulating crawl space walls provides an added layer of protection, particularly in areas prone to moisture and temperature fluctuations.
Step 4: Finalize with a Vapor Barrier
A vapor barrier is essential for controlling ground moisture, which can otherwise damage the insulation and structure of your home:
- Lay Heavy-Duty Plastic Sheeting:
- Spread a heavy-duty plastic vapor barrier across the entire crawl space floor. Ensure the sheeting is thick and durable to prevent tears or punctures.
- Overlap and Secure Seams:
- Overlap seams by at least 12 inches to ensure full coverage and seal them securely with heavy-duty tape. Proper sealing prevents gaps where moisture can seep through.
- Extend and Seal the Barrier Up the Walls:
- Extend the vapor barrier a few inches up the crawl space walls and securely seal it to the rigid foam insulation. This creates a continuous moisture barrier for maximum protection.
Cost-Effective Tips for DIY Insulation Replacement
Replacing crawl space insulation can be a cost-intensive project, but with careful planning and resourcefulness, you can significantly reduce expenses while still achieving a high-quality result. Here are some cost-effective tips to help you make the most of your budget during a DIY insulation replacement project.
Reuse Materials When Possible
Before discarding all the existing insulation, assess its condition carefully to identify any sections that can be salvaged:
- Inspect for Damage: Look for areas of insulation that are clean, dry, and free of mold, mildew, or pest infestations. Undamaged sections may still be effective and can be reused to reduce the amount of new material required.
- Trim and Refit: Salvaged insulation can be trimmed to fit smaller areas or irregular spaces, such as corners and gaps between floor joists. This reduces waste while maximizing the use of available material.
- Supplement with New Insulation: Combine salvaged insulation with new materials where necessary. This hybrid approach can help lower costs while ensuring comprehensive coverage and performance.
Reusing materials responsibly not only saves money but also reduces waste, making it an environmentally conscious choice.
Buy in Bulk
Purchasing insulation materials in bulk is a smart way to cut costs, especially for larger projects:
- Cost Savings: Many suppliers offer discounts when insulation materials are purchased in bulk. Whether you’re buying fiberglass batts, rigid foam boards, or vapor barriers, buying larger quantities can significantly lower the cost per unit.
- Plan Ahead: Measure your crawl space accurately before shopping to determine the exact amount of insulation you need. Overestimating or underestimating can lead to wasted materials or additional trips to the store, both of which add unnecessary costs.
- Compare Prices: Shop around at local hardware stores, online retailers, and insulation suppliers to find the best bulk deals. Many retailers also offer seasonal discounts or promotions, so keep an eye out for special offers.
By purchasing in bulk and planning carefully, you can save money while ensuring you have enough material to complete the project without interruptions.
DIY vs. Professional
Determining whether to handle the project yourself or hire a professional is a key factor in managing costs effectively:
- Opt for DIY When the Project is Manageable:
- DIY insulation replacement is ideal for smaller crawl spaces or straightforward installations where existing materials are easy to remove and replace.
- If you have the necessary tools, time, and skills, tackling the project yourself can save on labor costs while providing a sense of accomplishment.
- Follow safety guidelines by wearing protective gear, such as gloves, goggles, and a dust mask, to protect yourself during the process.
- Hire a Professional for Large or Complex Spaces:
- For larger crawl spaces, areas with structural damage, or insulation projects involving moisture control and vapor barriers, hiring a professional may be more cost-effective in the long run.
- Professionals have the experience, tools, and materials to address issues like mold, ventilation problems, and hard-to-reach areas efficiently.
- While the upfront cost of professional services may be higher, it ensures the job is completed correctly and prevents costly mistakes or repairs later on.
Carefully evaluate the scope of your project to determine the best approach. A balanced decision between DIY efforts and professional help can help you manage costs while achieving optimal results.
FAQs
Contact Trench Guys Today!
Trench Guys will do everything we can to ensure your experience with us is excellent.
Request A FREE Estimate
Request a Free Estimate Form
Checkout Recent Post
Got a Question? We’re Here to Help.
You can arrange an appointment or make an enquiry by phone or email, orget in touch to us via our contact form.


