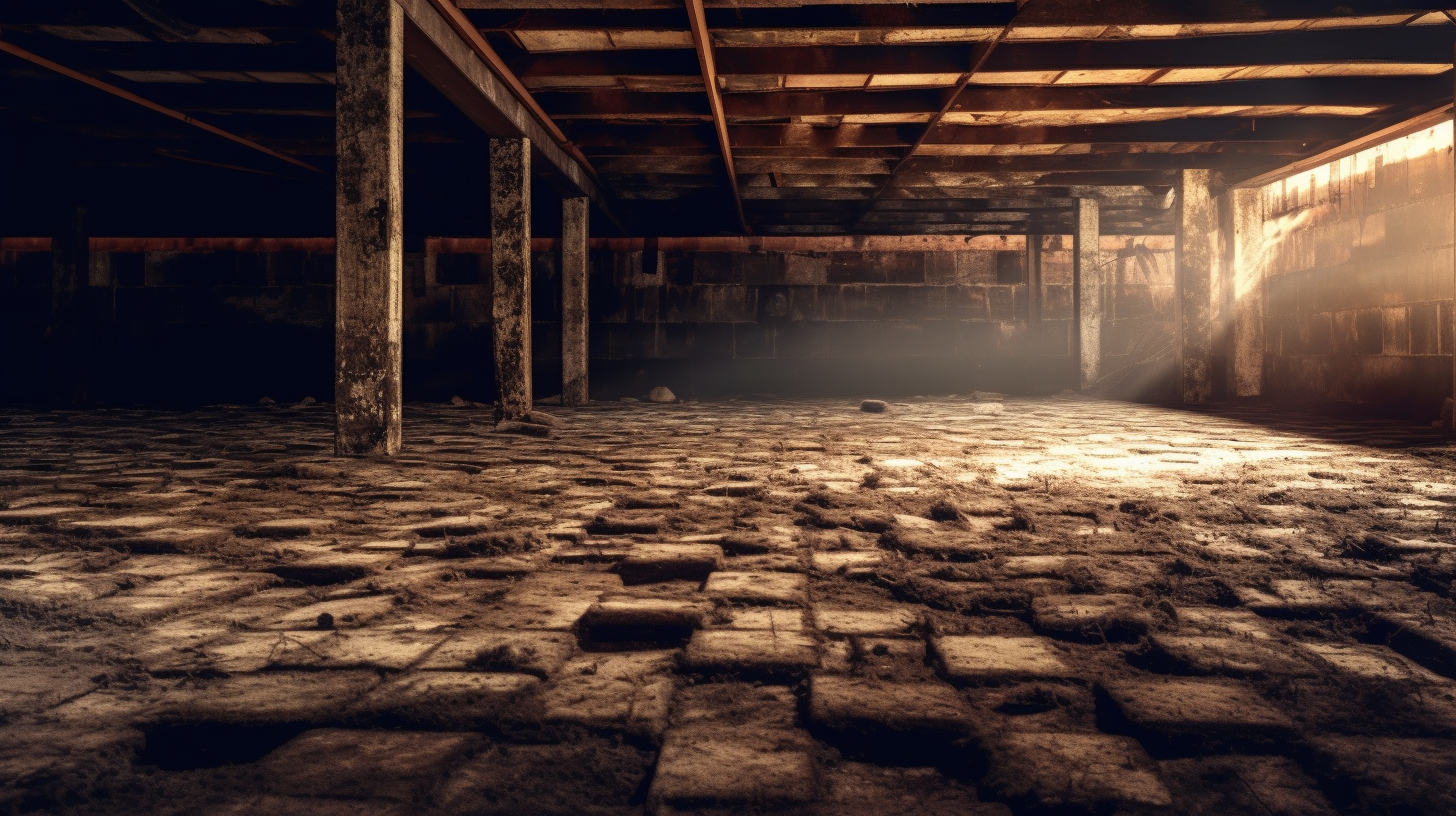
In today's digital age, the internet offers a wealth of resources and guidance on do-it-yourself (DIY) projects, empowering homeowners to take control of improvements and repairs. One such popular trend is DIY encapsulation, a method often applied to areas like crawl spaces to enhance energy efficiency, reduce moisture problems, and improve overall home durability. However, while the idea of saving costs and engaging in a hands-on project is appealing, it is crucial to carefully evaluate whether DIY encapsulation aligns with the specific needs of your home and your level of skill and expertise.
Undertaking a project of this nature involves much more than enthusiasm—it requires an understanding of technical processes, potential risks, and the unique characteristics of your property. Missteps can lead to costly damage, safety concerns, or ineffective results, negating the perceived benefits of a DIY approach. This blog explores why assessing your suitability for DIY encapsulation is an essential first step. By focusing on factors such as the scope of the project, the materials required, and the potential challenges, you can make an informed decision that ensures your investment of time and effort yields a successful outcome.
In this article, we’ll delve into the key considerations that will help you determine whether DIY encapsulation is the right path for you. From evaluating your home’s specific needs to assessing your level of DIY expertise, this guide is designed to empower you with the knowledge to make a confident and informed choice.
What is Crawl Space Encapsulation?
Crawl space encapsulation is a process that involves sealing off the crawl space beneath a home to protect it from external moisture, air infiltration, and other environmental factors. This method typically includes the installation of a vapor barrier, insulation, and additional components designed to create a more controlled and protected environment. Encapsulation transforms a traditionally exposed crawl space into a clean, dry, and energy-efficient area, enhancing the home's overall comfort and structural integrity.
The primary goals of crawl space encapsulation are to prevent moisture buildup, improve indoor air quality, and contribute to energy efficiency. By effectively sealing the space, it reduces risks of mold, mildew, and structural damage caused by excessive humidity or water intrusion. It also aids in maintaining consistent temperatures throughout the home, making it an attractive solution for homeowners looking to enhance both comfort and efficiency.
Key Components of Encapsulation
A successful crawl space encapsulation project relies on several essential components that work together to achieve its purpose.
Vapor Barrier: This heavy-duty plastic sheeting covers the crawl space's floors and walls, creating an impermeable layer that blocks moisture from seeping through the ground or the surrounding environment. It serves as the foundation of the encapsulation process, ensuring a dry and protected space.
Sealed Vents: To regulate humidity and prevent the entry of outside air, encapsulation involves sealing off vents that connect the crawl space to the exterior. This step is crucial in controlling the internal environment and maintaining a stable moisture level.
Dehumidifier: A dehumidifier is often installed to further manage moisture levels within the encapsulated space. It ensures that the area remains dry and prevents issues like mold growth and musty odors, which can affect both the crawl space and the living areas above.
Insulation: Adding insulation, such as rigid foam boards or spray foam, helps control temperature fluctuations within the crawl space. This contributes to energy efficiency by reducing heat transfer between the home and the crawl space, keeping the living areas above more comfortable throughout the year.
Pros and Cons of DIY Crawl Space Encapsulation
Pros
Cost Savings: One of the primary advantages of opting for DIY crawl space encapsulation is the potential for significant cost savings. Professional encapsulation services often involve substantial labor charges, which can be avoided by taking on the project yourself. This allows homeowners to allocate their budget primarily toward high-quality materials, rather than labor expenses.
Personal Control: DIY encapsulation gives you complete control over the project. From selecting the materials to determining the timeline, you can tailor the process to meet your specific preferences and requirements. This ensures that every aspect of the job aligns with your expectations and home improvement goals.
Improved Home Health: Successfully encapsulating your crawl space can contribute to a healthier living environment. By reducing moisture infiltration, it minimizes the risk of mold growth, pest infestations, and allergens entering your home. These benefits can lead to better air quality and a safer, more comfortable living space for your family.
Cons
Time-Consuming: Undertaking crawl space encapsulation as a DIY project demands a significant investment of time. Proper preparation, material selection, and execution can take days or even weeks, depending on the size of the crawl space and your level of expertise.
Labor-Intensive: Encapsulation involves a series of physically demanding tasks, such as sealing vents, laying vapor barriers, and installing insulation. These activities require stamina, precision, and sometimes specialized tools, making it challenging for individuals who are not accustomed to manual labor.
Potential for Mistakes: While DIY projects can be rewarding, they come with the risk of errors. Improperly installed vapor barriers, insufficient sealing, or poorly executed insulation can compromise the effectiveness of the encapsulation. In some cases, mistakes may lead to further moisture issues, structural damage, or even increased costs to fix the problems.
Assessing if DIY Encapsulation is Right for You
Factors to Consider
Skill Level: Before deciding to take on crawl space encapsulation as a DIY project, assess your comfort and competence with tasks such as measuring, sealing, and insulating. These activities require precision, a basic understanding of construction principles, and confidence in using tools. If you're experienced in handling home improvement tasks, DIY encapsulation may be a viable option. However, if you’re uncertain about these skills, seeking professional assistance might be more appropriate.
Budget: Although DIY encapsulation can save on labor costs, it still requires an investment in high-quality materials such as vapor barriers, insulation, and possibly a dehumidifier. Ensuring you have the financial resources to purchase durable, reliable materials is essential for the project's success and longevity.
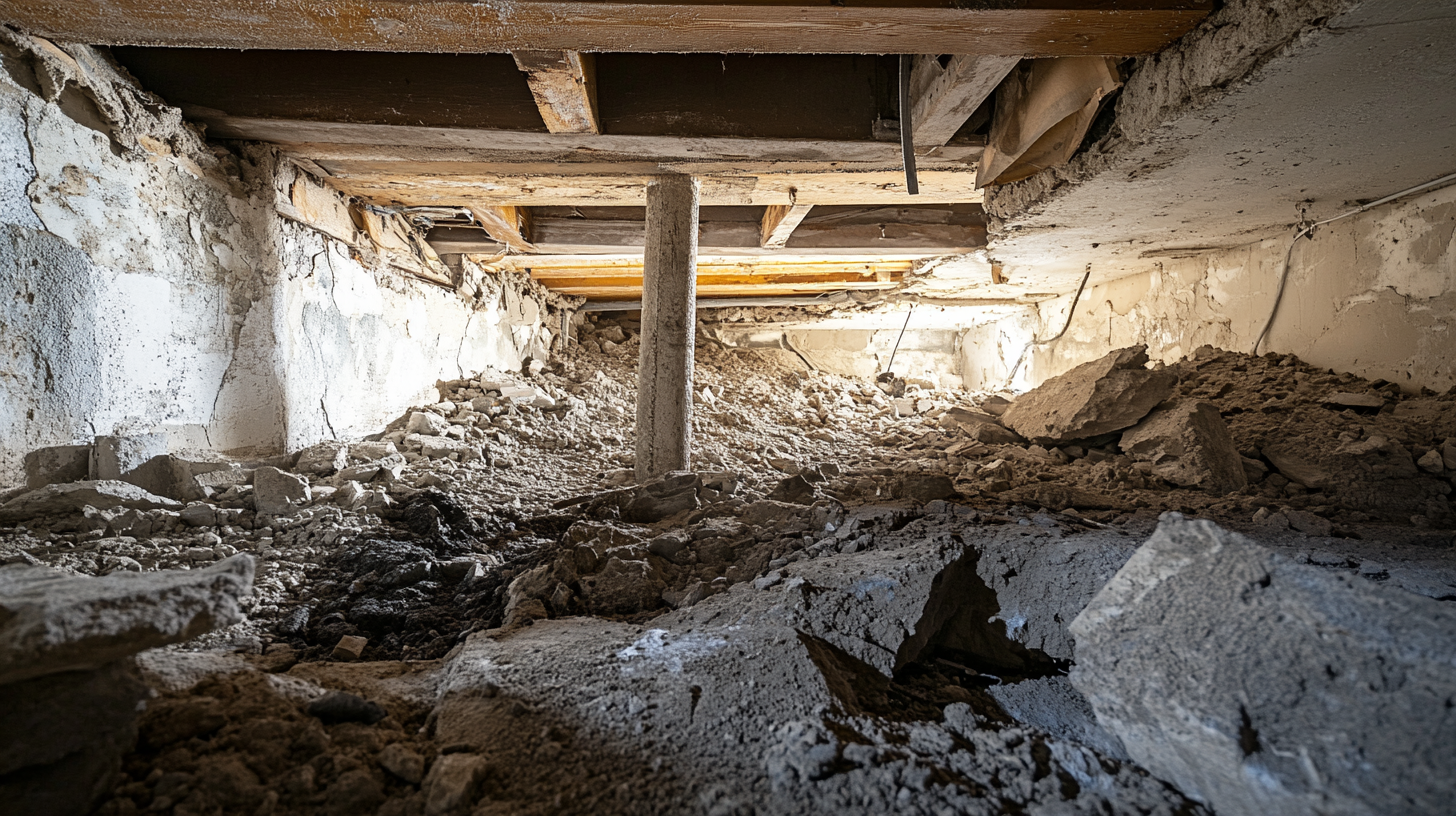
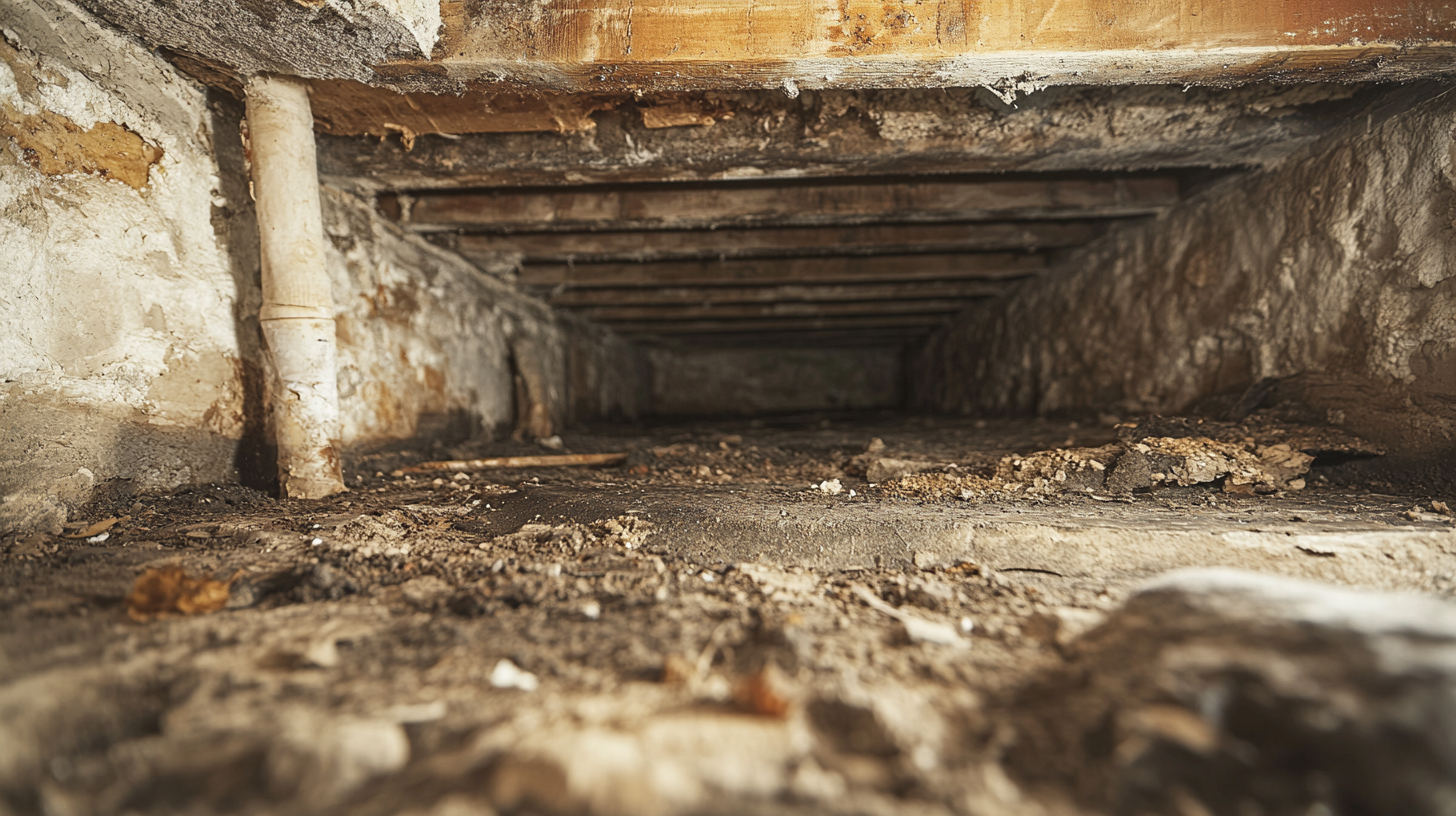
Crawl Space Condition: Evaluate the current state of your crawl space. It should be free of significant issues like standing water, structural damage, or excessive debris before starting the encapsulation process. Attempting to encapsulate a problematic space without addressing underlying issues can lead to ineffective results and potentially greater damage.
Time Availability: DIY encapsulation demands a considerable time commitment. From clearing out the crawl space to installing each component with care, you’ll need several days to complete the project thoroughly. If your schedule doesn’t allow for such a commitment, it might be better to rely on professionals who can handle the task efficiently.
When to Call a Professional
Some scenarios warrant professional expertise to ensure the encapsulation process is both safe and effective. Persistent water issues, such as frequent flooding or high groundwater levels, often require drainage solutions like sump pumps or French drains before encapsulation. Structural problems, including cracks or foundational concerns, must be addressed by a qualified contractor to prevent further damage. Additionally, if your crawl space is plagued with extensive mold growth or pest infestations, remediation by specialists is necessary to eliminate these hazards before sealing the space.
DIY Crawl Space Encapsulation: Step-by-Step Guide
Tools and Materials Needed
Before you begin your DIY crawl space encapsulation project, gather all the necessary tools and materials to ensure a smooth process. You’ll need a heavy-duty vapor barrier (6-mil or thicker) to seal the space effectively and waterproof tape and adhesive for securing seams and edges. Caulk, spray foam, or weather stripping will help seal any gaps or cracks. Insulation materials such as rigid foam boards or spray foam are essential for temperature regulation, while a dehumidifier will assist in maintaining the desired humidity level. Don’t forget safety gear, including gloves, goggles, and a mask, to protect yourself throughout the project.
Preparation
Inspect the Crawl Space
Begin by conducting a thorough inspection of the crawl space. Look for leaks, mold, pests, or structural damage. These issues must be addressed before encapsulation to avoid compounding problems. Consider consulting professionals for remediation if severe problems are identified.
Clean and Clear
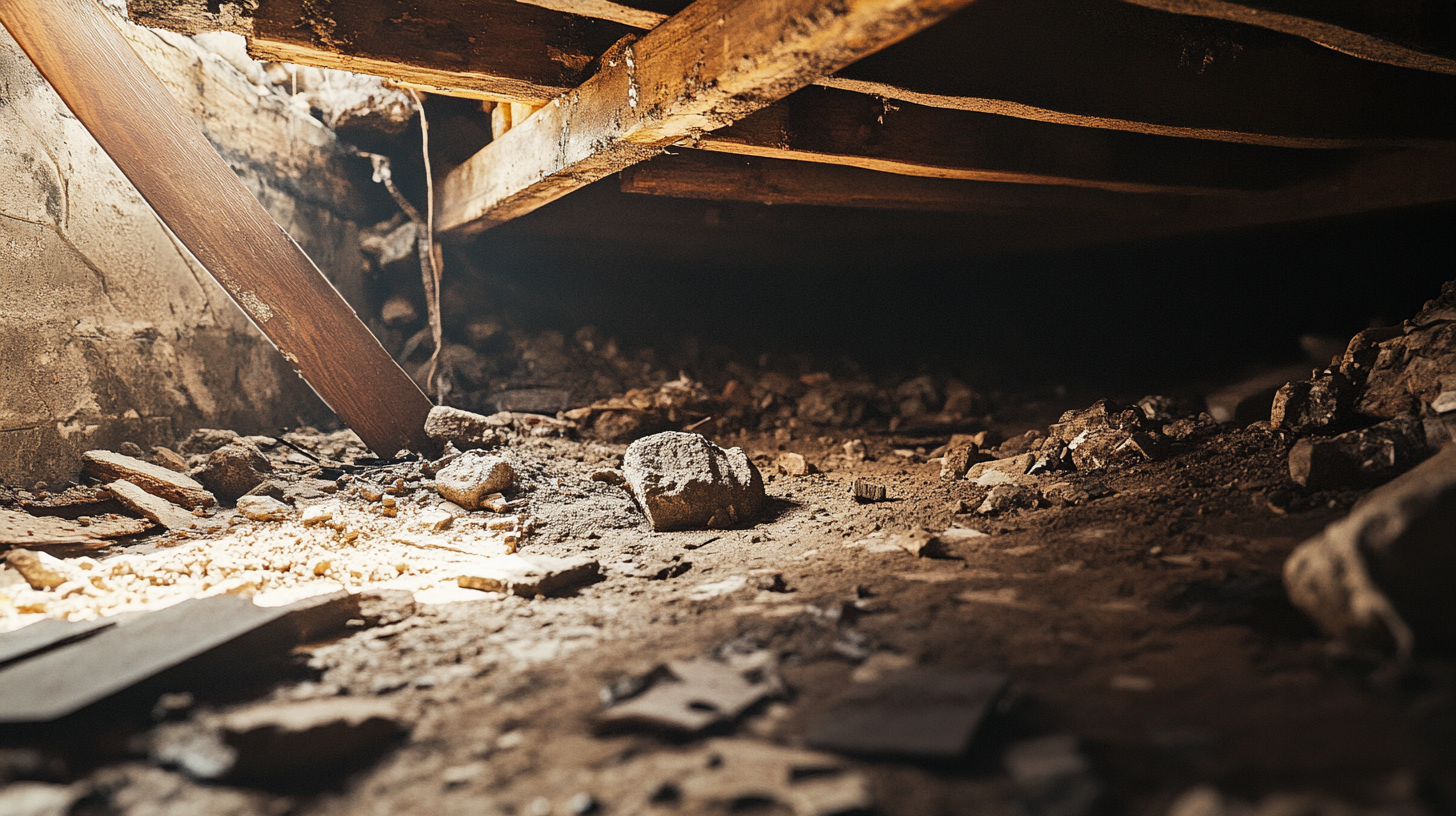
Remove all debris, old insulation, and damp or damaged materials from the crawl space. This step is crucial to ensure a clean surface for installing the vapor barrier and other components. Clearing the space also allows for better visibility of any remaining issues.
Dry the Area
Eliminate residual moisture by using fans or a dehumidifier to dry the crawl space completely. This step prevents mold growth and ensures the vapor barrier adheres properly to the surface.
Installation
Seal Vents and Gaps
Close all vents that connect the crawl space to the exterior using caulk, spray foam, or weather stripping. Fill any cracks or gaps in the walls or floor to block air and moisture from infiltrating the space. Proper sealing is a critical step for maintaining the effectiveness of the encapsulation.
Lay the Vapor Barrier
Unroll the vapor barrier and cover the crawl space floor, extending it up the walls by 6–12 inches for full coverage. Overlap seams by at least 12 inches to prevent gaps, and secure them using waterproof tape. Ensure the barrier fits tightly around obstacles such as support beams.
Insulate Walls
Install rigid foam boards or apply spray foam insulation to the crawl space walls. Rigid boards should be securely attached and sealed at the edges with adhesive or tape to create an airtight barrier. Proper insulation helps regulate temperature and enhances energy efficiency.
Install a Dehumidifier
Position a dehumidifier centrally within the crawl space to maintain humidity levels below 60%. This device ensures the encapsulated space stays dry, preventing issues such as mold growth or wood rot.
Maintaining Your Encapsulated Crawl Space
Regular Inspections
To ensure your encapsulated crawl space continues to provide optimal benefits, conduct regular inspections of the area. Look for any tears or punctures in the vapor barrier, as even small breaches can compromise its effectiveness. Check for signs of moisture, such as condensation or standing water, which may indicate a need for adjustments or repairs. Additionally, verify that the dehumidifier is functioning properly by checking its operation and emptying the water reservoir if it’s not connected to a drain. Routine checks help identify and address issues early, preserving the integrity of the encapsulation.
Monitor Humidity Levels
Consistently monitoring humidity levels within the crawl space is essential to maintaining a healthy environment. Use a hygrometer to track the moisture levels and ensure they remain below 60%. If levels rise unexpectedly, investigate potential causes such as equipment malfunction, a damaged barrier, or increased external humidity. Proactive monitoring allows you to take corrective actions promptly, preventing potential issues like mold growth or wood rot.
Seasonal Maintenance
Seasonal changes can impact the condition of your encapsulated crawl space. During rainy seasons, test sump pumps and drainage systems to ensure they are functioning effectively and can handle increased water flow. After periods of extreme heat or cold, reinspect the seals and insulation to check for wear or damage caused by temperature fluctuations. Seasonal maintenance ensures that your encapsulation continues to perform as intended, providing long-term protection and efficiency.
FAQs
Contact Trench Guys Today!
Trench Guys will do everything we can to ensure your experience with us is excellent.
Request A FREE Estimate
Request a Free Estimate Form
Checkout Recent Post
Got a Question? We’re Here to Help.
You can arrange an appointment or make an enquiry by phone or email, orget in touch to us via our contact form.


