

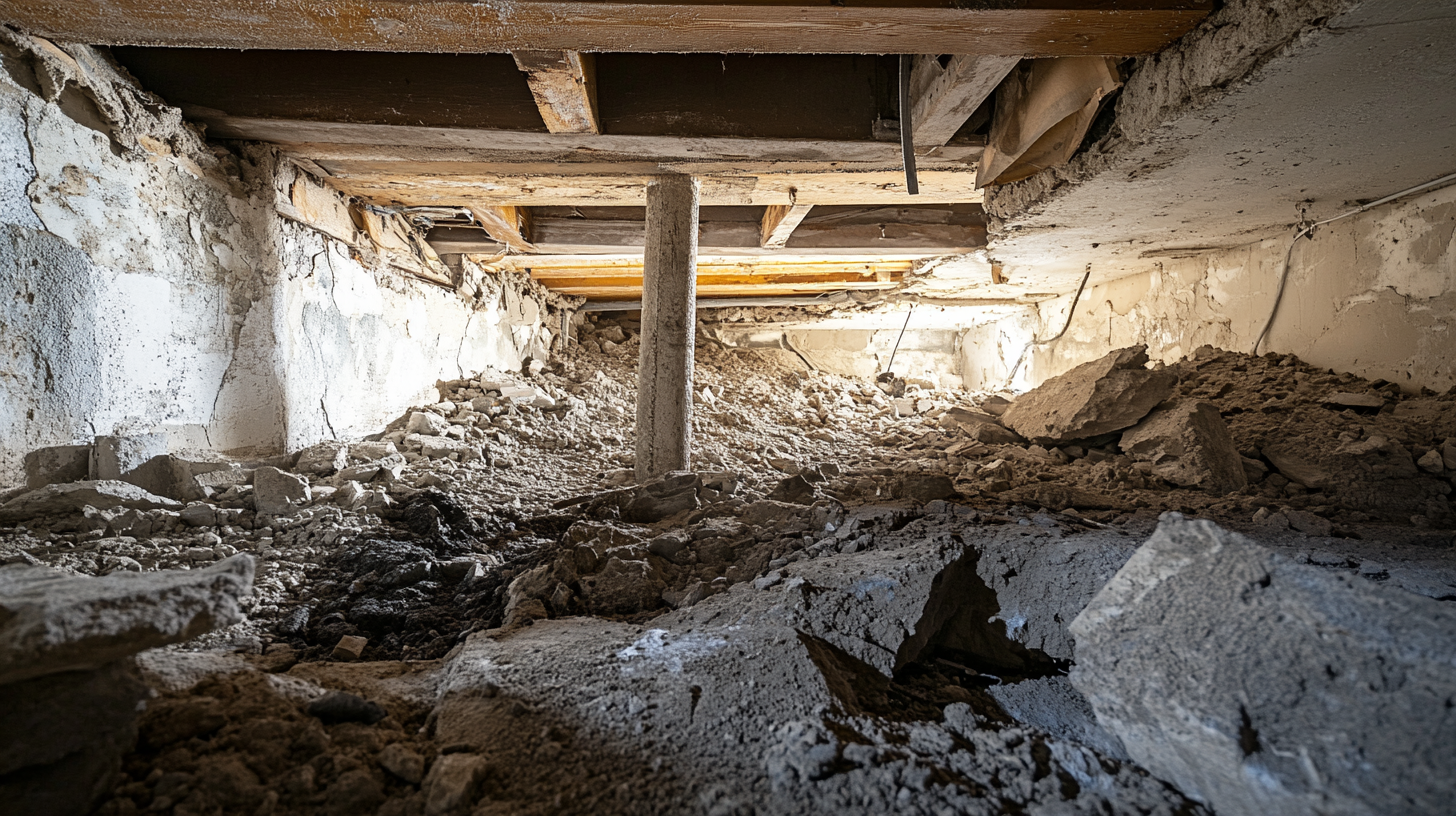
Maintaining a dry crawl space is crucial for the overall health and stability of your home. Often hidden from view, the crawl space is a foundational component that can significantly impact the structural integrity, indoor air quality, and energy efficiency of your living environment. Neglecting this critical area can lead to a host of problems, including moisture buildup, mold growth, pest infestations, and structural damage.
Excess moisture in the crawl space creates an ideal environment for mold and mildew, which can spread to other areas of the home and pose serious health risks to occupants. Additionally, damp conditions can attract pests such as termites and rodents, leading to further structural damage and potential safety hazards. High humidity levels in the crawl space can also compromise insulation, making your home less energy-efficient and driving up utility costs.
By ensuring your crawl space remains dry, you can prevent these issues and promote a healthier, safer, and more comfortable living environment. Regular inspections, effective moisture control measures, and timely repairs are essential steps in maintaining a dry crawl space. In this blog, we will explore the importance of keeping your crawl space dry and provide practical tips on how to achieve and maintain optimal conditions.
Understanding Crawl Space Moisture Issues
Effective moisture control in crawl spaces is essential for maintaining the structural integrity and health of your home. Understanding the common causes and signs of moisture problems can help you take proactive measures to prevent and address these issues.
Common Causes of Moisture in Crawl Spaces
Groundwater Seepage
- High Water Table: In areas with a high water table, groundwater can seep into the crawl space, especially after heavy rains. This constant influx of moisture can lead to persistent dampness and related issues.
- Soil Permeability: Certain soil types, such as clay, retain water and increase the risk of groundwater seeping into the crawl space. Regular monitoring and appropriate barriers can mitigate this risk.
Poor Drainage and Grading
- Improper Grading: If the ground around your home slopes towards the foundation, rainwater and runoff can pool and seep into the crawl space. Proper grading directs water away from the foundation, reducing this risk.
- Inadequate Drainage Systems: Missing or clogged gutters, downspouts, and drainage systems can lead to water accumulation around the foundation. Ensuring these systems are functional and properly maintained is crucial for keeping the crawl space dry.
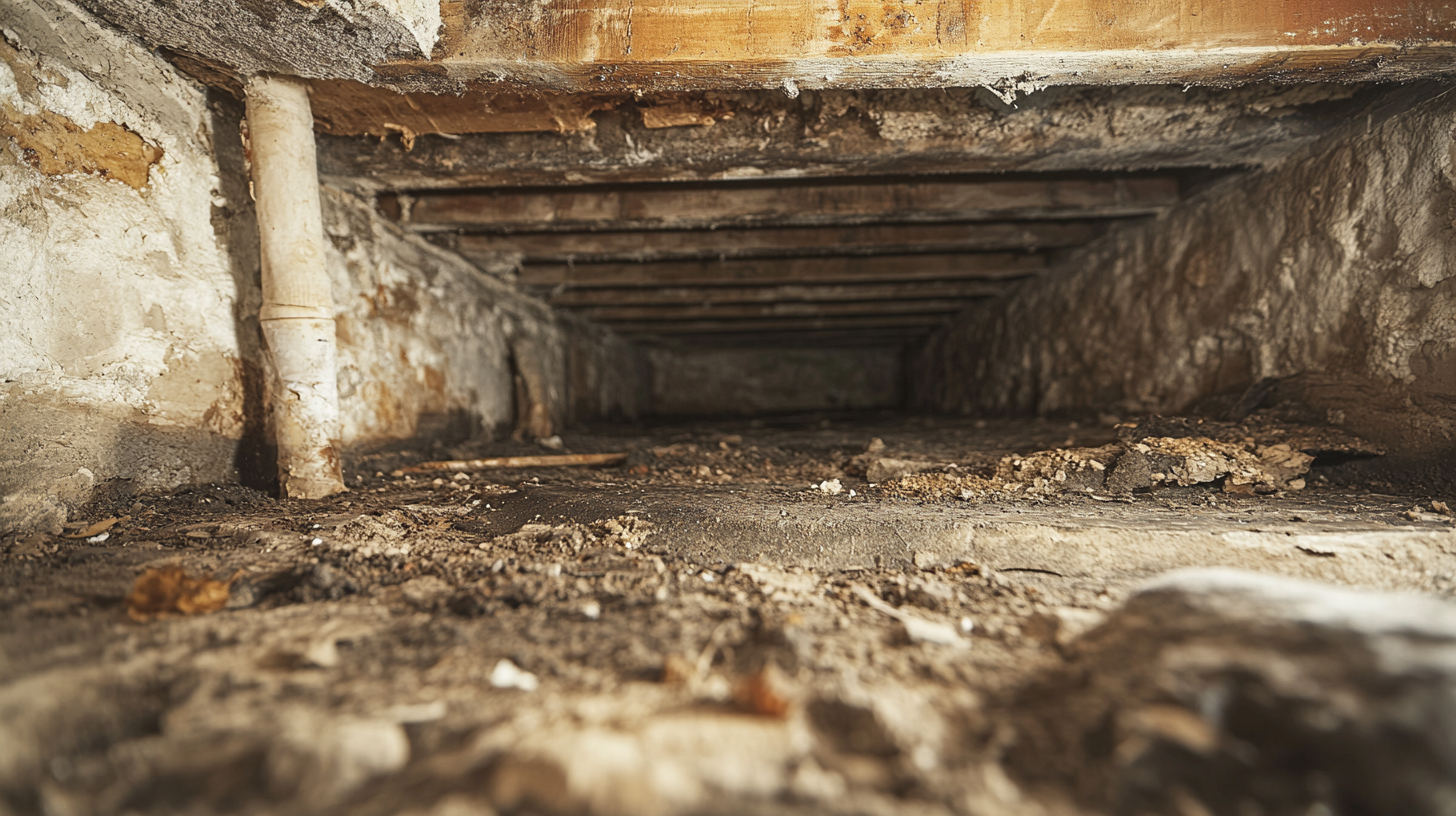
Plumbing Leaks
- Leaky Pipes: Plumbing leaks within or near the crawl space can introduce significant amounts of water, leading to damp conditions. Regular inspections of plumbing systems can help detect and repair leaks early.
- Faulty Fixtures: Fixtures such as faucets, hoses, and appliances that are not properly sealed or maintained can contribute to moisture problems. Ensuring all plumbing fixtures are in good condition is essential.
High Humidity Levels
- Seasonal Humidity: During humid seasons, moisture from the air can condense on cooler surfaces within the crawl space, leading to dampness. Using dehumidifiers and proper ventilation can help control humidity levels.
- Poor Ventilation: Inadequate ventilation traps humid air in the crawl space, exacerbating moisture problems. Installing vents and ensuring good airflow can mitigate this issue.
Signs of Moisture Problems
Musty Odors
- Unpleasant Smells: A musty odor emanating from the crawl space often indicates the presence of mold and mildew. These smells are a clear sign that moisture levels are too high and need to be addressed promptly.
- Persistent Dampness: If the musty smell persists despite cleaning and airing out the space, it suggests a continuous moisture problem that requires further investigation.
Visible Mold and Mildew
- Surface Mold: Mold and mildew often appear as black, white, or green patches on walls, floors, and other surfaces. Their presence indicates high humidity and poor moisture control.
- Health Risks: Mold spores can cause respiratory issues and allergies. Addressing mold growth is critical for maintaining a healthy indoor environment.
Damp or Wet Insulation
- Insulation Damage: Insulation that feels damp or shows signs of water damage is a clear indicator of moisture problems. Wet insulation loses its effectiveness and can promote mold growth.
- Inspection: Regularly check the insulation in your crawl space for dampness, and replace any that is damaged to ensure it remains effective.
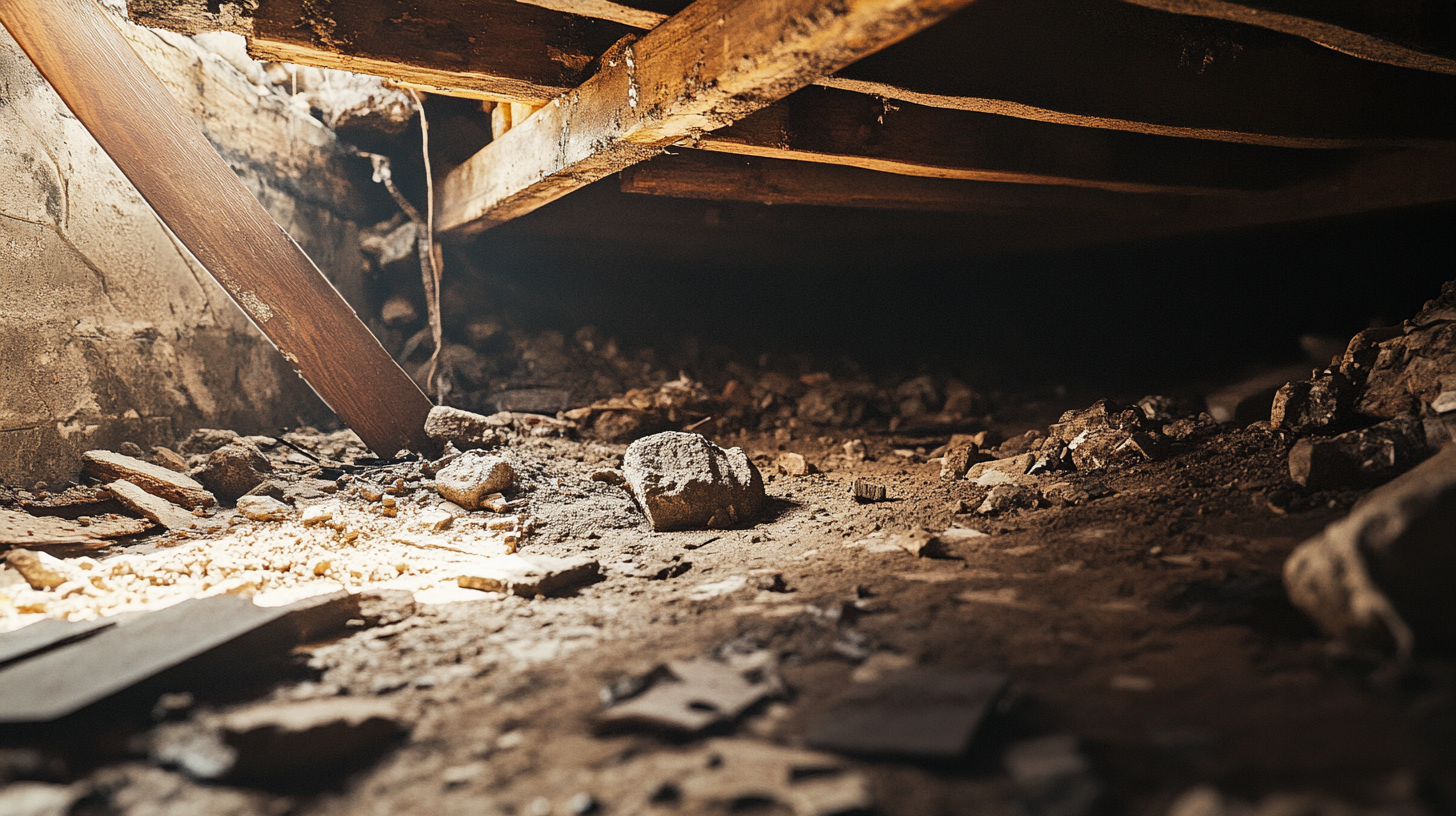
Wood Rot and Structural Damage
- Rotting Wood: Wood rot occurs when wood is exposed to moisture for extended periods. It weakens structural components such as beams and joists, compromising the stability of the home.
- Structural Integrity: Look for signs of wood rot, such as soft spots, discoloration, or crumbling wood. Addressing wood rot promptly is essential to maintain the structural integrity of your home.
Assessing the Extent of Moisture Problems
Thoroughly assessing the extent of moisture problems in your crawl space is essential for identifying the underlying issues and determining the appropriate remediation steps. This process involves both visual inspections and the use of specialized moisture detection tools.
Conducting a Visual Inspection
Checking for Standing Water or Damp Areas
- Standing Water: Look for any pools of standing water in the crawl space. This can indicate leaks, poor drainage, or groundwater intrusion. Even small amounts of standing water should be addressed promptly to prevent further issues.
- Damp Areas: Check for areas that are consistently damp or show signs of recent wetness. This can include patches on the floor, walls, or around the foundation. Persistent dampness often points to ongoing moisture problems.
Inspecting for Mold and Mildew Growth
- Visible Mold: Look for visible mold growth on surfaces such as walls, floors, insulation, and wooden structures. Mold can appear as black, green, or white spots and is a clear indicator of excessive moisture.
- Mildew: Similar to mold, mildew typically appears as a thin, powdery coating and can be found on surfaces that are consistently damp. Both mold and mildew can contribute to poor indoor air quality and health issues.
Looking for Signs of Wood Rot and Structural Damage
- Wood Rot: Inspect wooden beams, joists, and other structural components for signs of rot, such as soft, crumbly, or discolored wood. Wood rot weakens the structural integrity and can lead to significant damage if not addressed.
- Structural Damage: Look for cracks, sagging, or other indications that the structure is compromised. Pay special attention to areas around the foundation and support beams.
Using Moisture Detection Tools
Utilizing Moisture Meters to Measure Humidity Levels
- Moisture Meters: Use moisture meters to measure the humidity levels in the crawl space. These devices provide a quantitative measure of moisture content in materials and can help identify areas with excessive dampness.
- Regular Monitoring: Regularly monitor moisture levels to track changes over time. High readings indicate the need for further investigation and remediation.
Employing Infrared Cameras to Detect Hidden Moisture
- Infrared Cameras: Infrared cameras can detect temperature variations that indicate the presence of hidden moisture. They are particularly useful for identifying moisture behind walls, under floors, and in other hard-to-reach areas.
- Thermal Imaging: Use thermal imaging to create a visual map of temperature differences, highlighting areas where moisture may be accumulating without visible signs.
Documenting Findings for Further Analysis
- Detailed Records: Keep detailed records of all findings, including photos, moisture meter readings, and thermal images. Document the location, extent, and type of moisture-related issues discovered during the inspection.
- Analysis and Planning: Use the documented findings to analyze the severity of the moisture problems and develop a comprehensive plan for remediation. This information is also useful when consulting with professionals for further assistance.
Preventive Measures to Control Moisture
Effectively controlling moisture in your crawl space is crucial for maintaining a healthy and structurally sound home. Implementing preventive measures can help keep moisture levels in check and prevent a range of issues such as mold growth, wood rot, and structural damage.
Improving Drainage and Grading
Ensuring Proper Grading to Direct Water Away from the Foundation
- Proper Grading: Ensure that the soil around your home's foundation slopes away from the structure. This grading helps direct rainwater and surface runoff away from the foundation, reducing the risk of water seeping into the crawl space.
- Slope Recommendations: Aim for a slope of at least 6 inches over the first 10 feet away from the foundation. This gradient is typically sufficient to prevent water accumulation near the foundation walls.
Installing or Maintaining French Drains and Gutter Systems
- French Drains: Install French drains around the perimeter of your foundation to collect and redirect water away from the crawl space. These drains consist of a perforated pipe surrounded by gravel, which helps channel water to a safe discharge point.
- Gutter Systems: Ensure your home is equipped with a functional gutter system to collect rainwater from the roof. Regularly clean and maintain gutters to prevent clogs that can cause overflow and water damage to the foundation.
Using Downspout Extensions to Prevent Water from Pooling Near the Foundation
- Downspout Extensions: Attach extensions to your downspouts to direct water several feet away from the foundation. This prevents water from pooling around the base of your home and reduces the risk of groundwater seeping into the crawl space.
- Proper Placement: Ensure that downspout extensions are directed towards a safe drainage area, such as a garden bed or a drainage ditch, where the water can be absorbed or safely directed away from the structure.
Installing Vapor Barriers
Benefits of Vapor Barriers in Preventing Ground Moisture
- Moisture Prevention: Vapor barriers are essential for preventing ground moisture from rising into the crawl space. These barriers act as a protective layer, blocking moisture from the soil and keeping the crawl space dry.
- Improved Air Quality: By reducing moisture levels, vapor barriers help prevent mold growth and improve the overall air quality in your home. This is particularly important for maintaining a healthy living environment and preventing respiratory issues.
Steps to Install a Vapor Barrier on the Crawl Space Floor and Walls
- Preparation: Clear the crawl space of any debris, sharp objects, or existing moisture before installing the vapor barrier. Ensure the area is clean and dry to maximize the effectiveness of the barrier.
- Material Selection: Choose a high-quality polyethylene vapor barrier with a thickness of at least 6 mils. Thicker barriers offer better protection and durability.
Ensuring Proper Sealing and Coverage for Maximum Effectiveness
- Floor Installation: Lay the vapor barrier across the entire crawl space floor, overlapping seams by at least 12 inches. Secure the seams with waterproof tape to create a continuous moisture barrier.
- Wall Installation: Extend the vapor barrier up the crawl space walls to at least 12 inches above the ground level. Secure the barrier to the walls using construction adhesive or mechanical fasteners.
- Sealing: Ensure that all edges, seams, and penetrations (such as around pipes and support columns) are sealed tightly with waterproof tape or sealant. This prevents any gaps that could allow moisture to enter.
- Inspection: Regularly inspect the vapor barrier for any damage or wear. Repair any tears or holes promptly to maintain the integrity of the moisture barrier.
Addressing Existing Moisture Problems
Effectively addressing existing moisture problems in your crawl space is crucial for maintaining a healthy and structurally sound home. Taking proactive steps to fix plumbing leaks and install dehumidifiers can help manage and eliminate moisture issues.
Fixing Plumbing Leaks
Identifying and Repairing Leaky Pipes and Fixtures
- Leak Detection: Regularly check for signs of leaks in pipes and fixtures within or near the crawl space. Look for water stains, puddles, damp spots, and listen for dripping sounds.
- Repair Techniques: Once identified, promptly repair leaky pipes using appropriate techniques such as tightening connections, replacing damaged sections, or using sealants and pipe clamps for temporary fixes.
Regularly Inspecting Plumbing Systems for Potential Leaks
- Scheduled Inspections: Conduct routine inspections of your home's plumbing system, focusing on areas prone to leaks, such as joints, valves, and connections. Early detection can prevent small leaks from becoming major problems.
- Monitoring Usage: Keep an eye on your water bill for unexplained increases, which may indicate hidden leaks. Regularly inspect areas under sinks, around appliances, and in the crawl space.
Using Professional Services for Complex Plumbing Issues
- Professional Assessment: For complex or persistent plumbing issues, hire a licensed plumber. Professionals can accurately diagnose the problem and provide long-lasting solutions.
- Expert Repairs: Professional plumbers have the expertise and tools to address more complicated plumbing issues, ensuring that repairs are done correctly and preventing future leaks.
Installing Dehumidifiers
Benefits of Using Dehumidifiers to Control Humidity Levels
- Humidity Control: Dehumidifiers effectively reduce humidity levels in the crawl space, preventing the conditions that promote mold growth, wood rot, and pest infestations.
- Improved Air Quality: By lowering humidity, dehumidifiers improve overall air quality, making the living environment healthier and more comfortable.
Choosing the Right Size and Type of Dehumidifier for Your Crawl Space
- Size Selection: Choose a dehumidifier that is appropriately sized for your crawl space. Measure the area and consult manufacturer guidelines to select a unit with the right capacity, typically measured in pints per day.
- Type of Dehumidifier: Consider the type of dehumidifier that best suits your needs. Portable dehumidifiers are easy to install and move, while whole-house units can be integrated into your HVAC system for more comprehensive humidity control.
Proper Placement and Maintenance of Dehumidifiers for Optimal Performance
- Optimal Placement: Position the dehumidifier in a central location within the crawl space for maximum efficiency. Ensure there is adequate airflow around the unit and that the air intake and exhaust are not obstructed.
- Maintenance: Regularly clean and maintain the dehumidifier to ensure optimal performance. This includes emptying the water collection reservoir, cleaning or replacing filters, and checking the unit for any signs of wear or malfunction.
- Drainage Options: For continuous operation, consider a dehumidifier with a built-in pump or a gravity drain to automatically discharge collected water. This reduces the need for manual emptying and ensures consistent moisture control.
Long-Term Solutions for Moisture Control
Implementing long-term solutions for moisture control in your crawl space is essential for preventing chronic moisture problems and ensuring the health and stability of your home. Encapsulation systems and sump pumps, along with effective drainage systems, provide robust protection against moisture-related issues.
Encapsulation Systems
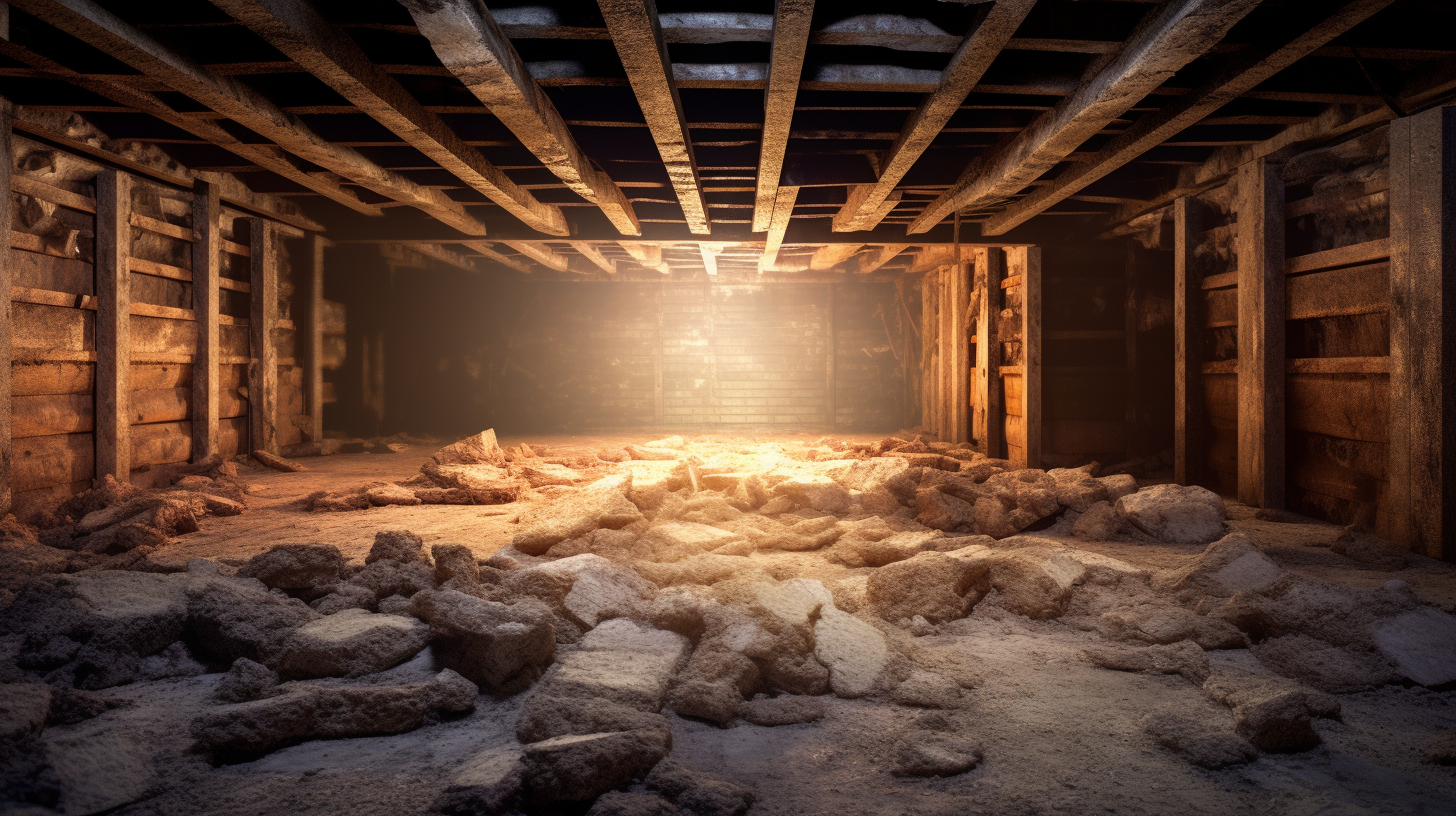
Overview of Crawl Space Encapsulation and Its Benefits
- Encapsulation Defined: Crawl space encapsulation involves sealing the entire crawl space with a heavy-duty vapor barrier to create a controlled environment. This barrier covers the floor, walls, and often includes sealing vents and doors to prevent moisture intrusion.
- Benefits: Encapsulation significantly reduces moisture levels, prevents mold growth, and improves air quality. It also enhances the energy efficiency of your home by reducing drafts and maintaining a more stable indoor temperature.
Steps to Encapsulate a Crawl Space, Including Sealing Vents and Installing Vapor Barriers
- Preparation: Begin by clearing the crawl space of debris, old insulation, and any standing water. Ensure the area is clean and dry before starting the encapsulation process.
- Vapor Barrier Installation: Install a thick, durable polyethylene vapor barrier across the entire crawl space floor, extending up the walls. Overlap seams by at least 12 inches and secure them with waterproof tape to create a continuous seal.
- Sealing Vents: Seal all vents and openings to prevent outside air from entering the crawl space. Use foam board insulation or vent covers specifically designed for this purpose.
- Wall and Ceiling Coverage: Extend the vapor barrier up the walls and, if possible, cover the ceiling of the crawl space to ensure complete encapsulation. Secure the barrier with adhesive or mechanical fasteners to maintain a tight seal.
Maintenance Tips for Encapsulated Crawl Spaces
- Regular Inspections: Periodically inspect the encapsulated crawl space for any signs of damage, such as tears in the vapor barrier or areas where the seal has weakened. Promptly repair any issues to maintain the effectiveness of the encapsulation.
- Monitor Humidity Levels: Use a hygrometer to monitor humidity levels within the crawl space. Ideally, keep humidity below 60% to prevent mold growth and structural damage.
- Dehumidification: Consider using a dehumidifier in the encapsulated crawl space to further control humidity levels and ensure a dry environment.
Sump Pumps and Drainage Systems
Importance of Sump Pumps in Preventing Water Accumulation
- Water Accumulation: Sump pumps are essential for managing groundwater and preventing water accumulation in the crawl space. They automatically remove water that collects in a sump basin, preventing flooding and reducing moisture levels.
- Protection: Installing a sump pump provides protection against heavy rainfall and rising groundwater, ensuring that your crawl space remains dry even during severe weather conditions.
Installing and Maintaining a Sump Pump System
- Installation: Install the sump pump in the lowest part of the crawl space where water naturally collects. Ensure the sump basin is adequately sized and properly connected to a drainage outlet to direct water away from the foundation.
- Maintenance: Regularly check the sump pump to ensure it is functioning correctly. Test the pump by pouring water into the sump basin and ensure it activates and pumps water out efficiently. Clean the sump basin and check for debris that could clog the pump.
Integrating Drainage Systems to Enhance Moisture Control
- French Drains: Install French drains around the perimeter of the crawl space to collect and direct water to the sump pump. These drains consist of perforated pipes surrounded by gravel, effectively channeling water away from the foundation.
- Exterior Drainage: Enhance the drainage system by ensuring proper grading around the foundation and maintaining gutters and downspouts. This helps direct surface water away from the home, reducing the amount of water that reaches the crawl space.
- Combination Systems: Consider integrating a combination of interior and exterior drainage systems for maximum moisture control. This includes interior French drains, exterior perimeter drains, and the use of sump pumps to handle any water that penetrates the defenses.
FAQs
Contact Trench Guys Today!
Trench Guys will do everything we can to ensure your experience with us is excellent.
Request A FREE Estimate
Request a Free Estimate Form
Checkout Recent Post
Got a Question? We’re Here to Help.
You can arrange an appointment or make an enquiry by phone or email, orget in touch to us via our contact form.
Looking for a reliable and professional company to take care of your crawl space, basement and gutter needs? Look no further than Trench Guys! We have years of experience in the industry and can provide you with top-quality services at a competitive price. Contact us today to get started!
CONTACT INFORMATION
Phone: 478-236-6403
Email: Wedigmiddlega@gmail.com
Address: Macon, GA
Business Hours:
Mon-Fri: 6:00 AM - 5:00 PM
Sat-Sun: Closed
ADDITIONAL INFORMATION
Us Across The Web
Geo
Neighborhoods
Niche
Privacy Policy | Terms & Conditions | Sitemap