

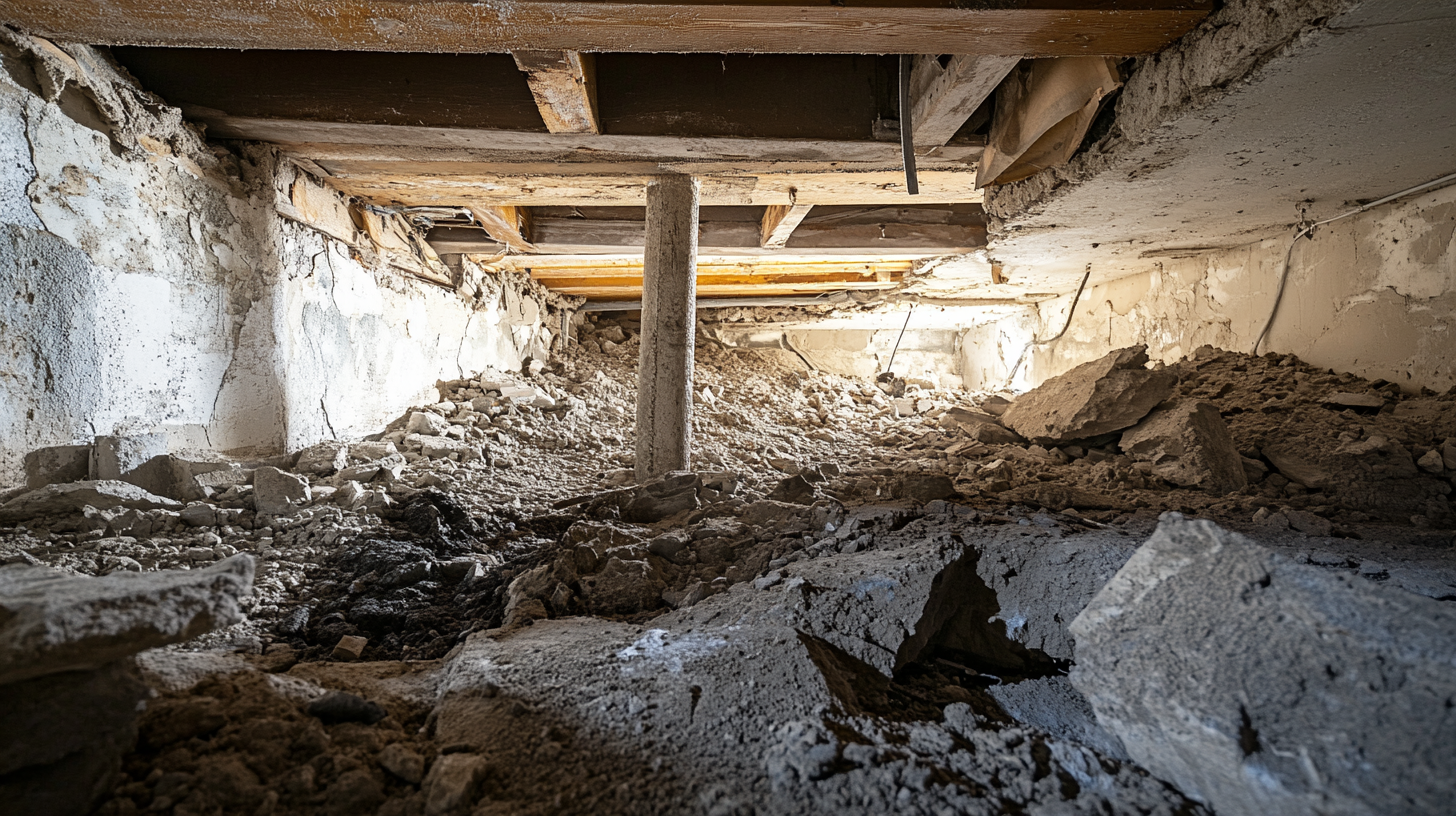
Sagging floors above crawl spaces are a common issue faced by homeowners, particularly in older houses. This problem not only affects the aesthetic and structural integrity of a home but can also indicate deeper, underlying issues within the crawl space itself. Understanding the causes, implications, and solutions for sagging floors is essential for maintaining a safe and comfortable living environment.
Crawl spaces are often overlooked areas in home maintenance. However, they play a crucial role in the overall health of the building. These spaces can be prone to moisture accumulation, pest infestations, and structural damage, all of which can contribute to the sagging of floors above them. The primary causes of sagging floors include:
Moisture and Humidity: High levels of moisture and humidity in crawl spaces can weaken wooden supports and joists, leading to rot and decay. This degradation compromises the structural integrity of the floor above, causing it to sag.
Inadequate Support: In some cases, the crawl space may have insufficient support beams or columns, leading to uneven weight distribution and sagging floors. Over time, the lack of proper support can result in noticeable dips and uneven surfaces in the flooring above.
Soil Settlement: The ground beneath a home can shift and settle due to natural causes or external factors such as heavy rainfall or nearby construction. This movement can displace the foundation and support structures within the crawl space, contributing to floor sagging.
Pest Infestations: Insects and rodents can cause significant damage to the wooden structures within crawl spaces. Termites, in particular, are notorious for chewing through wood, weakening the supports and leading to sagging floors.
Addressing the issue of sagging floors involves a comprehensive approach that includes inspecting the crawl space, identifying the root causes, and implementing appropriate solutions. Key steps to remedy this problem include:
Moisture Control: Installing vapor barriers, dehumidifiers, and proper ventilation can help manage moisture levels in the crawl space, preventing wood rot and mold growth.
Structural Reinforcement: Adding additional support beams or columns can distribute the weight more evenly and provide the necessary support to prevent further sagging.
Pest Control: Implementing pest control measures, such as regular inspections and treatments, can protect the structural elements of the crawl space from damage caused by insects and rodents.
Soil Stabilization: Addressing soil settlement issues might involve underpinning the foundation or using soil stabilization techniques to ensure a stable base for the home.
By understanding the causes and taking proactive steps to address the issue of sagging floors, homeowners can maintain the structural integrity of their homes and ensure a safe, comfortable living space.
Identifying the Cause of Sagging Floors
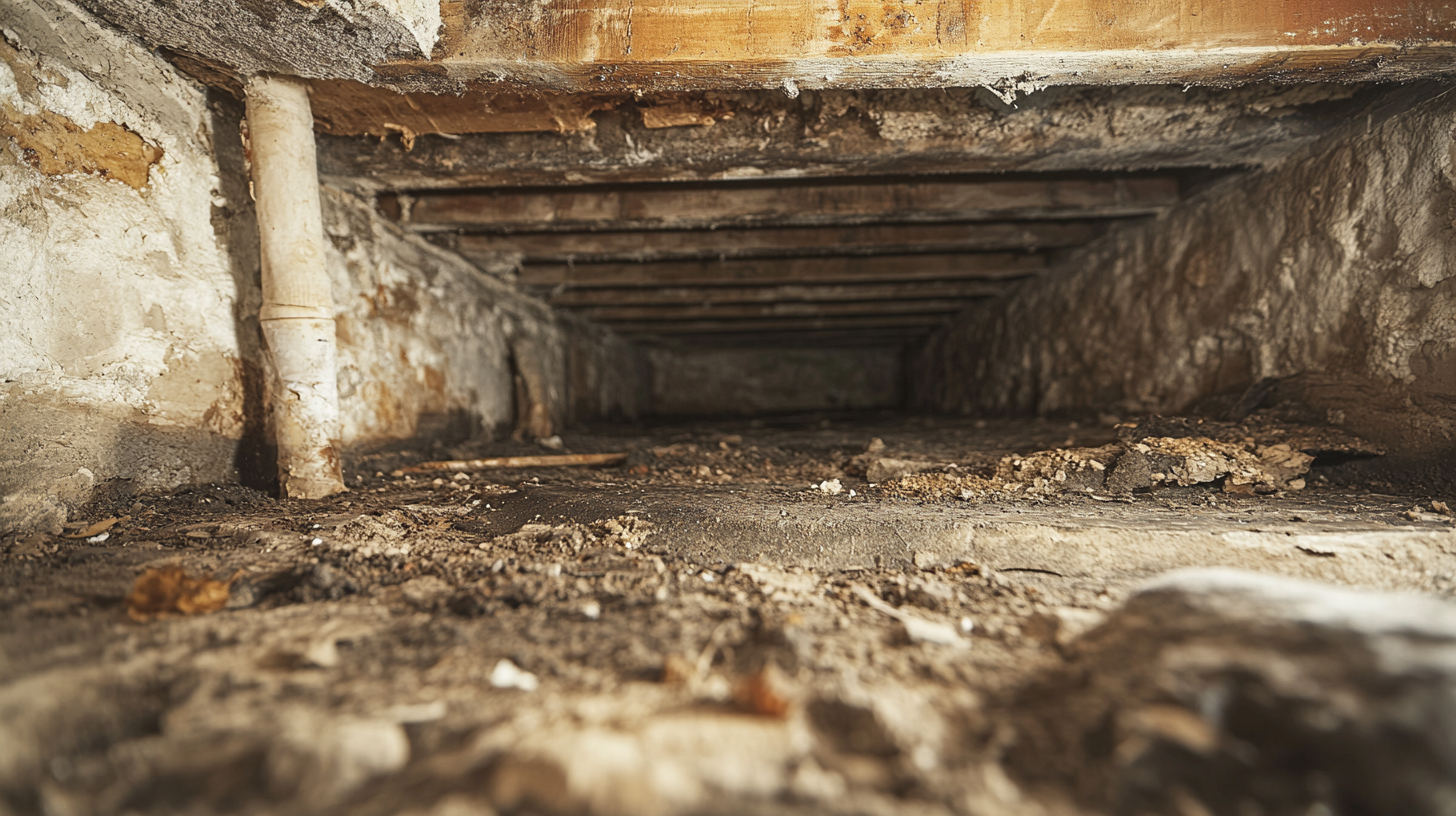
Sagging floors in homes with crawl spaces can arise from various underlying issues, each requiring specific attention and remedies. Identifying the precise cause is crucial for effective repair and long-term prevention. This guide delves into common causes, signs to look for, and the inspection process to accurately diagnose the problem.
Common Causes
Moisture Damage
Effects of Excess Moisture on Wooden Structures: Excess moisture is a prevalent issue in crawl spaces, leading to significant damage to wooden structures. When wood absorbs too much moisture, it can rot, warp, and lose its structural integrity, resulting in sagging floors above.
Signs of Moisture Damage: Homeowners should look for signs such as discoloration, mold growth, musty odors, and soft or spongy wood. These indicators suggest that moisture has compromised the wood's strength.
Foundation Issues
Shifting or Settling Foundations: The foundation of a house can shift or settle due to various factors, including soil movement, water erosion, or inadequate construction. Such changes in the foundation can cause the support structures in the crawl space to move or become uneven, leading to sagging floors.
Indicators of Foundation Problems: Cracks in the walls or floors, doors and windows that stick, and gaps between walls and ceilings are common signs of foundation issues. These symptoms often accompany sagging floors and require immediate attention.
Structural Deficiencies
Inadequate Support Beams or Joists: The structural components of the crawl space, such as support beams and joists, must be strong and properly spaced to bear the load of the floors above. Inadequate or damaged supports can fail to hold the weight, causing the floor to sag.
Symptoms of Structural Weaknesses: Visible sagging or unevenness in the floor, creaking sounds when walking, and bouncing or springy floors are typical signs that the structural supports may be insufficient or damaged.
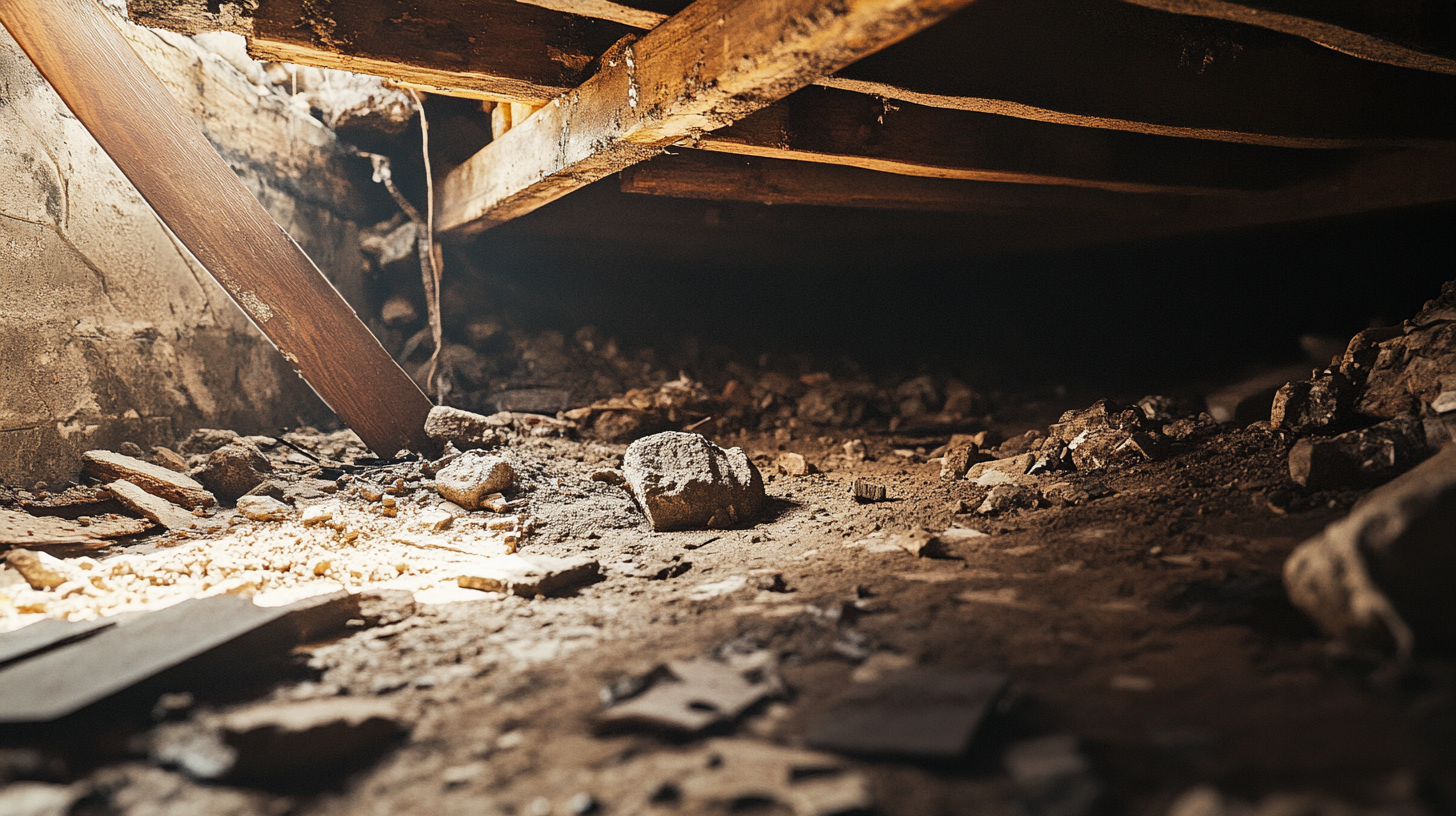
Inspection Process
Visual Inspection
Checking for Visible Signs of Damage: A thorough visual inspection can reveal many of the issues causing sagging floors. Homeowners should examine the crawl space for signs of moisture damage, inspect the condition of the support beams and joists, and look for any visible cracks or shifts in the foundation.
Tools Needed for a Thorough Inspection: Essential tools for a thorough inspection include a flashlight, moisture meter, screwdriver (to test wood integrity), and a camera to document any damage. A level can also help assess any unevenness in the floors.
Professional Assessment
When to Call a Structural Engineer: If the visual inspection reveals significant damage or if there are doubts about the extent of the issues, it is wise to call a structural engineer. These professionals can provide a detailed assessment of the structural integrity and recommend appropriate solutions.
Benefits of Professional Evaluations: Professional evaluations offer several benefits, including accurate diagnosis of the problem, expert recommendations for repair, and assurance that the underlying issues will be addressed comprehensively. This can save homeowners time and money in the long run by preventing further damage and ensuring proper repair.
By understanding the common causes of sagging floors and conducting a thorough inspection, homeowners can identify the root of the problem and take appropriate steps to restore the structural integrity of their homes.
Solutions for Moisture Control
Effective moisture control in crawl spaces is crucial for maintaining the structural integrity of a home and preventing issues such as sagging floors. This section outlines various solutions for improving ventilation, sealing, and insulating crawl spaces to manage and mitigate moisture problems.
Improving Ventilation
Installing Vents
Types of Vents Suitable for Crawl Spaces: There are several types of vents that can be used in crawl spaces, including fixed vents, automatic vents, and powered vents. Fixed vents are simple and static, allowing constant airflow. Automatic vents open and close based on temperature changes, providing more controlled ventilation. Powered vents use fans to actively move air, offering a more robust solution for moisture control.
Proper Placement and Installation: The placement of vents is crucial for effective moisture control. Vents should be installed on opposite walls to ensure cross-ventilation, which helps to move air through the crawl space and reduce moisture buildup. The installation should be done in a way that maximizes airflow while minimizing the entry of pests and debris.
Mechanical Ventilation
Benefits of Using Fans or Dehumidifiers: Mechanical ventilation systems, such as fans and dehumidifiers, provide significant benefits in controlling moisture levels. Fans enhance airflow, reducing humidity and preventing condensation. Dehumidifiers extract moisture from the air, lowering the overall humidity level within the crawl space, which is essential in preventing mold growth and wood rot.
How to Set Up Mechanical Ventilation Systems: To set up a mechanical ventilation system, first, choose a fan or dehumidifier appropriate for the size of the crawl space. Install the device according to the manufacturer’s instructions, ensuring it is positioned to optimize air circulation. Regular maintenance, such as cleaning filters and checking for proper operation, is necessary to keep the system effective.
Sealing and Insulating
Vapor Barriers
Importance of Vapor Barriers in Moisture Control: Vapor barriers are essential in preventing moisture from the ground from entering the crawl space. They create a protective layer that stops the upward movement of water vapor, significantly reducing the risk of condensation and moisture-related damage to the structure above.
Steps to Install a Vapor Barrier: Installing a vapor barrier involves cleaning the crawl space floor and walls to remove debris and sharp objects. Lay the vapor barrier material, typically a thick plastic sheet, over the entire floor and up the walls, overlapping and sealing seams with waterproof tape. Ensure the barrier is secured and covers all exposed soil to prevent moisture ingress.
Insulation Options
Suitable Insulation Materials for Crawl Spaces: Several insulation materials are suitable for use in crawl spaces, including rigid foam boards, spray foam, and fiberglass batts. Rigid foam boards are durable and provide excellent thermal resistance. Spray foam offers both insulation and air sealing properties, while fiberglass batts are cost-effective and easy to install.
Techniques for Effective Insulation: For effective insulation, first, choose the appropriate material based on the specific needs of the crawl space. Install rigid foam boards against the crawl space walls and floor, sealing edges and joints with foam sealant or tape. When using fiberglass batts, ensure they fit snugly between joists and secure them with wire or mesh to prevent sagging. For spray foam, apply it evenly across surfaces, ensuring all gaps and cracks are filled for maximum insulation and moisture protection.
By implementing these solutions for moisture control, homeowners can protect their crawl spaces from moisture damage, enhance the durability of their homes, and ensure a healthier living environment.
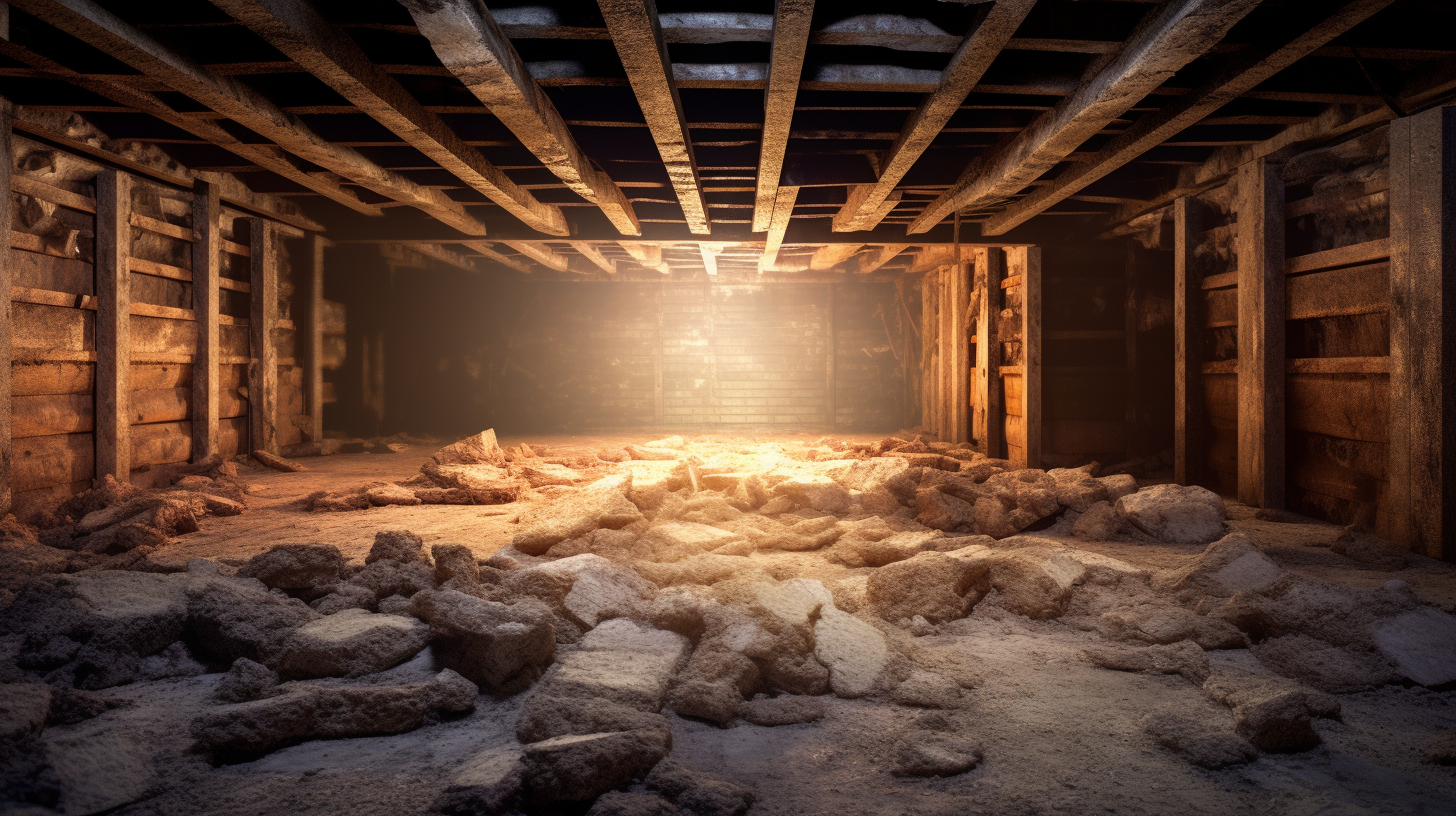
Structural Reinforcement Techniques
Maintaining the structural integrity of a home with a crawl space often involves reinforcing existing structures to prevent issues like sagging floors. This guide outlines three key techniques: sistering joists, adding support beams, and using adjustable steel columns. Each method is detailed to help homeowners understand and implement effective solutions for structural reinforcement.
Sistering Joists
What is Sistering?
Definition and Purpose of Sistering Joists: Sistering joists involves reinforcing existing floor joists by attaching additional joists alongside them. This technique is used to strengthen weakened or damaged joists, distribute weight more evenly, and prevent floor sagging.
Steps to Sister Joists:
Materials and Tools Required: To sister joists, you will need new joists of the same size as the existing ones, construction adhesive, screws or nails, a saw, a drill, and safety equipment such as gloves and goggles.
Detailed Process of Sistering:
- Preparation: Clear the crawl space of any debris and ensure it is dry.
- Measurement and Cutting: Measure the length of the joists that need reinforcement and cut the new joists to the appropriate size.
- Positioning: Apply construction adhesive to the sides of the existing joists and position the new joists alongside them.
- Securing: Secure the new joists using screws or nails, spacing them evenly along the length to ensure a strong bond.
- Finishing: Check for any gaps and fill them with adhesive or sealant to prevent moisture intrusion.
Adding Support Beams
When to Add Support Beams
Identifying Areas Needing Additional Support: Additional support beams are necessary when there are large spans between existing beams, noticeable sagging in the floors, or structural damage to the current beams. An assessment of the crawl space can reveal areas where additional support is required.
Installation Process
Choosing the Right Materials: Select materials such as pressure-treated wood or steel beams that are appropriate for the load they will bear and the conditions of the crawl space.
Step-by-Step Guide to Adding Support Beams:
- Assessment: Identify the locations where additional support beams are needed.
- Preparation: Measure and cut the beams to the required lengths.
- Placement: Position the beams perpendicular to the floor joists, ensuring they are evenly spaced.
- Securing: Use concrete footings or piers to provide a stable base for the beams. Secure the beams to the footings and attach them to the joists using metal brackets or screws.
- Inspection: Verify that the beams are level and securely in place to provide the necessary support.
Using Adjustable Steel Columns
Benefits of Steel Columns
Durability and Strength: Steel columns are highly durable and can support significant weight, making them ideal for structural reinforcement in crawl spaces. They are resistant to rot, pests, and moisture, ensuring long-term stability.
Adjustability for Fine-Tuning Support: Adjustable steel columns allow for precise leveling and can be fine-tuned to ensure the correct amount of support, accommodating any future settling or shifting of the foundation.
Installation Guide
Preparing the Crawl Space:
- Clear the area and ensure it is dry and free from debris.
- Mark the locations where the columns will be installed, ensuring they are evenly spaced and aligned with the joists that need support.
Proper Placement and Securing of Steel Columns:
- Base Preparation: Install concrete footings or piers at the marked locations to provide a solid foundation for the columns.
- Column Installation: Place the steel columns on the footings and extend them to the desired height using the adjustable mechanism.
- Securing: Attach the tops of the columns to the floor joists using metal brackets or plates, ensuring a secure connection.
- Adjustment: Fine-tune the height of the columns to level the floor and provide adequate support.
By implementing these structural reinforcement techniques, homeowners can effectively address and prevent issues related to sagging floors, ensuring a stable and safe living environment.
Repairing and Replacing Damaged Components
Properly addressing damaged components in a home’s crawl space is crucial for maintaining structural integrity and preventing further issues. This section provides detailed information on how to identify and repair damaged floor joists and replace subflooring, ensuring a stable and safe living environment.
Floor Joist Repair
Identifying Damaged Joists
Common Signs of Joist Damage: Identifying damaged joists involves looking for several key indicators. Common signs include visible cracks or splits in the wood, sagging or uneven floors, creaking or bouncing when walking, and evidence of rot or insect damage. These signs suggest that the joists have lost their structural integrity and need attention.
Tools for Assessing Joist Condition: A thorough assessment of joist condition requires tools such as a flashlight for visibility, a moisture meter to check for dampness, a screwdriver or awl to test wood integrity, and a level to detect any sagging or unevenness. Proper assessment helps in determining the extent of the damage and the necessary repairs.
Repair Methods
Patching vs. Replacing Joists: Depending on the extent of the damage, joists can either be patched or replaced. Patching involves reinforcing the existing joist with additional wood or metal plates, suitable for minor damage. Replacing is necessary for severely damaged joists where reinforcement alone won’t restore structural integrity.
Techniques for Effective Repairs:
Patching:
- Clean the damaged area and apply a wood preservative to prevent further decay.
- Attach a reinforcing plate or a new section of wood alongside the damaged area using construction adhesive and screws.
- Ensure the patch is securely fixed and level with the existing joist.
Replacing:
- Remove the damaged joist by cutting it out, ensuring not to disturb adjacent structures.
- Measure and cut a new joist to the exact size.
- Install the new joist, securing it with joist hangers and screws or nails.
- Check for levelness and make any necessary adjustments to ensure proper alignment.
Subfloor Replacement
When to Replace the Subfloor
Assessing the Extent of Damage: The decision to replace a subfloor depends on the damage severity. Indicators include soft spots, sagging areas, water damage, mold growth, and persistent odors. Inspect both the top and bottom of the subfloor for these signs to determine if replacement is needed.
Deciding Between Partial and Full Replacement: Partial replacement is viable when damage is localized, allowing only the affected section to be removed and replaced. Full replacement is necessary when damage is extensive, compromising the entire subfloor’s integrity.
Replacement Process
Removing the Old Subfloor:
- Start by removing any flooring material on top of the subfloor.
- Use a circular saw to cut the damaged sections, being careful not to cut into underlying joists or utilities.
- Pry out the old subfloor, removing nails or screws that held it in place.
Installing New Subfloor Materials:
- Measure and cut new subfloor panels to fit the removed sections.
- Apply construction adhesive to the top edges of the joists to secure the new panels and reduce squeaks.
- Lay the new subfloor panels in place, ensuring they fit snugly and are level with the surrounding floor.
- Secure the panels with screws or nails, ensuring they are properly fastened to the joists for stability.
By following these guidelines for repairing and replacing damaged components, homeowners can effectively restore the structural integrity of their crawl spaces and prevent future issues, ensuring a safe and secure home environment.
Preventative Measures for Future Maintenance
Maintaining the integrity of a home’s crawl space requires proactive measures and regular maintenance. By implementing preventative measures, homeowners can avoid significant structural issues and ensure a healthy living environment. This guide outlines the importance of regular inspections, moisture management strategies, and a comprehensive maintenance checklist.
Regular Inspections
Importance of Routine Checks
Scheduling Regular Inspections: Routine inspections are vital for identifying and addressing potential issues before they become severe. Homeowners should schedule inspections at least twice a year, ideally in the spring and fall, to assess the condition of the crawl space and make necessary repairs.
Key Areas to Focus on During Inspections: During inspections, focus on key areas such as the foundation walls, support beams, joists, and insulation. Look for signs of moisture, mold, pest infestations, and structural damage. Paying close attention to these areas can help catch problems early and prevent costly repairs.
Maintenance Checklist
Comprehensive List of Maintenance Tasks: A thorough maintenance checklist should include tasks such as:
- Inspecting and repairing any damaged insulation.
- Checking for and sealing any cracks or gaps in the foundation walls.
- Ensuring that all vents are clear and functioning properly.
- Examining the condition of vapor barriers and replacing them if necessary.
- Checking for signs of pest infestations and taking appropriate measures to control them.
Frequency of Each Task: Tasks should be performed according to their specific needs. For instance, inspect insulation and vapor barriers annually, while checking vents and removing debris should be done quarterly. Pest control measures should be taken as needed, based on the presence of pests.
Moisture Management
Long-Term Solutions
Installing a Sump Pump: A sump pump is an effective long-term solution for managing water accumulation in crawl spaces. It helps to remove excess water, preventing moisture buildup and protecting the structural components from water damage. Installing a sump pump involves digging a pit, placing the pump, and connecting it to a drainage system to direct water away from the foundation.
Landscaping for Proper Drainage: Proper landscaping around the home can significantly reduce water infiltration into the crawl space. Ensure that the ground slopes away from the foundation to direct water runoff away from the house. Additionally, installing French drains or other drainage systems can help manage excess water and prevent it from entering the crawl space.
Ongoing Maintenance
Keeping Gutters and Downspouts Clear: Regularly cleaning gutters and downspouts is crucial for preventing water from accumulating around the foundation. Ensure that downspouts direct water at least six feet away from the foundation to prevent it from seeping into the crawl space.
Monitoring and Adjusting Ventilation: Proper ventilation is essential for controlling moisture levels in the crawl space. Monitor the condition of vents and make adjustments as needed to ensure adequate airflow. Installing additional vents or using mechanical ventilation systems, such as fans or dehumidifiers, can help maintain optimal moisture levels and prevent mold growth.
By following these preventative measures and maintaining a regular inspection and maintenance schedule, homeowners can protect their crawl spaces from moisture damage, structural issues, and other common problems. This proactive approach ensures the longevity and health of the home’s foundation and living environment.
FAQs
Contact Trench Guys Today!
Trench Guys will do everything we can to ensure your experience with us is excellent.
Request A FREE Estimate
Request a Free Estimate Form
Checkout Recent Post
Got a Question? We’re Here to Help.
You can arrange an appointment or make an enquiry by phone or email, orget in touch to us via our contact form.
Looking for a reliable and professional company to take care of your crawl space, basement and gutter needs? Look no further than Trench Guys! We have years of experience in the industry and can provide you with top-quality services at a competitive price. Contact us today to get started!
CONTACT INFORMATION
Phone: 478-236-6403
Email: Wedigmiddlega@gmail.com
Address: Macon, GA
Business Hours:
Mon-Fri: 6:00 AM - 5:00 PM
Sat-Sun: Closed
ADDITIONAL INFORMATION
Us Across The Web
Geo
Neighborhoods
Niche
Privacy Policy | Terms & Conditions | Sitemap