
A vapor barrier is an essential component in maintaining a healthy and structurally sound home environment, especially for properties with crawl spaces. Designed to prevent ground moisture from seeping into your home, a vapor barrier serves as a first line of defense against dampness, mold growth, and structural damage.
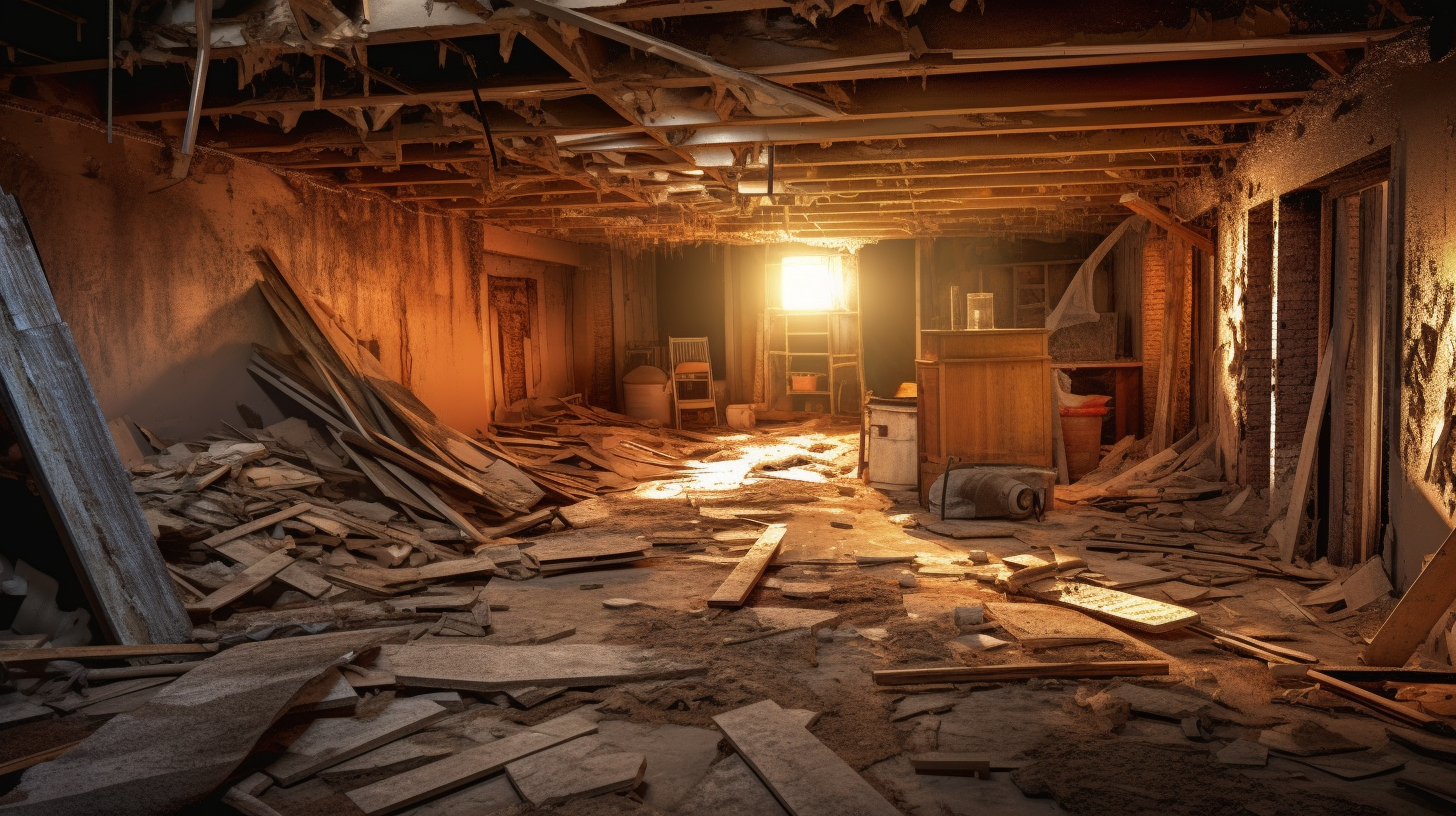
Crawl spaces are naturally prone to moisture issues due to their proximity to the ground and limited ventilation. Without a vapor barrier, moisture from the soil can rise and infiltrate the space, creating a damp environment that encourages the growth of mold and mildew. Over time, this can compromise indoor air quality and even lead to the deterioration of wooden structural components.
By installing a vapor barrier, you create a protective shield that minimizes moisture-related risks, helps maintain stable humidity levels, and enhances the overall health and longevity of your home. This blog will delve into what vapor barriers are, how they work, and why they are a crucial investment for any homeowner looking to protect their property from moisture damage.
What is a Crawl Space Vapor Barrier?
A crawl space vapor barrier is a simple yet highly effective solution for managing moisture in one of the most vulnerable areas of your home. It serves as a critical component in protecting your home’s structure and ensuring a healthier living environment.
Definition and Function
A crawl space vapor barrier is typically a heavy-duty plastic sheet designed to cover the floor of the crawl space and, in some cases, extend up the walls. Its primary purpose is to act as a barrier, preventing moisture from the ground from seeping into the crawl space. By creating a physical separation between the soil and the air in the crawl space, the vapor barrier significantly reduces the risk of dampness and the problems that come with it.
Benefits of Installing a Vapor Barrier
Installing a vapor barrier offers numerous advantages for homeowners. One of the most significant benefits is moisture control. By preventing condensation and damp conditions, a vapor barrier helps maintain a dry crawl space environment. This, in turn, leads to mold prevention, as the dry conditions are less hospitable to mold and mildew growth, which can pose health risks and affect air quality.
Another key advantage is structural protection. The barrier minimizes the risk of wood rot and damage to the foundation caused by prolonged exposure to moisture. This not only preserves the integrity of your home but also reduces the likelihood of costly repairs. Additionally, a vapor barrier contributes to energy savings by stabilizing the temperature in the crawl space, which can improve the efficiency of your home’s heating and cooling systems.
Preparing for Vapor Barrier Installation
Proper preparation is key to ensuring the successful installation of a vapor barrier in your crawl space. By gathering the right tools and materials, assessing the condition of your crawl space, and thoroughly cleaning the area, you can set the foundation for an effective moisture control solution.
Tools and Materials Needed
To install a vapor barrier, you’ll need a few essential tools and materials. Start with heavy-duty vapor barrier plastic sheeting, ideally 6-mil or thicker, to ensure durability and effectiveness. Waterproof tape and adhesive are necessary for sealing seams and securing the barrier in place. A measuring tape and utility knife will help you cut the plastic sheeting to the appropriate size. For safety, equip yourself with gloves, a mask, and knee pads to protect against potential hazards during the installation process.
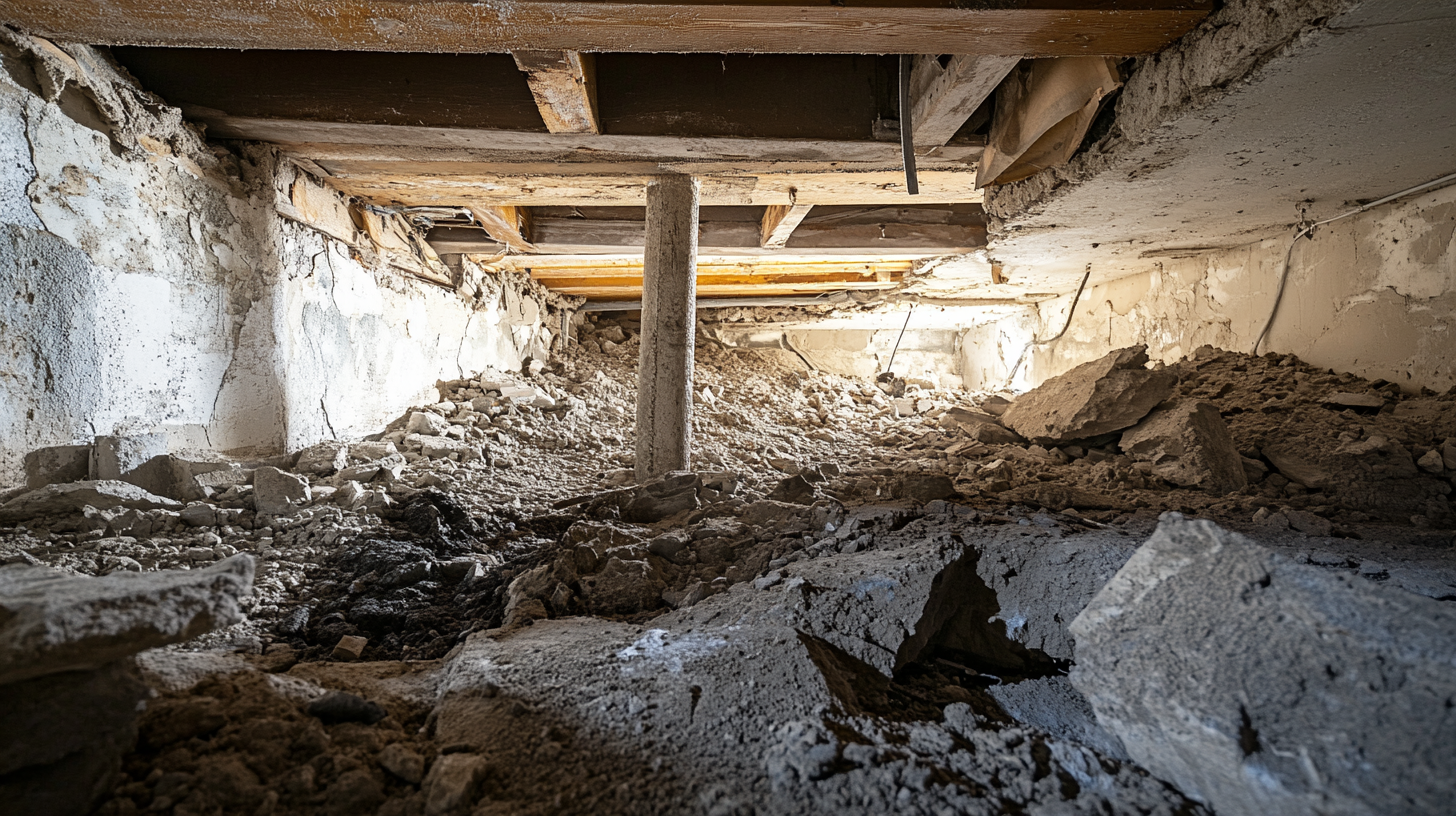
Assessing Your Crawl Space
Before installing the vapor barrier, take the time to assess your crawl space thoroughly. Check for any leaks, standing water, or areas where moisture may be entering the space, and repair them to prevent future issues. Inspect for mold growth, pest infestations, or structural damage, as these problems should be addressed before installation. Lastly, ensure that the crawl space is clean and free of debris to create a suitable environment for the vapor barrier.
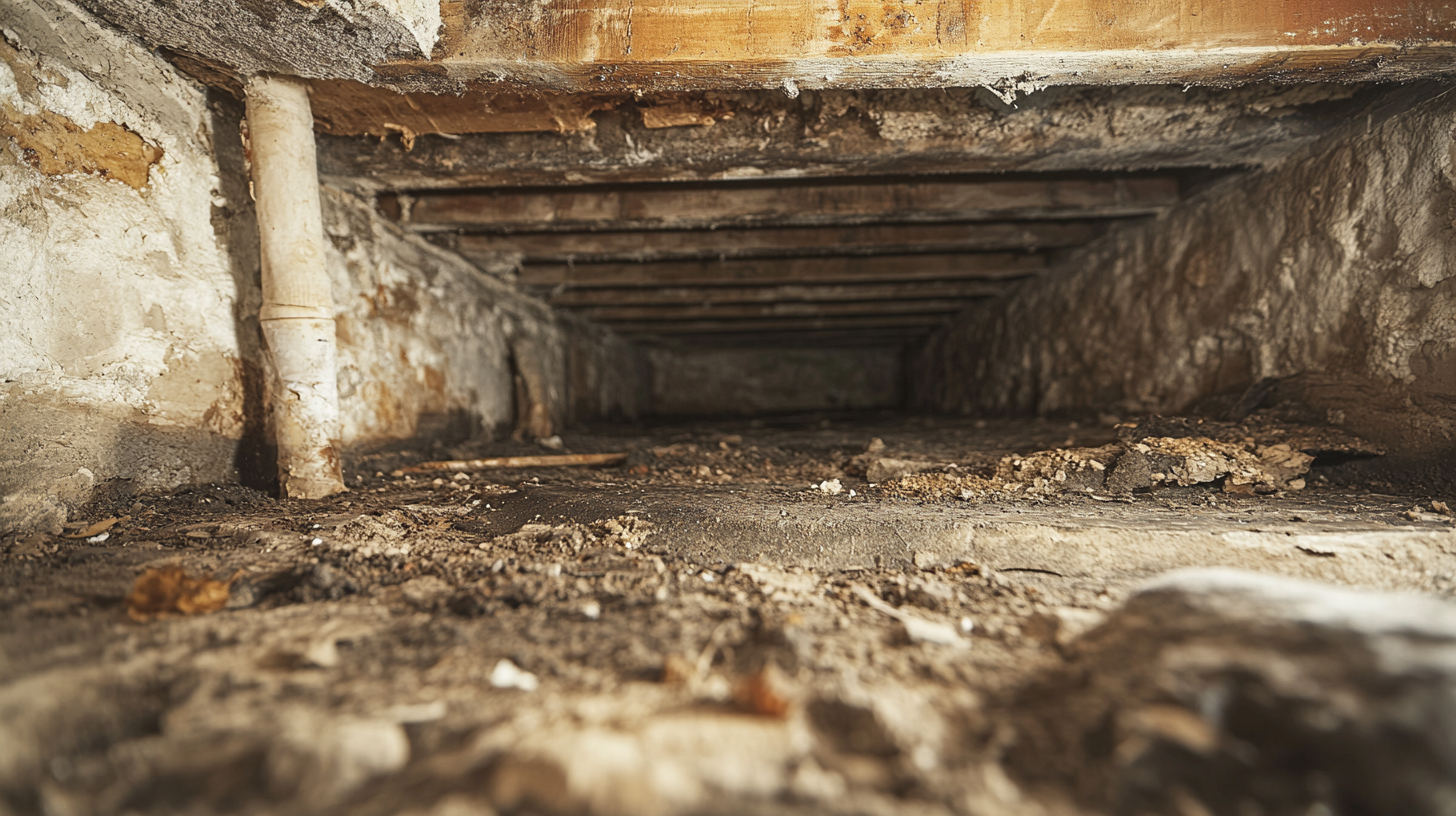
Pre-Installation Cleaning
A clean and dry crawl space is crucial for the vapor barrier to perform optimally. Begin by removing any old insulation, debris, or materials that could interfere with the barrier. Use fans or a dehumidifier to dry the area thoroughly, eliminating any residual moisture. Repair any cracks or gaps in the foundation to prevent moisture from seeping in and compromising the integrity of the barrier. This preparation ensures a solid base for your vapor barrier installation and long-lasting results.
Step-by-Step Guide to Installing a Crawl Space Vapor Barrier
Installing a vapor barrier in your crawl space is a straightforward process that can have long-term benefits for your home’s moisture control and structural health. Follow these step-by-step instructions to ensure a proper and effective installation.
Measure and Plan
Begin by measuring the dimensions of your crawl space floor and walls. This will help you determine the amount of vapor barrier material you need. Be sure to purchase enough heavy-duty plastic sheeting to cover the entire area, allowing for overlaps between sections to ensure complete coverage.
Cut and Place the Vapor Barrier
Cut the vapor barrier into manageable sections using a utility knife. Lay the plastic sheeting flat on the crawl space floor, ensuring that it covers the entire surface without leaving any gaps. Work carefully to avoid wrinkles or folds, as these can reduce the effectiveness of the barrier.
Overlap and Seal the Seams
Overlap the edges of the vapor barrier sections by at least 12 inches to create a continuous layer of protection. Use waterproof tape to seal the seams securely, ensuring no gaps remain where moisture could seep through.
Attach the Vapor Barrier to Walls
Extend the vapor barrier up the crawl space walls by about 6–12 inches to create a seal that prevents ground moisture from entering the space. Use adhesive or waterproof tape to secure the barrier to the walls, ensuring a tight and durable seal.
Seal Around Piers and Openings
When you encounter support piers or other openings in the crawl space, cut the vapor barrier to fit around them. Leave enough material to overlap the base of each pier, and use waterproof tape or spray foam to seal any gaps. This ensures that the barrier provides continuous protection throughout the space.
Inspect and Finalize
Once the barrier is in place, walk around the crawl space to inspect your work. Check all seams, edges, and corners to ensure they are securely sealed. Look for any gaps, wrinkles, or exposed areas, and fix them as needed. A thorough inspection will help you confirm that the vapor barrier is installed correctly and ready to protect your home.
Maintenance Tips for Your Crawl Space Vapor Barrier
A properly maintained vapor barrier ensures long-term protection against moisture and structural damage in your crawl space. Regular upkeep and complementary measures can extend its effectiveness and provide a healthier home environment.
Regular Inspections
Perform routine inspections of your vapor barrier every six months to ensure it remains in optimal condition. Look for any tears, punctures, or damage that could compromise its ability to block moisture. Pay particular attention to seams and edges, as these are common areas where wear and tear can occur. If you notice loose edges or gaps, reseal them promptly using waterproof tape or adhesive to maintain the barrier’s integrity.
Keep the Crawl Space Dry
Keeping the crawl space dry is essential to the vapor barrier’s success. Install a dehumidifier to manage humidity levels and prevent condensation from forming. Additionally, ensure proper drainage around your home to direct water away from the foundation and avoid flooding or pooling that could saturate the crawl space.
Pair with Additional Solutions
For maximum effectiveness, pair your vapor barrier with other moisture management solutions. Adding insulation and ensuring proper ventilation can further stabilize the crawl space environment, reducing the risk of dampness and temperature fluctuations. If water issues persist despite these efforts, consider installing a sump pump to remove excess water and keep the crawl space dry.
Common Mistakes to Avoid
When installing a crawl space vapor barrier, avoiding common mistakes is crucial to ensuring its effectiveness. Proper materials, careful preparation, and thorough sealing are key to achieving long-lasting moisture control.
Using Thin Plastic Sheeting
One of the most common mistakes is using plastic sheeting that is too thin. A vapor barrier needs to be durable enough to withstand the conditions of the crawl space. Ensure the plastic is at least 6-mil thick to provide sufficient protection against tears, punctures, and long-term wear. Thinner materials may degrade quickly, compromising the barrier’s ability to prevent moisture intrusion.
Neglecting to Seal Seams
Failing to seal the seams between sections of the vapor barrier can render it ineffective. Unsealed seams allow moisture to seep through, defeating the barrier’s purpose and leaving your crawl space vulnerable to dampness and mold. Always overlap the edges by at least 12 inches and secure them tightly with waterproof tape to create a continuous, airtight seal.
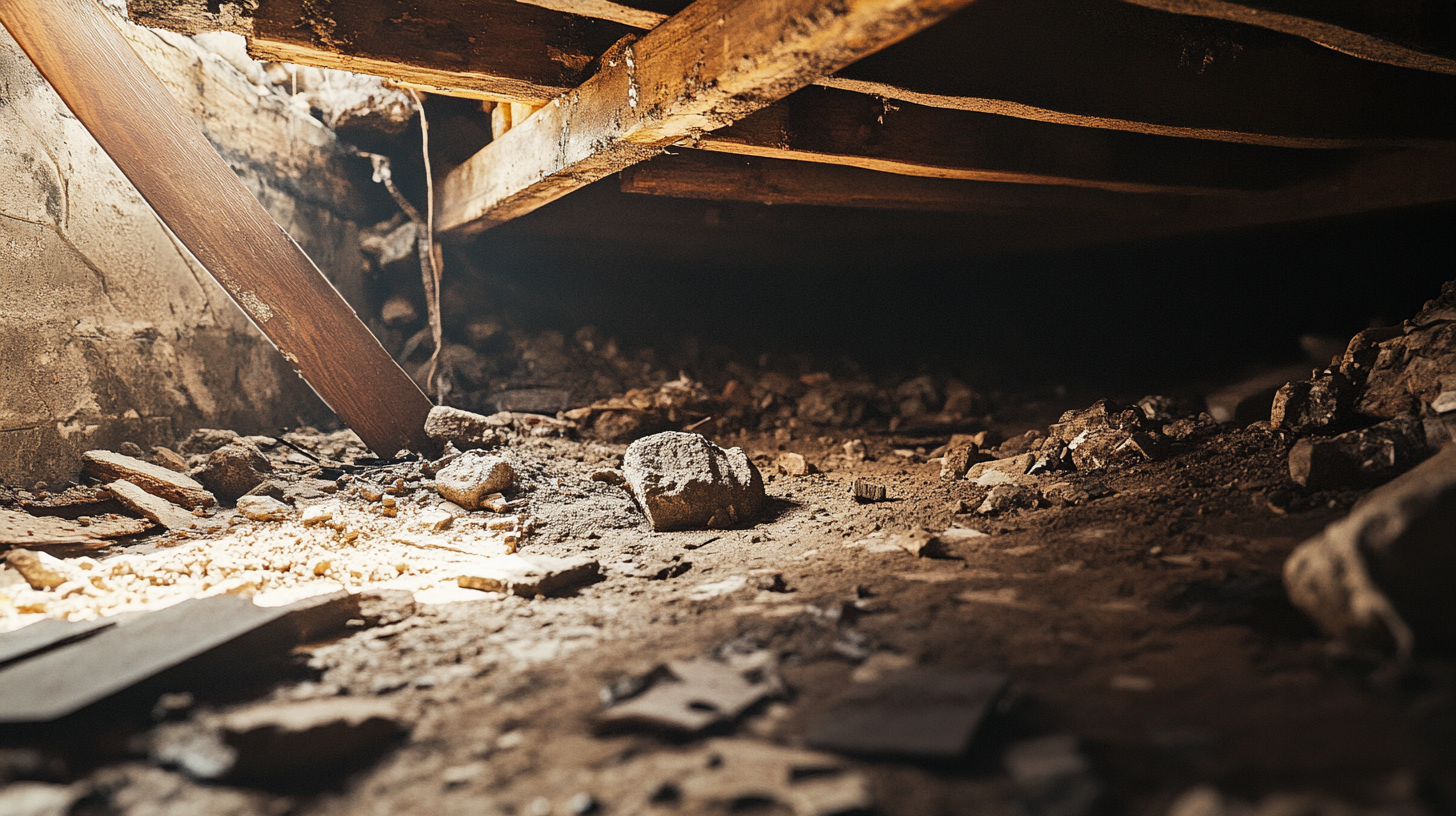
Skipping Pre-Installation Repairs
Another critical mistake is skipping necessary repairs before installing the vapor barrier. Structural damage, leaks, or pest infestations in the crawl space must be addressed beforehand to ensure a stable foundation for the barrier. Ignoring these issues can lead to ongoing moisture problems or cause damage to the barrier itself, reducing its lifespan and effectiveness.
FAQs
Contact Trench Guys Today!
Trench Guys will do everything we can to ensure your experience with us is excellent.
Request A FREE Estimate
Request a Free Estimate Form
Checkout Recent Post
Got a Question? We’re Here to Help.
You can arrange an appointment or make an enquiry by phone or email, orget in touch to us via our contact form.