

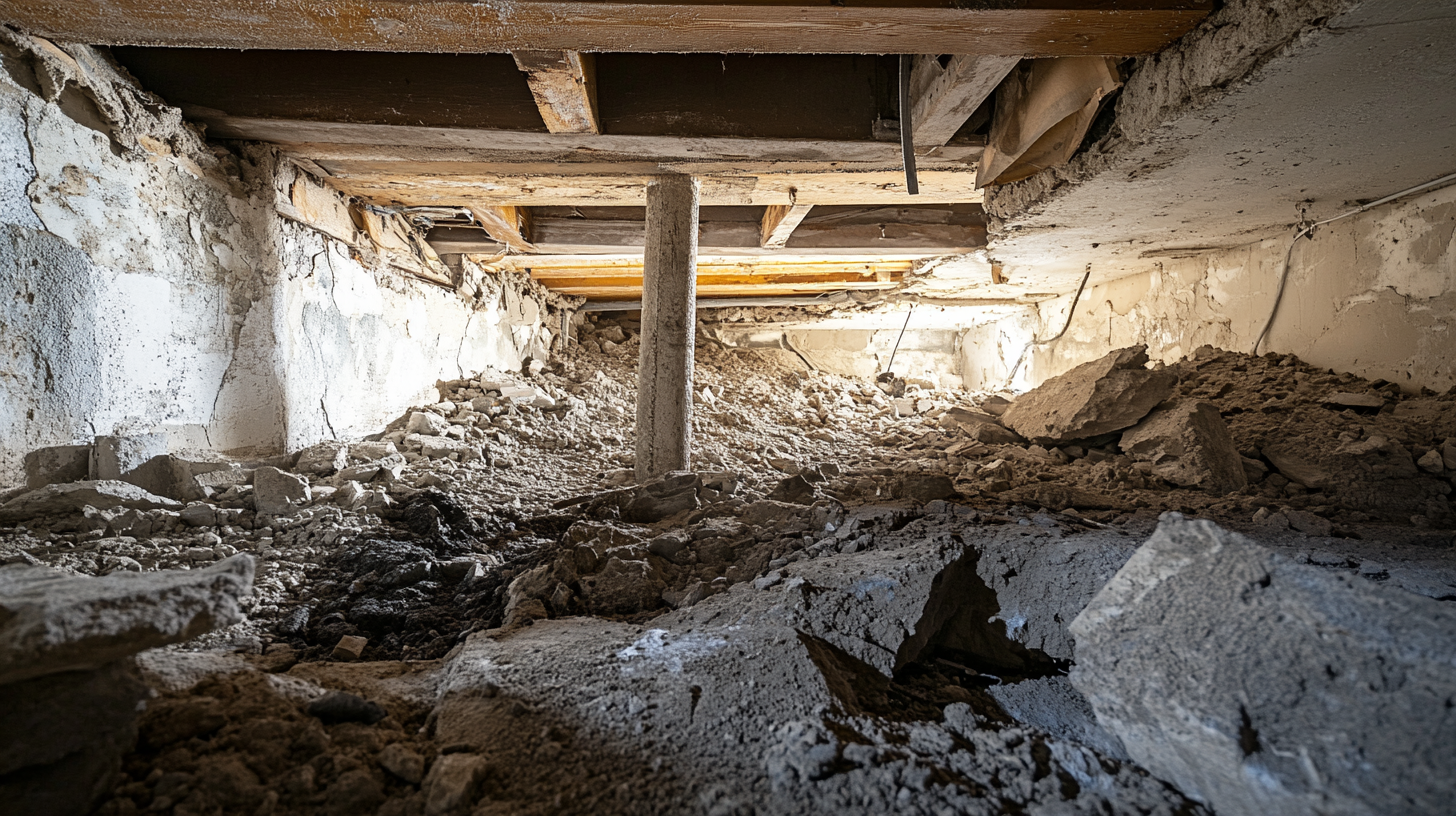
Crawl spaces play a critical role in home construction, providing access to plumbing, electrical systems, and ventilation beneath the structure. However, they are also highly vulnerable to moisture issues, which can lead to significant problems if not properly managed. Excess moisture in crawl spaces often results from ground humidity, poor ventilation, or water intrusion, and can lead to mold growth, wood rot, and damage to the home’s foundation. Effective moisture control in crawl spaces is essential for
maintaining the structural integrity of the home and preventing long-term damage to building materials and indoor air quality. Vapor barriers are a key solution for managing moisture in these areas, helping to protect the home from these common issues.
Why Crawl Spaces Need Vapor Barriers
Common Moisture Problems in Crawl Spaces
Excess Humidity:
Crawl spaces are particularly prone to moisture accumulation due to their close proximity to the ground and limited airflow. Moisture can enter through the soil beneath the home as water vapor rises from the ground, a process known as ground vapor infiltration. Additionally, outdoor air entering through vents or gaps in the structure can bring in humid air, leading to condensation when it encounters cooler surfaces in the crawl space. This excess humidity creates an environment ripe for moisture-related problems that can affect the entire home.
Mold and Mildew Growth:
When moisture is left unchecked in crawl spaces, mold and mildew can quickly develop, posing both health and structural risks. The damp, dark conditions are ideal for mold growth, which can spread to other parts of the home through air circulation. Mold spores can negatively impact indoor air quality, leading to respiratory issues, allergies, and other health problems for occupants. In addition to health risks, mold can weaken building materials, further contributing to long-term structural damage if not addressed.
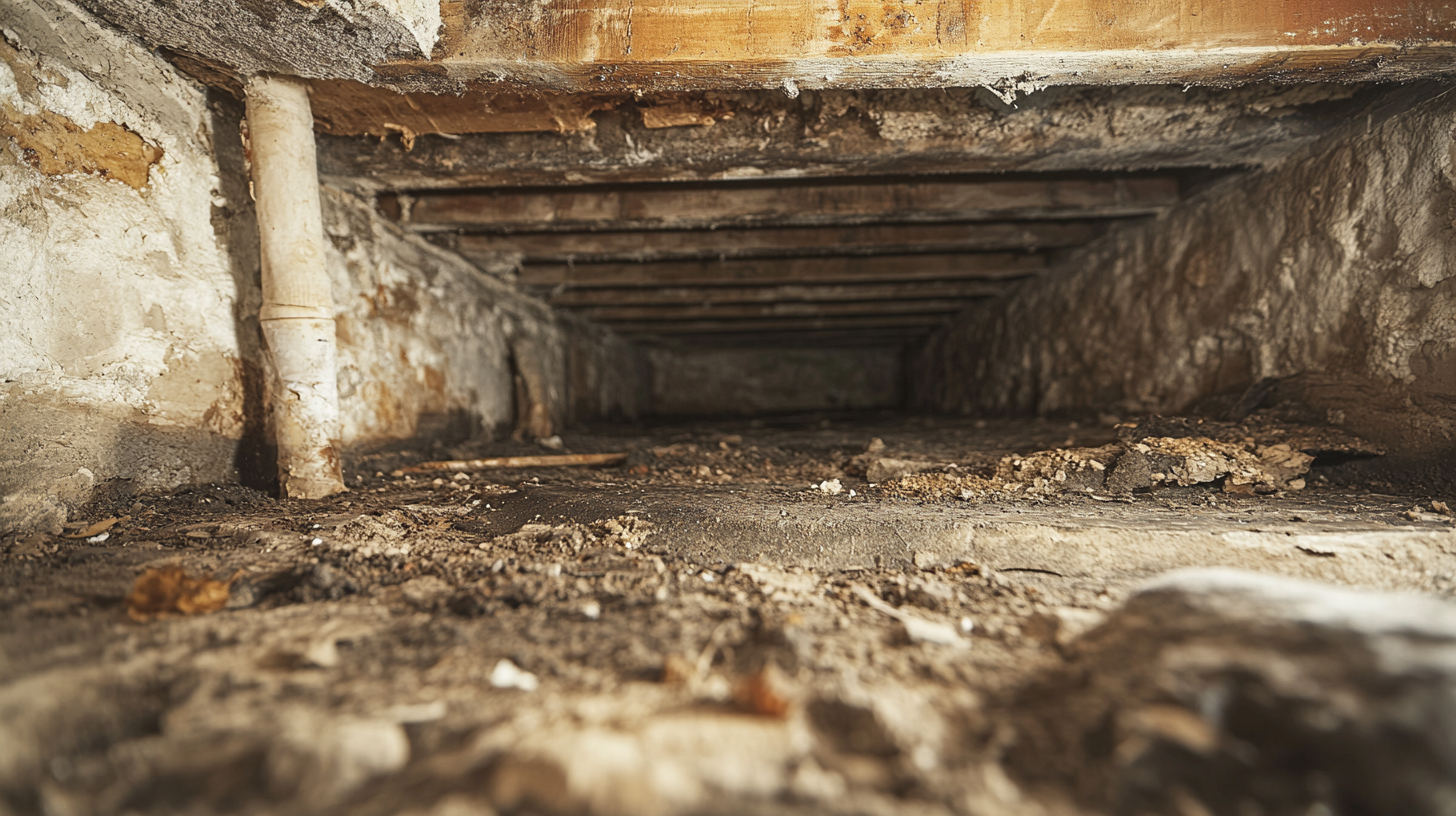
Structural Decay:
Moisture in crawl spaces can lead to significant structural decay over time. When wood framing and supports are exposed to prolonged dampness, they can begin to rot and weaken, compromising the integrity of the home’s foundation. Wood rot caused by excessive moisture can result in costly repairs and, in severe cases, undermine the stability of the entire building. This makes it essential to address moisture problems early, before they lead to major structural issues.
Benefits of Installing Vapor Barriers
Moisture Control:
Installing vapor barriers in crawl spaces is one of the most effective ways to control moisture and protect the home from damage. Vapor barriers create a protective layer that prevents ground moisture from rising into the crawl space and entering the home’s structure. By blocking moisture from the soil and reducing air infiltration, vapor barriers help maintain a dry environment, which safeguards wood framing, insulation, and other materials from the harmful effects of excess humidity.
Improved Air Quality:
In addition to preventing structural damage, vapor barriers also play a key role in improving indoor air quality. By keeping moisture at bay, vapor barriers reduce the likelihood of mold and mildew growth in the crawl space. This helps prevent mold spores from circulating through the home’s HVAC system, leading to a healthier indoor environment for occupants. Better air quality means fewer respiratory problems and improved overall comfort for those living in the home.
Energy Efficiency:
Proper moisture control in crawl spaces can also enhance the energy efficiency of the home. When moisture infiltrates insulation, it reduces its ability to regulate temperature effectively, leading to heat loss in the winter and heat gain in the summer. A well-installed vapor barrier keeps insulation dry and functioning optimally, helping to maintain consistent indoor temperatures. This can reduce the strain on heating and cooling systems, ultimately lowering energy consumption and utility costs. By preventing moisture-related insulation damage, vapor barriers contribute to both energy savings and improved home comfort.
Preparing for Vapor Barrier Installation in Crawl Spaces
Assessing the Crawl Space
Initial Inspection:
Before installing a vapor barrier in a crawl space, it’s crucial to conduct a thorough inspection to identify existing moisture issues, mold growth, and any structural damage. Look for signs of standing water, condensation, or mold on wood framing, insulation, or foundation walls. If mold or water damage is present, these issues should be addressed before the vapor barrier installation to prevent further deterioration. Proper assessment ensures that the vapor barrier installation will effectively protect the space and prevent future moisture problems.
Measuring and Planning:
Accurate measurements of the crawl space are essential for planning the vapor barrier installation. Start by measuring the length, width, and height of the crawl space to determine the total surface area that needs to be covered, including walls and floors. Ensure you account for any irregularities, such as pipes, pillars, or other obstacles, when calculating material requirements. Proper planning helps prevent material shortages or waste, allowing for a smoother and more efficient installation process.
Choosing the Right Vapor Barrier Material
Material Selection:
Selecting the right vapor barrier material is key to the success of moisture control in the crawl space. Common materials include:
- Polyethylene Sheets: The most widely used material, known for its affordability and ease of installation, polyethylene sheets come in various thicknesses and provide reliable moisture resistance.
- Reinforced Polyethylene: For crawl spaces that require extra durability, reinforced polyethylene adds strength with a grid of fibers, making it more resistant to tears and punctures.
- Vapor Barrier Paints: An alternative option for walls and ceilings, vapor barrier paints can create a protective moisture-resistant layer, although they are typically used in conjunction with physical barriers like polyethylene sheets for full coverage.
Thickness Considerations:
When choosing a vapor barrier, the thickness of the material plays an important role in both durability and effectiveness. Thicker materials offer better protection against wear and tear, especially in high-traffic crawl spaces or those with rough surfaces.
Common thicknesses include:
- 6 mil: Suitable for light-duty applications in areas with minimal moisture exposure.
- 10 mil: A mid-range option, providing good durability for most residential crawl spaces.
- 20 mil: The most durable option, ideal for heavy-duty applications or spaces with significant moisture challenges. The thicker material is more resistant to punctures and ensures long-term protection.
Climate Factors:
Local climate conditions should influence the choice of vapor barrier material. In humid or wet climates, where moisture infiltration is a more significant concern, thicker vapor barriers (such as 10 or 20 mil polyethylene) may be necessary to provide adequate protection. In drier climates, a thinner material may suffice, as long as it is properly installed and sealed. Additionally, areas with extreme temperature variations may require reinforced materials to withstand environmental stresses. By selecting the right material based on the climate, you can ensure effective moisture control and enhance the longevity of the vapor barrier.
Best Practices for Installing Vapor Barriers in Crawl Spaces
Clearing and Preparing the Area
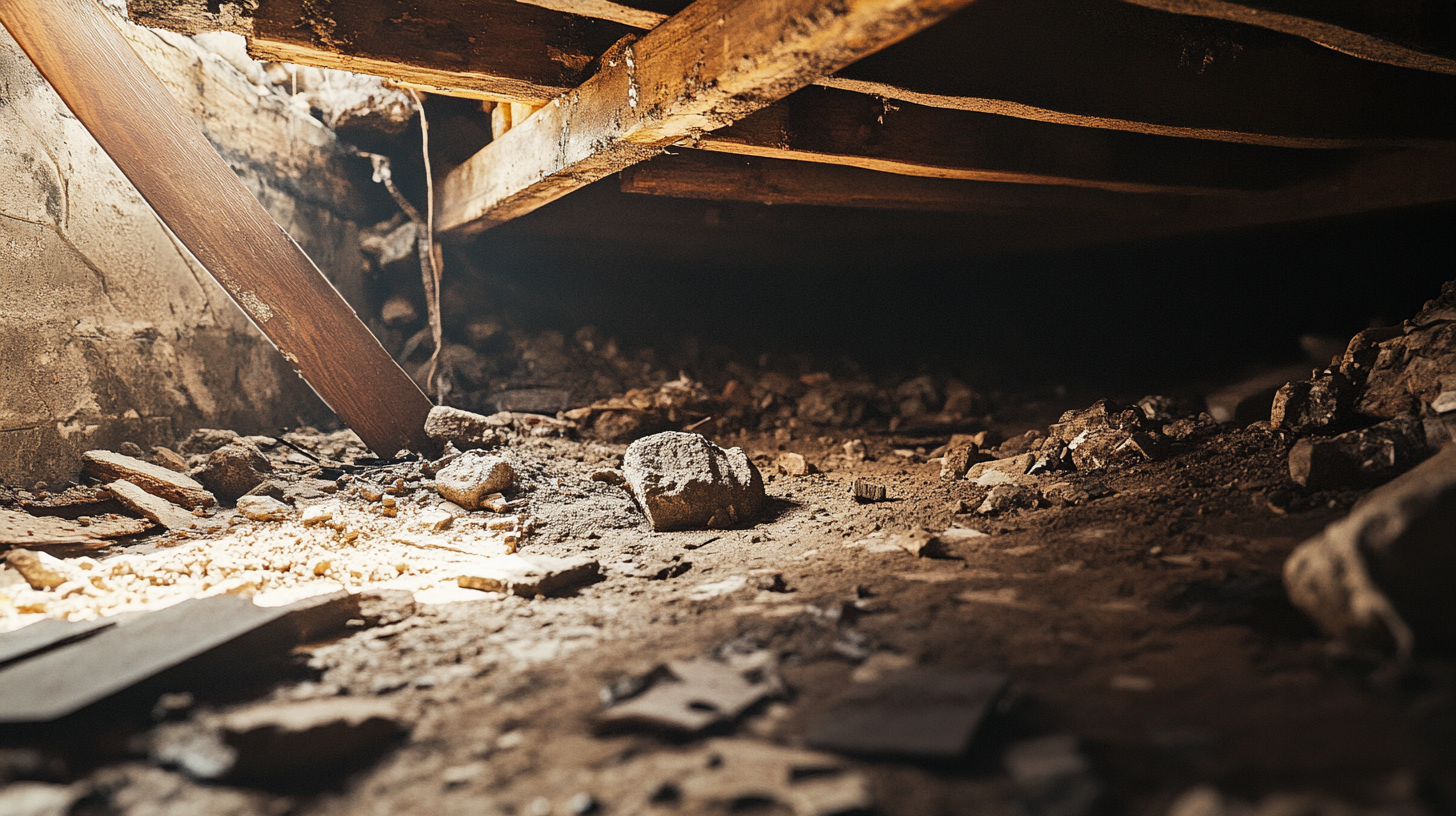
Removing Debris:
Before installing a vapor barrier, it’s essential to thoroughly clear the crawl space of any debris, such as rocks, sharp objects, old insulation, or construction materials. These items can puncture or damage the vapor barrier, compromising its effectiveness in controlling moisture. Removing all debris ensures a clean and safe surface for the installation, protecting the barrier from early wear and tear.
Smoothing the Surface:
To facilitate proper vapor barrier installation, the ground in the crawl space should be as level as possible. Uneven surfaces create gaps and make it difficult to achieve a tight seal, reducing the effectiveness of the moisture barrier. While minor slopes or imperfections can be worked around, significant dips or rises should be leveled out to allow the barrier to lay flat. A smooth surface ensures better coverage and longer-lasting performance.
Laying the Vapor Barrier
Starting at the Walls:
Begin the installation by securing the vapor barrier to the foundation walls. This ensures that the barrier provides a continuous seal from the ground up, preventing moisture from seeping into the crawl space from the surrounding soil. Using adhesive or fasteners, attach the barrier to the walls and extend it downward, ensuring the barrier covers the entire crawl space floor. Starting at the walls helps create a robust moisture barrier that protects the entire space.
Overlap and Seal Seams:
When laying multiple sheets of vapor barrier, overlap each seam by at least 12 inches to prevent gaps where moisture could infiltrate. To further ensure a tight seal, use high-quality tape or adhesive specifically designed for vapor barriers. Sealing the seams properly is crucial for maintaining the barrier’s effectiveness and ensuring it provides complete moisture protection throughout the crawl space.
Securing the Barrier:
After the barrier is laid out and the seams are sealed, secure the vapor barrier to the foundation walls and around any piers or other structures. Use fasteners or adhesives that are appropriate for the material and surface. Securing the barrier at these points ensures it remains in place and provides a continuous seal, even in areas with frequent access or movement.
Covering Piers and Other Structures
Wrapping Piers:
It’s important to wrap any support piers in the crawl space with the vapor barrier to create a complete moisture seal. Moisture can easily seep through gaps between the piers and the floor barrier, undermining the overall effectiveness of the installation. To wrap piers, cut the barrier material to fit around each structure and use tape or adhesive to secure it tightly, ensuring there are no gaps or unprotected areas.
Addressing Obstructions:
During installation, pipes, ducts, and other obstacles in the crawl space may interfere with the barrier’s placement. To ensure these obstructions don’t compromise the moisture protection, cut the vapor barrier to fit snugly around them, and use sealant or tape to secure the material tightly. This step ensures that the barrier covers the entire crawl space floor and walls without leaving any unprotected areas where moisture could penetrate.
Sealing and Finishing Touches
Final Sealing:
Once the vapor barrier is installed, perform a final sealing of all edges and seams to ensure that no air or moisture can escape. Pay special attention to areas around piers, pipes, and any other openings to prevent leaks. Use high-quality tape or adhesive to reinforce all seals, creating a continuous moisture barrier that protects the entire crawl space.
Inspecting the Installation:
After installation, thoroughly inspect the vapor barrier for any gaps, tears, or loose sections. Check that all seams are properly overlapped and sealed, and ensure the barrier is securely fastened to the foundation walls and piers. Address any issues immediately to ensure the barrier provides full protection.
Post-Installation Maintenance:
Regular maintenance is key to ensuring the vapor barrier remains effective over time. Periodically inspect the crawl space for signs of damage or wear, such as punctures or loose sections. Make any necessary repairs promptly to maintain the integrity of the moisture barrier. Keeping the vapor barrier in good condition helps prevent long-term moisture issues and ensures the crawl space stays dry and protected.
Common Mistakes to Avoid When Installing Vapor Barriers in Crawl Spaces
Using Incorrect Materials
Wrong Thickness:
One of the most common mistakes is using a vapor barrier that is too thin for the application. Thinner materials, such as 6 mil polyethylene, may be cost-effective but often lack the durability needed in high-moisture or high-traffic crawl spaces. Thin barriers are more prone to punctures, tears, and degradation over time, which can compromise moisture control and lead to costly repairs. For most residential crawl spaces, a minimum of 10 mil is recommended, with 20 mil being ideal for long-term durability and resistance to physical damage.
Poor-Quality Tape:
Another frequent mistake is using non-specified or poor-quality tape to seal vapor barrier seams. Standard household tape lacks the adhesive strength and moisture resistance required for sealing vapor barriers. As a result, seams can fail, leading to gaps where moisture can seep in, negating the effectiveness of the entire installation. It’s essential to use tape specifically designed for vapor barriers, as it ensures a strong, long-lasting seal that prevents moisture infiltration.
Incomplete Coverage
Leaving Gaps:
Incomplete coverage is a critical error when installing a vapor barrier. Even small gaps can lead to significant moisture problems over time, as water vapor can enter through these openings and build up inside the crawl space. Moisture that infiltrates through gaps can cause mold growth, wood rot, and insulation damage, undermining the entire purpose of the vapor barrier. To avoid this, ensure the barrier fully covers the crawl space floor and is properly sealed at all seams, edges, and around obstructions.
Failing to Seal Piers and Walls:
A common oversight is neglecting to seal around support piers and foundation walls. These structural elements are major entry points for moisture if left unprotected. Failing to wrap piers and secure the vapor barrier to the walls creates weak spots where water vapor can bypass the barrier. To create a fully effective moisture barrier, ensure that piers are wrapped tightly and that the vapor barrier is securely fastened to the foundation walls, leaving no gaps or exposed areas.
Ignoring Ventilation Considerations
Proper Ventilation:
While vapor barriers provide excellent moisture control, proper ventilation may still be necessary in some crawl spaces to prevent issues like excess humidity buildup. Depending on the local climate and the design of the home, additional ventilation may be required to allow moisture to escape and promote air circulation. Homes in humid climates, for example, may benefit from a combination of vapor barriers and ventilation systems to maintain optimal moisture levels and air quality.
Unintended Consequences:
Improper ventilation or sealing can lead to unintended consequences, such as trapped moisture within the crawl space. If the vapor barrier is not properly installed or if ventilation is overlooked, moisture can accumulate, leading to mold growth and structural damage. It’s important to strike a balance between sealing the crawl space to control moisture and providing adequate ventilation to ensure that any excess moisture has a way to escape. This balance will help maintain a healthy and moisture-free environment in the crawl space.
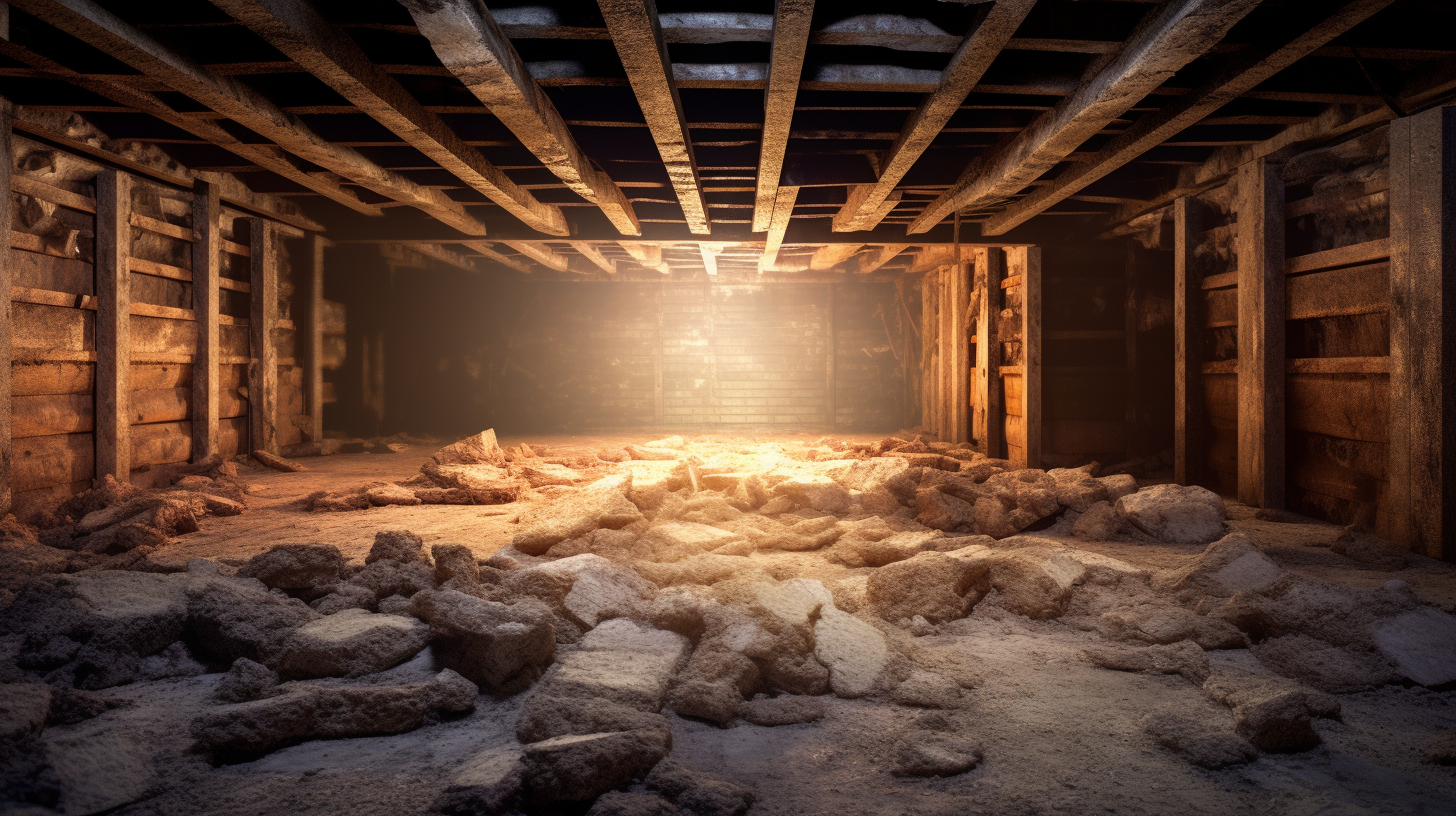
Case Studies: Successful Crawl Space Vapor Barrier Installations
Residential Crawl Space in a Humid Climate
Scenario:
A homeowner in a region with a consistently humid climate was facing significant moisture issues in their crawl space. The high humidity in the air, combined with ground moisture, had caused mold growth and musty odors to permeate the home, affecting indoor air quality. Additionally, the excess moisture was starting to compromise the wood framing and insulation in the crawl space, raising concerns about long-term structural integrity.
Outcome:
After assessing the moisture levels and needs of the crawl space, a thick polyethylene vapor barrier (20 mil) was installed to cover both the ground and the foundation walls. The vapor barrier effectively blocked ground moisture from seeping into the crawl space and kept humid air from condensing on surfaces. The result was a significant improvement in air quality, as mold and mildew were eliminated and moisture levels were brought under control. With the crawl space now dry, the insulation performed better, leading to increased energy efficiency and lower cooling costs. The installation also ensured the long-term protection of the home’s structural components, preventing further deterioration from moisture damage.
Older Home with a High Water Table
Scenario:
An older home located in an area with a naturally high water table was experiencing persistent moisture problems in the crawl space. The high water table caused water to frequently collect in the crawl space, leading to standing water, wood rot, and concerns about foundation stability. Previous attempts at addressing the moisture had been ineffective, and the homeowner sought a long-term solution to protect the home from ongoing water-related damage.
Outcome:
To address the unique challenges of the high water table, a reinforced polyethylene vapor barrier (20 mil) was installed, along with a drainage system to manage any excess water that accumulated under the home. The vapor barrier was carefully sealed around the foundation walls and support piers, creating a complete moisture barrier that prevented groundwater from rising into the crawl space. The addition of the drainage system ensured that any water trapped beneath the barrier could be properly diverted away from the foundation. After installation, the home experienced significantly improved moisture control, preventing future water-related damage to the foundation and structural components. The solution provided long-term protection against the effects of the high water table, giving the homeowner peace of mind and preventing costly repairs.
FAQs
Contact Trench Guys Today!
Trench Guys will do everything we can to ensure your experience with us is excellent.
Request A FREE Estimate
Request a Free Estimate Form
Checkout Recent Post
Got a Question? We’re Here to Help.
You can arrange an appointment or make an enquiry by phone or email, orget in touch to us via our contact form.
Looking for a reliable and professional company to take care of your crawl space, basement and gutter needs? Look no further than Trench Guys! We have years of experience in the industry and can provide you with top-quality services at a competitive price. Contact us today to get started!
CONTACT INFORMATION
Phone: 478-236-6403
Email: Wedigmiddlega@gmail.com
Address: Macon, GA
Business Hours:
Mon-Fri: 6:00 AM - 5:00 PM
Sat-Sun: Closed
ADDITIONAL INFORMATION
Us Across The Web
Geo
Neighborhoods
Niche
Privacy Policy | Terms & Conditions | Sitemap