
Welcome to our essential guide on a critical, yet often overlooked aspect of home maintenance – addressing water damage in crawl spaces. Tucked away beneath our homes, crawl spaces are out of sight, but when it comes to water damage, they should never be out of mind. In this blog, we delve into the urgency and importance of promptly tackling water damage in your crawl space, a crucial step in safeguarding the overall health and longevity of your home.
Water damage in crawl spaces can be a silent adversary, leading to a multitude of problems that can compromise the structural integrity of your home. The potential risks and consequences of such damage are far-reaching, impacting not just the structural stability of your home, but also the indoor air quality and, ultimately, the health of its inhabitants. From fostering mold growth and wood rot to weakening foundational supports, the effects of water damage in crawl spaces can be severe.
Understanding the implications of water damage in these hidden spaces is crucial. This blog aims to shed light on the common causes of water intrusion in crawl spaces, the risks associated with prolonged exposure to moisture, and the potential long-term consequences if left unaddressed. Our goal is to equip you with the knowledge and urgency needed to identify and tackle these issues early, ensuring the safety, stability, and health of your living environment.
Join us as we navigate the often-underestimated world of crawl space water damage, providing you with essential insights and practical tips to protect your home from the ground up.
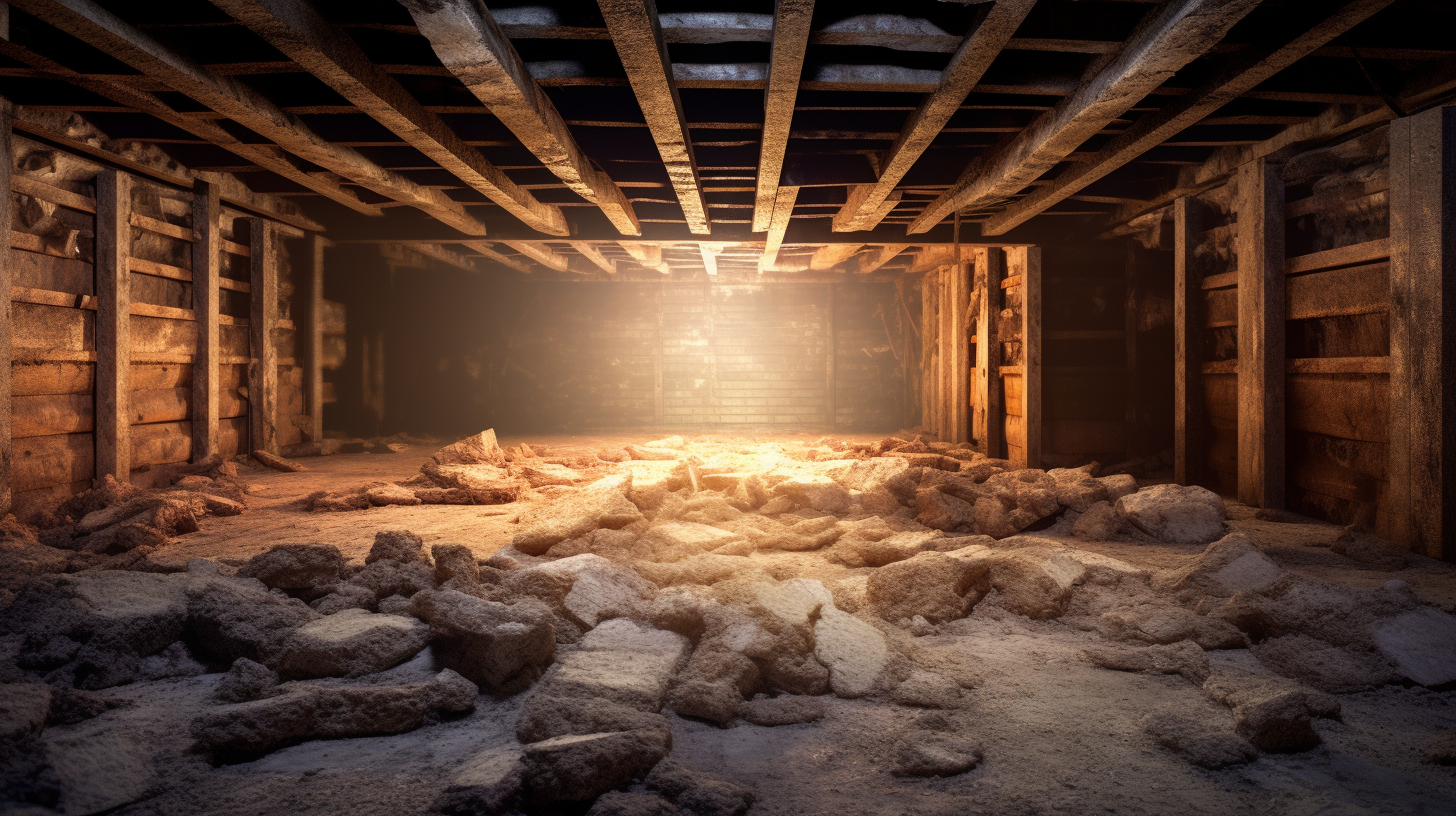
Identifying Water Damage in Your Crawl Space
Water damage in a crawl space can be a silent yet destructive force, posing significant risks to both the structure of your home and the health of its occupants. Early detection is key to mitigating these risks. This section of our blog focuses on how to identify immediate signs of water damage in your crawl space and understand the potential risks associated with it.
Immediate Signs of Water Damage
Recognizing the early signs of water damage in your crawl space is crucial for taking timely action. Here are some common indicators:
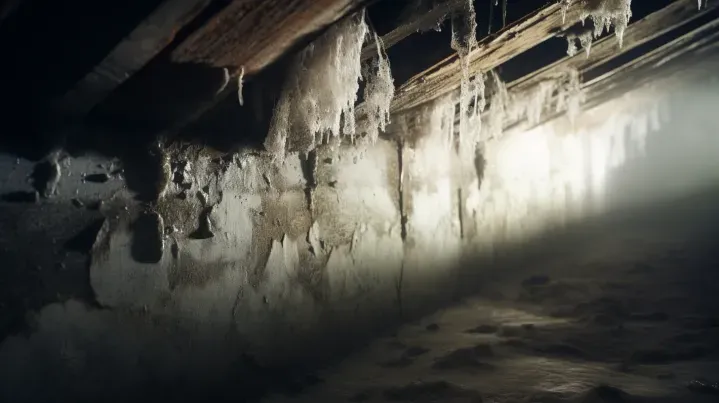
- Pooling Water: The most obvious sign of water damage is the presence of standing water or wet spots on the ground.
- Dampness: Feel the walls and floor for dampness. Persistent dampness can indicate a chronic moisture issue.
- Musty Odors: A strong, musty smell typically indicates mold or mildew growth, often resulting from excessive moisture.
- Staining and Discoloration: Water stains or discoloration on walls, floors, or support beams can be signs of ongoing or past water intrusion.
- Efflorescence: White, powdery deposits on concrete surfaces are signs of water evaporation and can indicate a history of moisture problems.
Recognizing these signs can help homeowners take timely action to address water damage in their crawl spaces.
Understanding the Risks
Water damage in crawl spaces poses several potential risks, both to the structure of your home and the health of its inhabitants:
- Structural Damage: Prolonged exposure to water can weaken the structural components of your home, such as joists and beams, leading to sagging floors and compromised structural integrity.
- Mold and Mildew Growth: Excess moisture creates an ideal environment for mold and mildew, which can lead to health issues and affect indoor air quality.
- Pest Infestations: Damp environments attract pests such as termites and rodents, which can cause further damage to your home.
- Increased Energy Costs: High humidity levels in your crawl space can affect the overall climate of your home, making heating and cooling systems work harder and increasing energy costs.
- Foundation Issues: Chronic moisture can lead to the deterioration of foundation materials, posing a serious threat to the stability of your home.
Understanding these risks is crucial for homeowners to appreciate the importance of promptly addressing water damage in crawl spaces. Regular inspections and immediate action upon detecting any signs of water damage are key to maintaining the health and safety of your home.
Initial Response to Crawl Space Water Damage
When you discover water damage in your crawl space, acting swiftly and safely is crucial to mitigate the damage and protect your home's integrity. This section of our blog outlines the essential first steps in responding to crawl space water damage, emphasizing the importance of safety precautions and methods for stopping the source of water intrusion.
Safety First
Before addressing water damage in your crawl space, it's paramount to prioritize safety. Here are key safety precautions to consider:
- Electrical Hazards: Ensure that power to the area is turned off before entering, as water and electricity pose a serious risk.
- Protective Gear: Wear appropriate protective clothing, including waterproof boots, gloves, and a mask or respirator to protect against potential contaminants and irritants in the water.
- Structural Stability: Be cautious of weakened floors or walls that may have been compromised by the water damage. Avoid entering areas that seem unstable or unsafe.
- Air Quality: If there is a presence of mold or mildew, ensure good ventilation or consider wearing a respirator to avoid inhaling spores.
- Wildlife and Pests: Be aware of the potential for snakes, rodents, or insects that may have entered the crawl space due to flooding.
Taking these safety measures helps prevent accidents and health risks while you assess and address the water damage.
Stopping the Source
Identifying and stopping the source of water intrusion is critical to prevent further damage. Here are tips to help you find and address the cause:
- Inspect for Leaks: Check for any signs of leaks from plumbing pipes, HVAC systems, or appliances that run through or near the crawl space.
- Examine External Factors: Look at external factors such as gutter downspouts, landscaping, and the slope of the ground near your foundation. Ensure that water is being directed away from your home.
- Check for Groundwater Infiltration: In areas with high water tables, groundwater may seep into the crawl space. Consider installing a sump pump to remove this water.
- Seal Cracks and Openings: Seal any cracks or openings in the foundation walls and around pipes or cables that enter the crawl space.
- Temporary Fixes: If the source of the water is not immediately fixable, use temporary measures like sandbags or water-absorbent materials to control the spread of water.
Addressing the source of water intrusion quickly is essential to prevent ongoing damage and to create a dry environment for further repair and restoration work.
Water Removal and Drying Process
Dealing with water damage in your crawl space involves a critical two-step process: removing the water and then thoroughly drying the area. This section of our blog will guide you through effective methods for water extraction and strategies for drying and dehumidifying your crawl space, essential steps to mitigate damage and prevent future issues.
Effective Water Extraction
The first step in addressing water damage in your crawl space is to remove any standing water. Here are methods to efficiently extract water:
- Using Sump Pumps: For significant amounts of water, especially in cases of flooding, a sump pump is the most effective tool. It can quickly pump water out of your crawl space.
- Wet-Dry Vacuums: For smaller amounts of water or in areas a sump pump can't reach, a wet-dry vacuum can be used to suck up moisture. Ensure that the vacuum is suitable for water removal.
- Manual Methods: In cases of minimal water, manual methods like mopping or using towels can be employed, though this is more labor-intensive.
- Drainage Systems: If water accumulation is a recurring issue, consider installing a permanent drainage system in your crawl space to redirect water away effectively.
- Regular Checks: After the initial water removal, revisit the area to check for any residual water, especially in hidden areas or corners.
Drying and Dehumidifying
Once the water is extracted, thoroughly drying the crawl space is crucial to prevent mold growth and further moisture damage:
- Air Circulation: Use fans to circulate air in the crawl space. This helps speed up the drying process. Ensure that the air is vented to the outside to prevent spreading moisture to other parts of the house.
- Dehumidifiers: Deploy dehumidifiers to remove moisture from the air. This is particularly important in humid climates or during wet seasons.
- Absorbent Materials: In smaller or confined spaces, use absorbent materials like desiccants to draw out moisture.
- Monitoring Humidity Levels: Use a hygrometer to monitor the humidity levels in your crawl space. Aim to maintain a level that discourages mold growth (typically below 60%).
- Inspect for Mold: As you dry out the crawl space, inspect for any signs of mold growth and address it immediately to prevent spread.
- Ventilation: Ensure that your crawl space has adequate ventilation to maintain airflow, which is vital for keeping the area dry over the long term.
By following these steps for water extraction, drying, and dehumidifying, you can effectively mitigate the damage caused by water in your crawl space and protect the structural integrity and health of your home.
Assessing and Documenting the Damage
Dealing with water damage in your crawl space involves not only addressing the immediate issues but also thoroughly assessing and documenting the extent of the damage. This is crucial for both effective repair and for potential insurance claims. This section of our blog guides you through evaluating the severity of water damage and offers tips on how to document it effectively for insurance purposes.
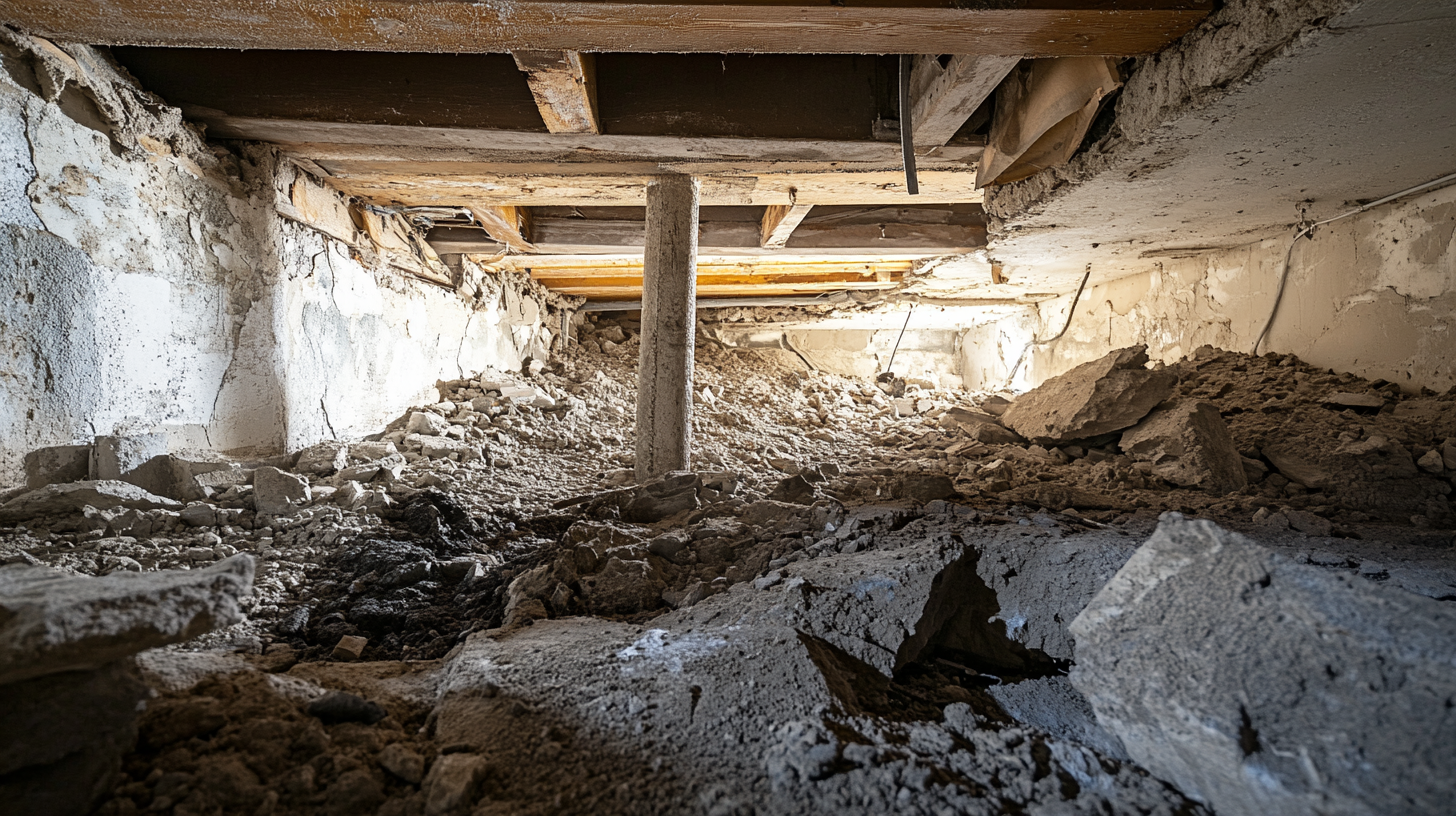
Evaluating the Extent of Damage
To properly address and repair water damage in your crawl space, it’s important to first assess
how extensive the damage is. Here are steps to evaluate the severity:
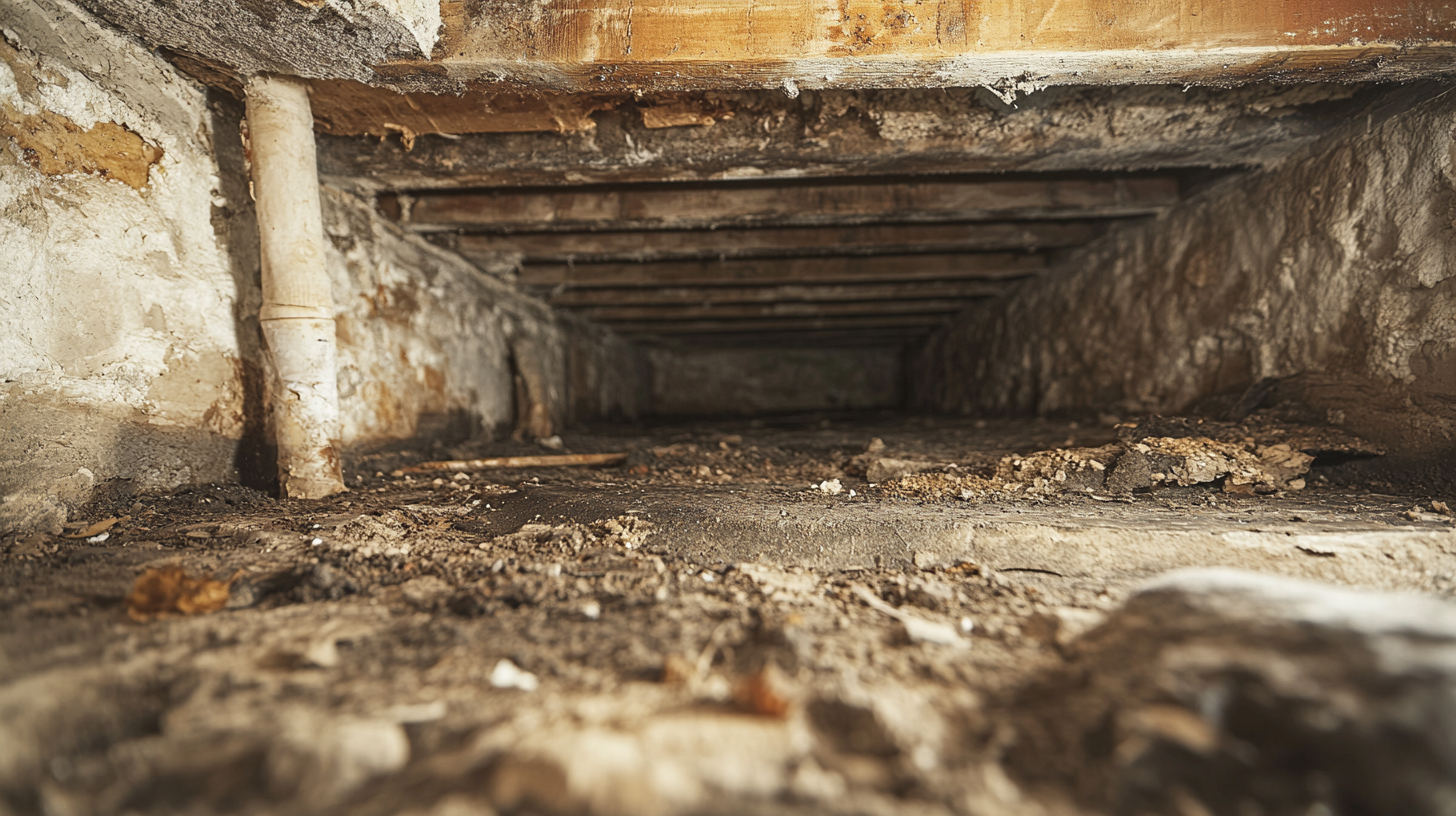
- Visual Inspection: Start with a thorough visual inspection. Look for signs of water penetration, such as staining, mold growth, and rot on wood surfaces.
- Check Structural Components: Examine the condition of structural elements like joists and beams. Probe with a tool to test for softness or weakness, which indicates rot.
- Identify Mold and Mildew: Look for any mold or mildew growth, as this can indicate prolonged moisture issues and can also pose health risks.
- Assess Electrical and Plumbing Systems: If your crawl space houses electrical wiring or plumbing, check these systems for any signs of water damage.
- Measure Moisture Levels: Use a moisture meter to determine the moisture content in the wood and other materials. This can help gauge the extent of the water damage.
Documentation for Insurance Claims
If you plan to file an insurance claim for the water damage, proper documentation is essential. Here are tips for documenting the damage effectively:
- Take Photos and Videos: Capture clear images and videos of all the damage, including wide shots to show the overall area and close-ups for specific damage.
- Record Dates and Times: Note the date and time of each photo or video. This helps establish a timeline of the damage for your insurance claim.
- Keep a Written Record: Maintain a written log of all the damage you observe, including descriptions and any steps you’ve taken to mitigate the damage.
- Save Repair Receipts: Keep all receipts related to repairs, as they can be important for your insurance claim.
- Report Promptly: Notify your insurance company as soon as possible. Delay in reporting can sometimes affect the claim process.
- Consult with Professionals: If necessary, have a professional assess the damage. Their reports and estimates can provide authoritative documentation for your claim.
By thoroughly assessing and meticulously documenting the water damage in your crawl space, you can ensure that you have a strong foundation for any necessary insurance claims and a clear plan for repairs. This approach not only aids in the recovery process but also helps in safeguarding against future issues.
Temporary Fixes and Repairs
When dealing with water damage in your crawl space, immediate action is crucial to mitigate further damage and maintain the structural integrity of your home. While long-term solutions are necessary, there are temporary fixes and repairs that can be implemented quickly to prevent worsening of the situation. This section of our blog discusses immediate repair solutions and steps to prevent mold and mildew growth in the aftermath of water damage.
Immediate Repair Solutions
In the face of water damage, some quick fixes can help protect your home until permanent repairs can be made. Here are some immediate solutions:
- Water Extraction: Use a wet-dry vacuum or a pump to remove standing water as quickly as possible.
- Ventilation: Increase airflow in the crawl space using fans. This helps in drying out the area and prevents moisture buildup.
- Dehumidification: Set up dehumidifiers to reduce humidity levels and speed up the drying process.
- Patch and Seal: Temporarily patch any visible cracks or holes in the walls or floor of the crawl space to prevent further water ingress.
- Support Damaged Areas: If you notice sagging or weakened floor joists, temporarily brace these areas with lumber or specialized jacks to prevent further structural damage.
Preventing Mold and Mildew Growth
Mold and mildew can start growing within 24-48 hours of water exposure, so taking immediate steps to prevent their growth is essential:
- Remove Wet Materials: Take out any wet insulation, fabrics, or other materials that can harbor mold.
- Clean and Disinfect: Clean the surfaces with a mold-killing solution or a mixture of bleach and water (following safety precautions) to kill any existing spores.
- Keep the Area Dry: Continuously run dehumidifiers and fans to keep the area dry. Monitor humidity levels to ensure they stay low.
- Inspect Regularly: In the days following the water damage, regularly inspect the crawl space for signs of mold or mildew growth.
- Consider Mold-Resistant Products: If replacing any materials, consider using mold-resistant products to offer better protection against future mold problems.
By implementing these temporary fixes and taking steps to prevent mold and mildew, you can protect your home from further damage while you plan for more permanent repairs.
FAQs
Contact Trench Guys Today!
Trench Guys will do everything we can to ensure your experience with us is excellent.
Request A FREE Estimate
Request a Free Estimate Form
Checkout Recent Post
Got a Question? We’re Here to Help.
You can arrange an appointment or make an enquiry by phone or email, orget in touch to us via our contact form.