

Welcome to our essential guide on the critical role of moisture control in maintaining the health of your crawl space, and by extension, the overall integrity of your home. Often hidden and easily overlooked, the crawl space is a vital component of your home's structure, playing a significant role in its overall well-being. In this blog, we will explore why managing moisture in this key area is not just important, but essential for the longevity and safety of your living space.
Moisture in crawl spaces can be a silent adversary, leading to a multitude of problems that can compromise the structural integrity of your home. From facilitating mold growth and wood rot to attracting pests and compromising air quality, the impact of uncontrolled moisture is both far-reaching and significant. Understanding how moisture can affect the health of your crawl space is crucial in preventing these issues.
We will provide a brief explanation of the various ways in which moisture can infiltrate and affect your crawl space, detailing the potential risks and long-term consequences for your home. This blog aims to equip you with the knowledge to identify early signs of moisture problems and take proactive measures to ensure the health and stability of your crawl space, and ultimately, your entire home.
Join us as we delve into the world of moisture control in crawl spaces, providing you with practical tips and insights to safeguard your home from the ground up.
Recognizing Moisture Problems in Crawl Spaces
Moisture issues in crawl spaces are a common yet serious concern for homeowners. Left unchecked, they can lead to significant problems affecting the entire home. This section of our blog focuses on how to recognize the signs of moisture issues in crawl spaces and the potential consequences if these problems are left untreated.
Common Indicators of Moisture Issues
Identifying moisture problems early can prevent a host of secondary issues. Here are some common indicators that suggest the presence of moisture in your crawl space:
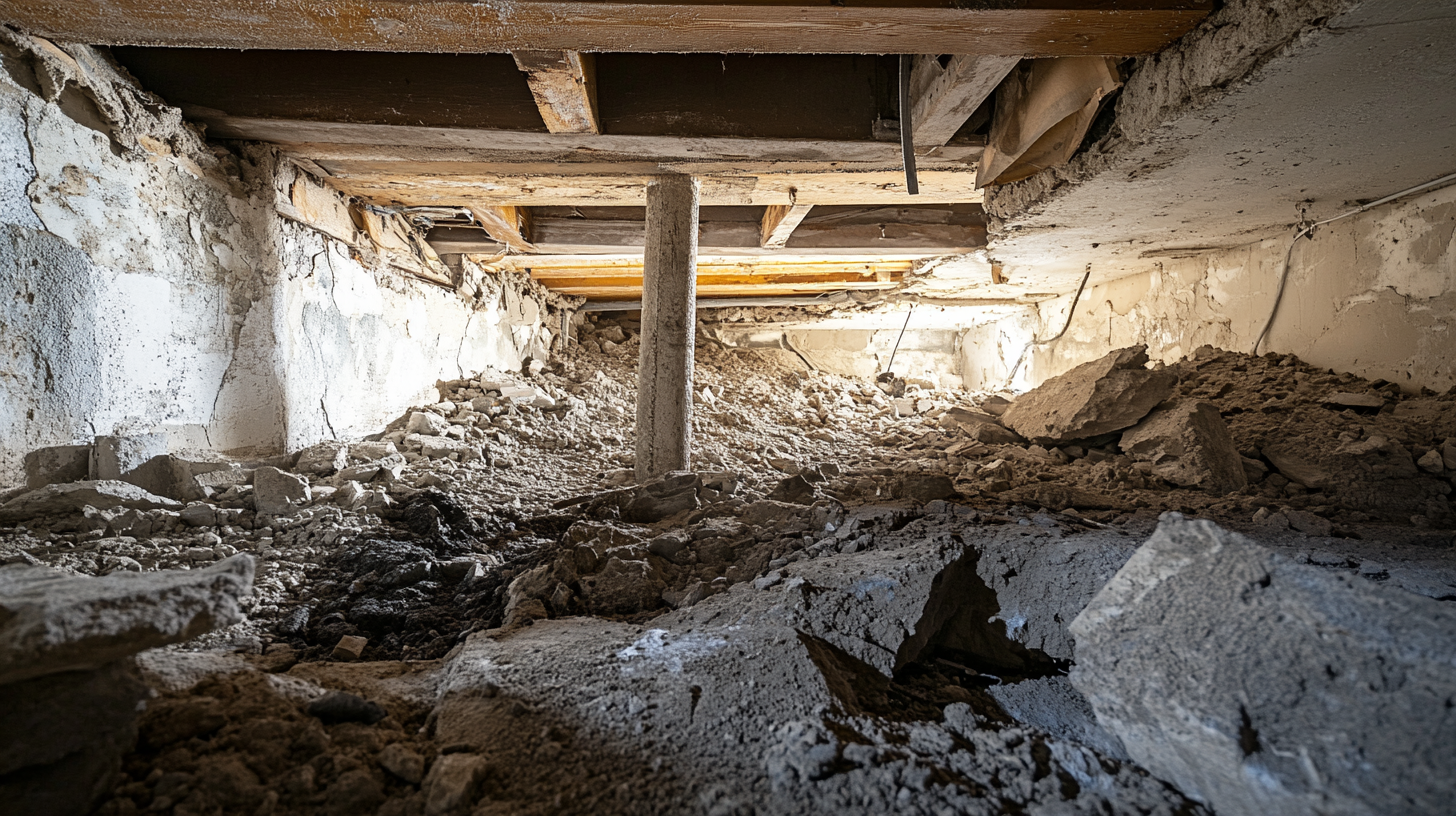
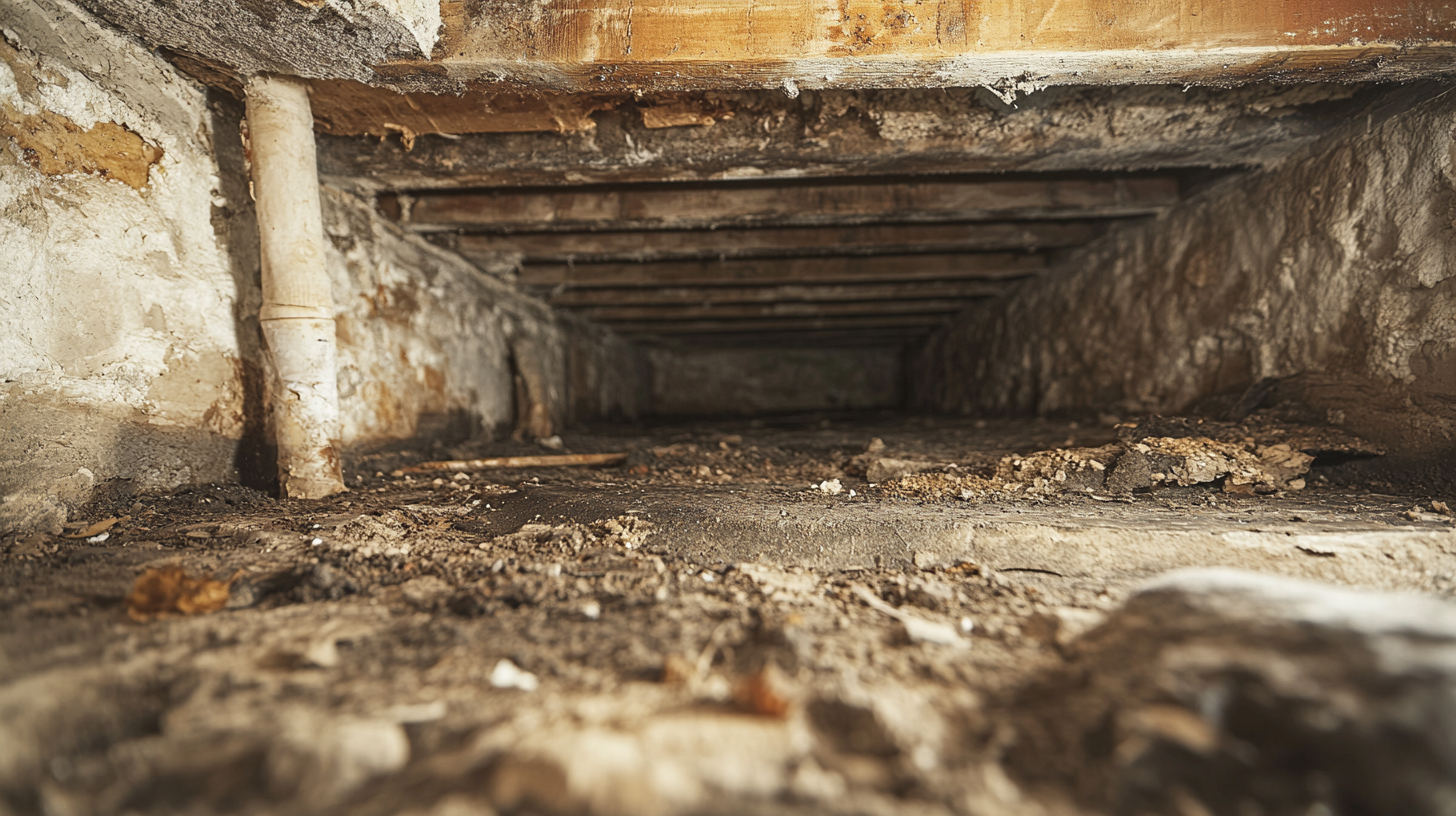
- Water Pooling: Visible standing water or wet spots on the ground are clear signs of moisture problems, often resulting from leaks or poor drainage.
- Damp Walls: Moisture seeping through foundation walls can make them feel damp to the touch, a sign of potential water intrusion.
- Musty Odors: A persistent musty or moldy smell is often indicative of excessive moisture and the presence of mold or mildew.
- Efflorescence: White, powdery deposits on walls or floors are signs of water evaporation and can indicate a chronic moisture issue.
- Rust on Metal Fixtures: Excessive moisture can lead to rusting of metal components like support beams, fasteners, and HVAC systems.
Recognizing these signs can help homeowners take timely action to address moisture issues in their crawl spaces.
Potential Consequences
Untreated moisture problems in crawl spaces can lead to several detrimental consequences for your home:
- Mold and Mildew Growth: Excess moisture creates an ideal environment for mold and mildew, which can compromise indoor air quality and pose health risks.
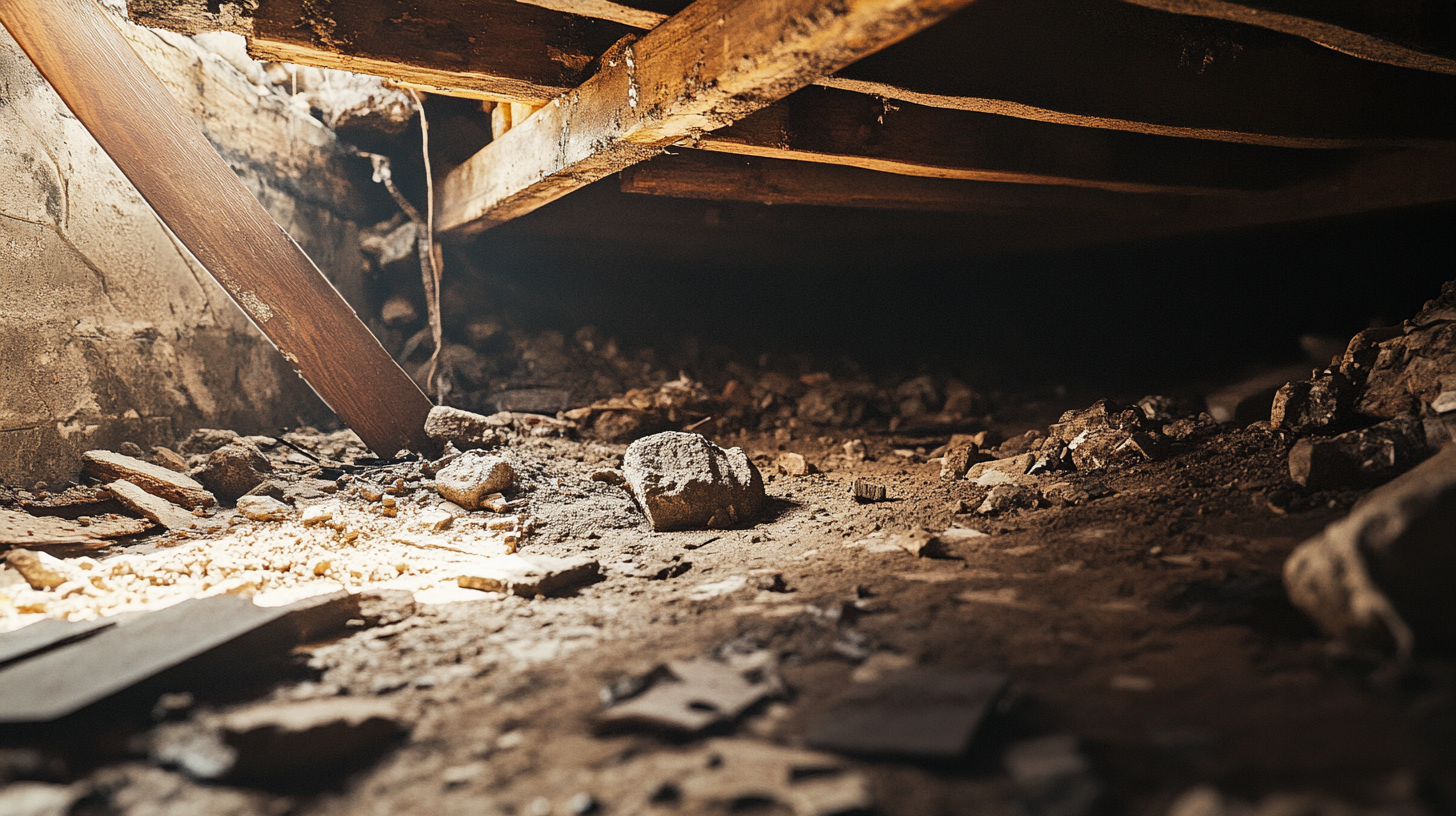
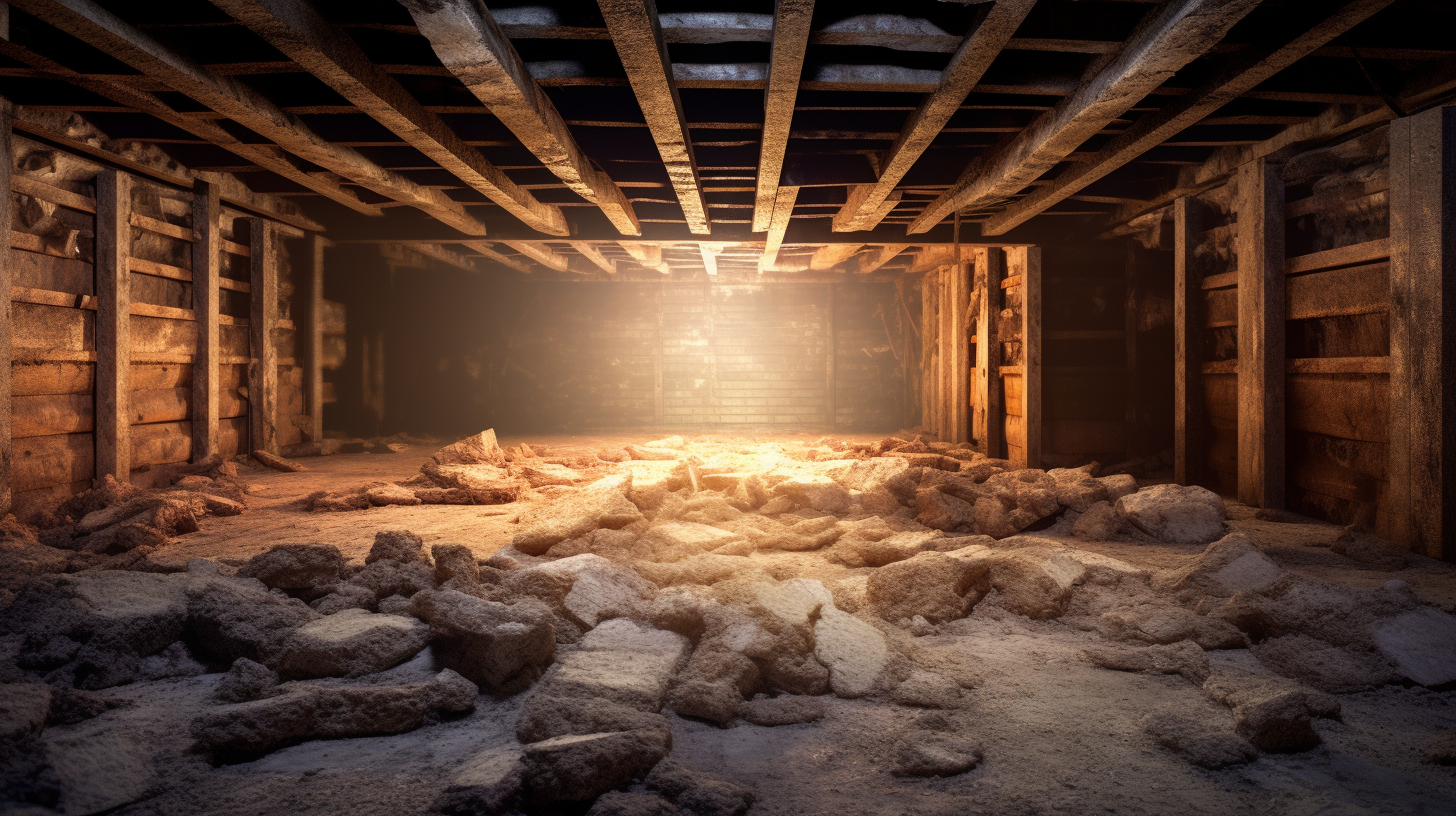
- Wood Rot: Moisture can cause wooden structures like joists and beams to rot, weakening the structural integrity of your home.
- Pest Infestations: Damp environments attract pests such as termites and rodents, which can cause further damage.
- Increased Energy Costs: High humidity levels can make heating and cooling systems less efficient, leading to higher energy bills.
- Foundation Damage: Chronic moisture can lead to the deterioration of foundation materials, posing a serious threat to the stability of your home.
Understanding the implications of untreated moisture problems is crucial for maintaining the health and safety of your home. Regular inspections and proactive moisture control measures are key to preventing these issues from escalating.
Initial Steps in Addressing Moisture Issues
Addressing moisture issues in your crawl space is a critical step in preserving the overall health and integrity of your home. The first phase involves assessing the severity of the problem and identifying its source. This section of our blog provides guidelines and tips to help you effectively tackle these initial steps.
Assessing the Severity
Determining the extent of moisture problems is essential for planning the appropriate course of action. Here are some guidelines to help you assess the severity:
- Visual Inspection: Conduct a thorough visual inspection of your crawl space. Look for signs of water pooling, damp walls, or efflorescence (white, powdery residue).
- Moisture Meter: Use a moisture meter to measure the level of moisture in the wood and foundation. This can give you a quantitative idea of the severity.
- Extent of Mold Growth: Assess the amount and spread of mold or mildew. Extensive mold growth indicates a serious moisture issue.
- Structural Damage: Check for signs of wood rot or corrosion in metal components, as these can signify long-term moisture problems.
- Odor and Air Quality: Notice any musty odors or changes in air quality, which can be indicators of high humidity levels.
Identifying the Source
Finding the source of moisture is crucial for effective remediation. Here are
some tips on tracing the source of moisture in your crawl space:
- Check for Leaks: Inspect all plumbing and HVAC systems in and around the crawl space for leaks. Even small drips can contribute to significant moisture over time.
- Examine External Drainage: Ensure that gutters, downspouts, and surface grading direct water away from your home’s foundation. Poor external drainage can lead to water seeping into the crawl space.
- Look for Groundwater Infiltration: In areas with high water tables, groundwater can seep into the crawl space. Check for signs of water intrusion, especially after heavy rains.
- Inspect Ventilation: Poor ventilation can lead to moisture buildup. Ensure that crawl space vents are not blocked and are adequate for the size of the space.
- Consider Condensation: In some cases, moisture issues can be due to condensation, particularly with HVAC ducts or pipes. Insulation and proper ventilation can help mitigate this.
Identifying the source of moisture is a critical step in developing an effective remediation plan. Once the source is identified, you can take targeted actions to address the specific cause, whether it’s improving drainage, repairing leaks, or enhancing ventilation.
DIY Solutions for Minor Moisture Problems
Addressing minor moisture problems in your crawl space is a crucial aspect of home maintenance. Left unchecked, these issues can escalate, leading to more significant challenges. This section of our blog focuses on DIY strategies for improving ventilation and implementing simple waterproofing techniques to control moisture effectively.
Improving Ventilation
Enhancing air circulation in your crawl space is key to preventing moisture buildup. Here are some strategies you can implement:
- Clearing Vents: Ensure that all crawl space vents are clear of obstructions like debris, plants, or stored items to allow free air flow.
- Installing Vent Fans: Adding vent fans can help circulate air more effectively, especially in larger crawl spaces or areas with limited natural ventilation.
- Using a Dehumidifier: In areas with high humidity, a dehumidifier can help reduce moisture levels in the crawl space.
- Checking HVAC Systems: Ensure that any HVAC systems or ductwork in the crawl space are properly insulated to prevent condensation.
- Cross Ventilation: If possible, create cross ventilation by opening vents on opposite sides of the crawl space, allowing air to flow through more effectively.
Simple Waterproofing Techniques
For minor moisture issues, simple waterproofing techniques can be quite effective. Here are some DIY methods:
- Applying Sealants: Use concrete sealants to patch up any small cracks or holes in the foundation walls where moisture might be seeping through.
- Installing Vapor Barriers: Laying down a vapor barrier on the crawl space floor can prevent moisture from the ground from entering the space.
- Improving Drainage: Ensure that the soil around your home slopes away from the foundation, directing water away from the crawl space.
- Gutter Maintenance: Regularly clean and maintain gutters and downspouts to ensure that rainwater is effectively diverted away from your home’s foundation.
- Using Portable Dehumidifiers: For smaller or localized moisture issues, portable dehumidifiers can be an effective solution to reduce humidity levels.
By implementing these DIY solutions, homeowners can effectively manage minor moisture problems in their crawl spaces, preventing them from developing into more serious issues.
Advanced Moisture Control Strategies
For homeowners facing significant moisture challenges in their crawl spaces, advanced control strategies are often necessary. These methods go beyond basic fixes, providing long-term solutions to moisture problems. This section of our blog delves into the installation of vapor barriers and sump pumps, two critical components in advanced moisture control.
Installing Vapor Barriers
A vapor barrier is a crucial element in preventing ground moisture from entering your crawl space. Here’s a detailed guide on selecting and installing vapor barriers:
- Selection of Vapor Barriers: Choose a high-quality, durable vapor barrier material. The thickness is important – typically, a thickness of 6-mil to 20-mil is recommended for crawl spaces.
- Preparing the Crawl Space: Before installation, clear the crawl space of debris, sharp objects, and standing water. Ensure the ground is as level as possible.
- Installation Process: Roll out the vapor barrier across the floor of the crawl space, and up the walls if necessary, overlapping the edges by several inches. Seal all seams with waterproof tape.
- Securing the Barrier: Attach the vapor barrier to the walls using construction adhesive, mechanical fasteners, or furring strips, ensuring it stays in place.
- Inspect and Maintain: Regularly inspect the vapor barrier for tears or damage and repair as needed to maintain its effectiveness.
Sump Pump Installation and Maintenance
A sump pump is an effective solution for removing water that accumulates in your crawl space. Here’s when and how to install a sump pump:
- Assessing the Need for a Sump Pump: If your crawl space frequently has standing water or is prone to flooding, a sump pump is a necessary investment.
- Choosing the Right Sump Pump: Select a sump pump that suits the size of your crawl space and the extent of your moisture problem. Submersible pumps are often preferred for crawl spaces.
- Installation Process: Install the sump pump in the lowest part of the crawl space, in a sump pit. Ensure proper drainage is in place to direct the water away from your home.
- Electrical and Plumbing Connections: Connect the pump to an electrical source and set up the plumbing for water discharge according to manufacturer instructions and local codes.
- Regular Maintenance: Test the sump pump regularly, especially before rainy seasons, and clear the pit of any debris to ensure it functions effectively.
Implementing these advanced moisture control strategies can significantly reduce the risk of moisture-related problems in your crawl space, protecting the structural integrity and health of your home.
Addressing Structural Moisture Damage
Moisture in crawl spaces can lead to significant structural damage, particularly to wood and insulation materials. Addressing this damage promptly is crucial to maintaining the integrity and safety of your home. This section of our blog focuses on effective methods for repairing water-damaged wood and replacing or upgrading damaged insulation.
Repairing Water-Damaged Wood
Wooden structures in crawl spaces are particularly susceptible to moisture damage, which can lead to rot and weaken the structural integrity of your home. Here are techniques for repairing or replacing rotting wood structures:
- Assessing the Damage: Begin by thoroughly assessing the extent of the wood damage. This will help determine whether repair or replacement is necessary.
- Removing Damaged Wood: For severely rotted wood, the affected sections should be completely removed and replaced with new, treated wood.
- Repairing Partially Damaged Wood: If the damage is not extensive, reinforce the weakened wood by 'sistering' new wood alongside the existing beams or joists.
- Using Epoxy Fillers: For minor damage, epoxy fillers can be used to fill in rotted areas after removing the decayed wood.
- Ensuring Proper Ventilation: After repairs, ensure that the crawl space is well-ventilated to prevent future moisture buildup.
Insulation Replacement
Damaged insulation in crawl spaces can lead to energy inefficiencies and further moisture problems. Here are guidelines for replacing or upgrading damaged insulation:
- Removing Old Insulation: Carefully remove any wet, moldy, or deteriorated insulation. It’s important to wear protective gear during this process to avoid inhaling harmful particles.
- Choosing the Right Insulation: Select insulation appropriate for crawl spaces, such as fiberglass batts or rigid foam boards. Consider factors like R-value and moisture resistance.
- Proper Installation: Install the new insulation according to manufacturer instructions. Ensure it fits snugly between joists and is properly secured.
- Adding a Vapor Barrier: If not already present, install a vapor barrier on the crawl space floor to prevent ground moisture from affecting the insulation.
- Regular Inspections: Periodically inspect your insulation for signs of moisture or damage to address any issues promptly.
By effectively addressing structural moisture damage, homeowners can protect their homes from further deterioration and maintain a healthy living environment. While some repairs can be done as DIY projects, significant damage or complex issues should be addressed by professionals to ensure the repairs are effective and lasting.
FAQs
Contact Trench Guys Today!
Trench Guys will do everything we can to ensure your experience with us is excellent.
Request A FREE Estimate
Request a Free Estimate Form
Checkout Recent Post
Got a Question? We’re Here to Help.
You can arrange an appointment or make an enquiry by phone or email, orget in touch to us via our contact form.