

Proper sealing plays a critical role in ensuring the effectiveness of vapor barriers in controlling moisture within buildings. While vapor barriers are designed to block the movement of moisture vapor through walls, floors, and ceilings, their performance can be compromised if not properly sealed. Even small gaps, seams, or improperly sealed edges can allow moisture to penetrate the barrier, leading to condensation, mold growth, and structural damage. A tightly sealed vapor barrier creates a continuous, impermeable layer that protects building materials from moisture-related issues, ensuring long-term durability and improved energy efficiency. Achieving a successful moisture control system depends not only on selecting the right vapor barrier but also on ensuring its proper installation and thorough sealing at every point of vulnerability.
Understanding the Role of Sealing in Vapor Barrier Effectiveness
Why Proper Sealing is Crucial
Preventing Moisture Intrusion
Proper sealing is essential to the effectiveness of vapor barriers in preventing moisture intrusion. Even the most effective vapor barrier materials can fail if they are not properly sealed around edges, seams, or penetrations, such as windows, doors, and electrical outlets. These unsealed areas create pathways for moisture to penetrate the building envelope, allowing condensation to form within walls, ceilings, and floors. Once moisture bypasses the barrier, it undermines the entire system, leading to increased humidity levels, mold growth, and potential damage to building materials. Proper sealing ensures that the vapor barrier creates a continuous and impermeable layer, effectively blocking moisture vapor from entering the structure.
Ensuring Longevity
Proper sealing not only enhances the immediate effectiveness of a vapor barrier but also ensures its long-term performance and durability. A well-sealed vapor barrier reduces the likelihood of wear and tear over time, preventing moisture from weakening the building envelope and reducing the need for costly repairs. When vapor barriers are meticulously sealed, they are better able to withstand seasonal changes, shifts in humidity, and fluctuations in air pressure, maintaining their protective function for years. Sealing ensures that the vapor barrier can continue to protect the building from moisture-related issues, preserving the structure and enhancing energy efficiency.
Common Issues Caused by Poor Sealing
Mold and Mildew Growth
Improperly sealed vapor barriers can lead to significant moisture buildup, which creates ideal conditions for mold and mildew growth. When gaps or poorly sealed edges allow moisture to bypass the vapor barrier, it can become trapped in wall cavities or beneath floors, where it lingers and fosters fungal growth. Mold spores thrive in damp environments, and once mold takes hold, it can spread rapidly, compromising indoor air quality and posing health risks to occupants. Proper sealing of vapor barriers is key to preventing this moisture intrusion and the subsequent growth of mold and mildew.
Structural Damage
In addition to health hazards, poorly sealed vapor barriers can result in serious structural damage over time. When moisture seeps through unsealed gaps, it can accumulate in building materials such as wood and insulation. Prolonged exposure to moisture can lead to wood rot, causing weakening of the framing and structural elements. Moisture-damaged insulation becomes less effective, reducing the building's energy efficiency and comfort. Over time, these issues can escalate, leading to expensive repairs or even the need for complete replacement of damaged components. Properly sealed vapor barriers prevent this cascade of moisture-related problems, protecting the structure from long-term damage.
Preparation Before Sealing Vapor Barriers
Assessing the Area for Sealing
Surface Preparation
Proper surface preparation is a critical step before sealing vapor barriers. For the sealant to adhere effectively, the surfaces where the vapor barrier will be sealed must be clean, dry, and smooth. Any dust, dirt, grease, or moisture on the surface can prevent the sealant from bonding correctly, leading to weak points where moisture can infiltrate. Ensuring the surfaces are free of debris will create a strong, airtight seal. In addition, smoothing out any rough edges or uneven surfaces where the barrier will be applied ensures that the sealant adheres evenly, reducing the risk of gaps or air leaks.
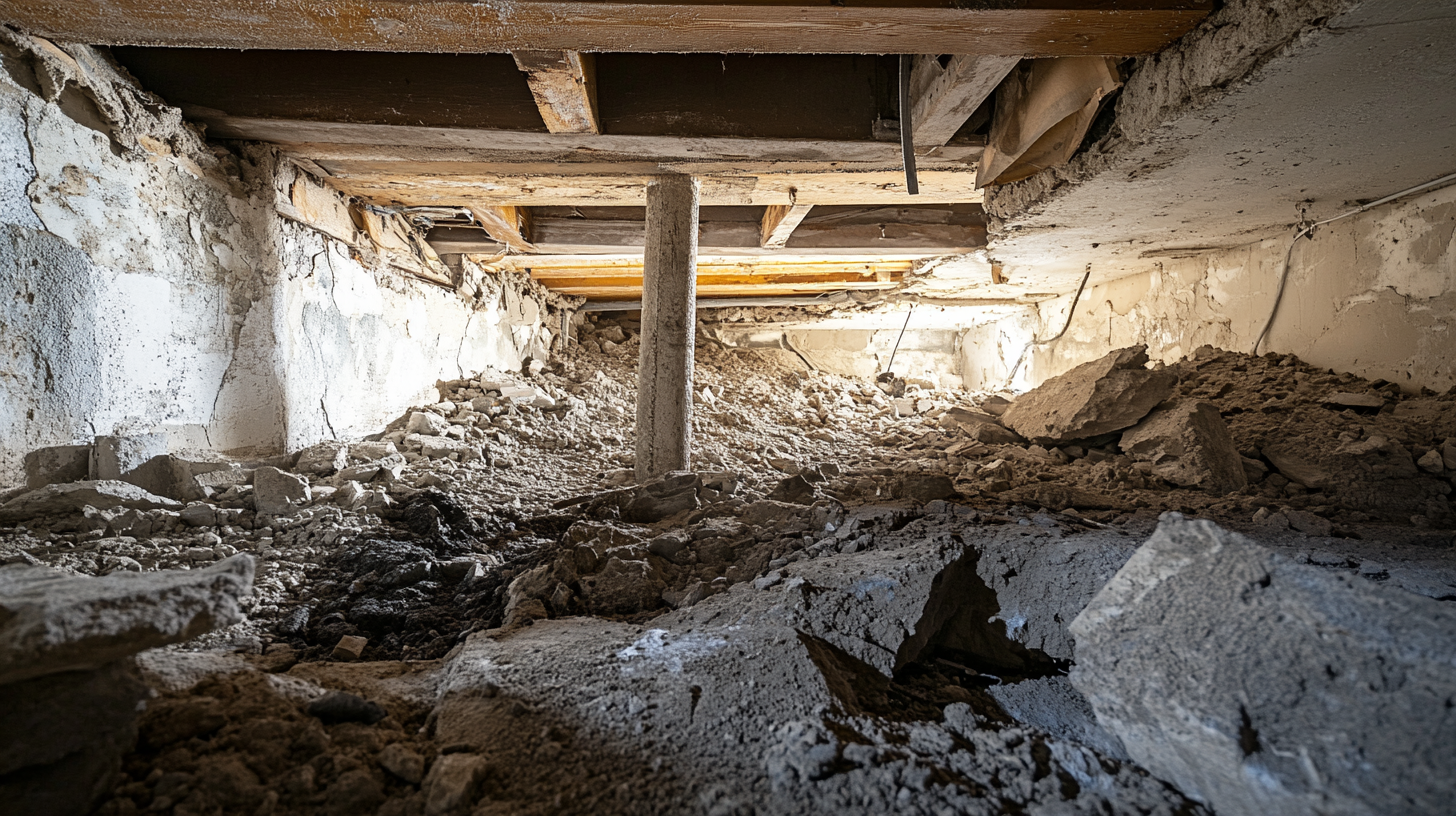
Identifying Vulnerable Areas
Before sealing, it is important to identify the areas most prone to moisture infiltration. Common vulnerable points include corners, edges, and areas around penetrations, such as pipes, ducts, windows, and electrical outlets. These locations are often where gaps occur if not sealed properly, allowing moisture to bypass the vapor barrier. Careful inspection of these areas ensures that all potential weak spots are identified and addressed during the sealing process, creating a continuous barrier that effectively blocks moisture.
Choosing the Right Sealing Materials
Sealant Types
Selecting the correct sealing material is essential for the effectiveness of the vapor barrier. Common sealing materials include butyl tape, adhesive-backed tapes, and spray adhesives. Butyl tape is highly effective for sealing seams and overlaps, as it is flexible and durable, providing a strong bond over a wide temperature range. Adhesive-backed tapes are another popular option, offering ease of application and strong adhesion, especially for long runs of barrier seams. Spray adhesives, on the other hand, are ideal for sealing around irregular shapes, penetrations, or hard-to-reach areas, ensuring a complete seal in tricky spots.
Compatibility with Vapor Barrier Material
When choosing a sealing material, it is important to ensure that the sealant is compatible with the vapor barrier material being used. Different vapor barriers, such as polyethylene sheets or foil-faced kraft paper, may require specific types of sealants to form a durable bond. Using an incompatible sealant can weaken the bond and reduce the effectiveness of the vapor barrier. Always check the manufacturer’s recommendations for compatible sealing materials to ensure that the vapor barrier and sealant work together to provide long-term moisture protection.
Durability and Weather Resistance
For a long-lasting seal, it’s essential to select sealing materials that offer durability and weather resistance, especially in climates with extreme conditions. High-quality sealants that resist UV damage, temperature fluctuations, and moisture exposure ensure the vapor barrier maintains its integrity over time. Weather-resistant sealants are particularly important for exterior applications or areas subject to varying environmental conditions. Choosing a durable sealant guarantees that the vapor barrier will remain effective in preventing moisture intrusion, even in harsh weather, ensuring the building remains protected year-round.
Step-by-Step Guide to Sealing Vapor Barriers
Sealing Seams and Overlaps
Overlapping the Barrier
To ensure an effective vapor barrier, overlapping the sheets is essential to prevent any gaps where moisture can infiltrate. Best practices suggest overlapping vapor barrier sheets by at least 12 inches. This overlap ensures a secure seal between the sheets, reducing the likelihood of air or moisture leaks. When installing the sheets, make sure to align them properly to maintain uniform coverage, particularly at corners and edges where gaps are more likely to form. Ensuring consistent overlap across the entire barrier system is key to creating a continuous layer of protection.
Applying the Sealant
After overlapping the vapor barrier sheets, applying the sealant is the next critical step. Sealant, such as butyl or adhesive tape, should be applied along the seams and overlaps, ensuring it bonds both layers of the vapor barrier together. Run the tape or sealant in smooth, even lines, pressing it firmly to eliminate air bubbles or gaps. For spray adhesives, evenly coat the overlapping sections and apply gentle pressure until the bond is firm. It’s crucial to ensure that all seams are completely sealed to create a continuous moisture barrier, preventing any gaps that could compromise the vapor barrier’s effectiveness.
Checking for Gaps
Once the seams and overlaps are sealed, thoroughly inspect the entire barrier system to ensure there are no gaps or loose areas. Check the edges of the applied sealant and tape to confirm that it is firmly adhered to the vapor barrier and no edges are peeling or lifting. Pay special attention to corners, joints, and any areas where multiple sheets meet. Run your hand along the seams to feel for any inconsistencies, and make sure the sealant is uniformly applied. Correct any gaps immediately by reapplying sealant to maintain the integrity of the barrier.
Sealing Around Penetrations
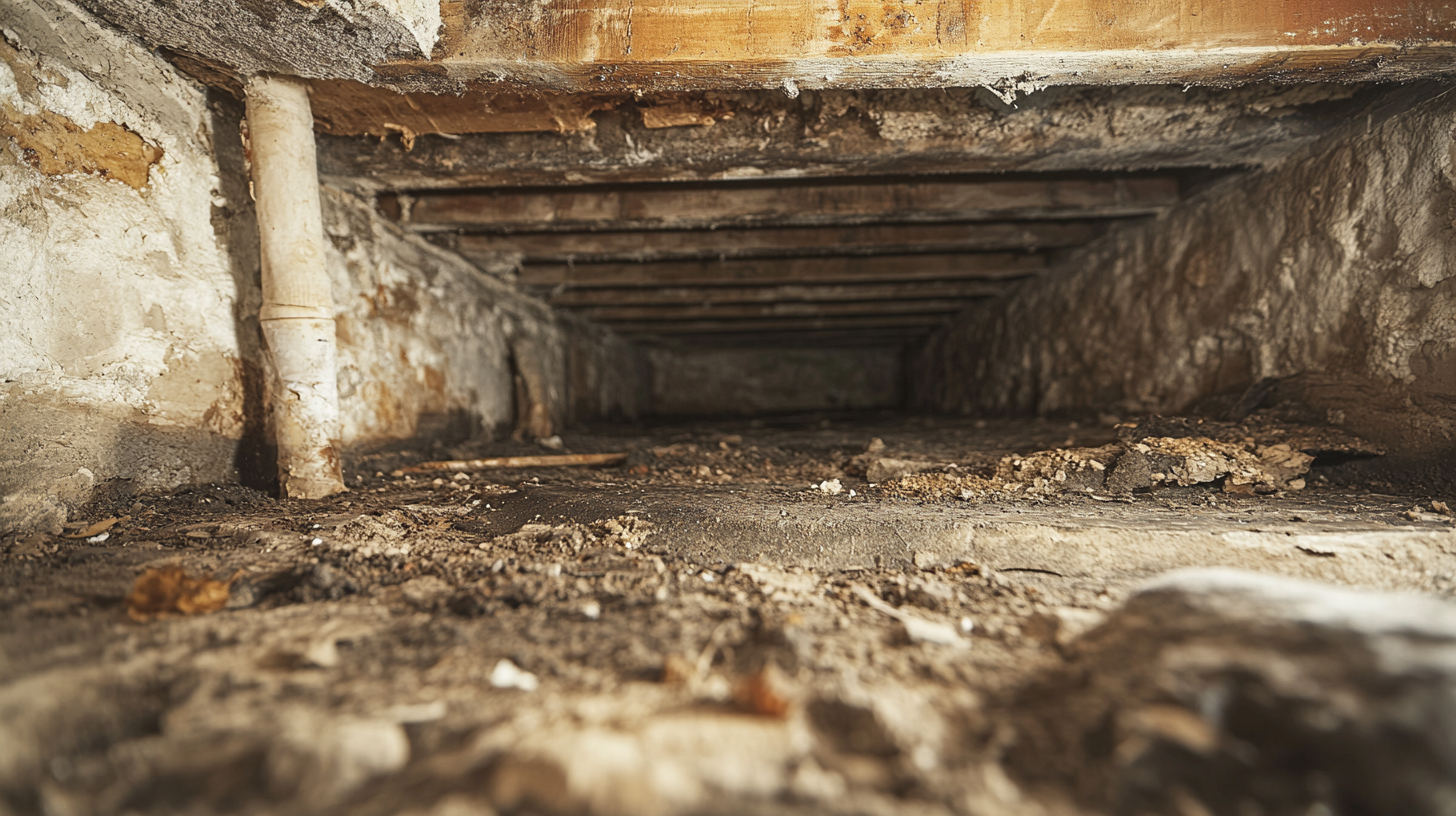
Pipes and Ducts
Sealing around pipes, ducts, and other penetrations is one of the most critical aspects of vapor barrier installation. Moisture can easily infiltrate through gaps around these penetrations, so it’s important to create a tight seal. First, cut the vapor barrier material as close as possible to the pipe or duct. Then, use an adhesive-backed tape or spray sealant to cover the area around the penetration, ensuring the seal is snug. For larger penetrations, consider using flexible gaskets or collars designed specifically for pipes and ducts to maintain an airtight seal.
Electrical Boxes and Outlets
Electrical installations, such as boxes and outlets, require special attention when sealing vapor barriers to maintain the barrier’s effectiveness. Cut the vapor barrier slightly larger than the electrical box, allowing it to cover the perimeter without blocking the outlet itself. Apply a generous amount of sealant around the edges of the cut-out to ensure a tight fit against the box. Seal any gaps with adhesive tape or spray sealant, paying close attention to corners and edges, where leaks are more likely to occur. The goal is to maintain a continuous barrier while accommodating the electrical installation.
Windows and Doors
Windows and doors are particularly vulnerable areas for moisture infiltration, so it’s important to ensure a tight seal around these openings. Cut the vapor barrier to extend slightly beyond the window or door frame, then fold it inward to create a neat edge. Use sealant or tape around the entire perimeter, pressing firmly to eliminate any air pockets. Be sure to apply extra care at corners and junctions where multiple materials meet. This additional reinforcement ensures that moisture does not accumulate or seep in through these high-risk areas.
Securing Edges and Perimeter Seals
Wall and Floor Junctions
The junction between walls and floors is another critical area where moisture can seep into the building envelope if not properly sealed. Ensure the vapor barrier extends fully to cover the joint between the wall and the floor. Apply adhesive tape or spray sealant along the entire junction, creating a continuous seal that blocks moisture from entering. Press firmly along the tape or sealant to ensure it adheres securely. Any gaps or unsealed areas at this junction can lead to moisture infiltration, compromising the overall effectiveness of the barrier.
Foundation and Roof Connections
At key junctions like the foundation and roof, where structural elements meet, it is important to ensure the vapor barrier is securely sealed. For the foundation, the vapor barrier should extend slightly below the wall to overlap with any foundation moisture barriers in place. Apply sealant generously around the perimeter to create a watertight seal. For roof connections, especially at eaves or roof-wall junctions, ensure the vapor barrier is tightly sealed to prevent any air or moisture from entering the building envelope. Double-check these critical areas, as improper sealing here can lead to significant moisture problems.
Using Mechanical Fasteners
If mechanical fasteners such as staples or nails are used to secure the vapor barrier in place, care must be taken to avoid compromising the seal. After fastening, inspect the area around each fastener for any signs of punctures or gaps in the vapor barrier. Apply additional sealant over the fastener heads to ensure that they do not create points of moisture entry. This added layer of sealant will help maintain the integrity of the barrier, ensuring that moisture cannot bypass the system through small, unnoticed gaps caused by the fasteners.
Common Mistakes to Avoid When Sealing Vapor Barriers
Inadequate Overlap of Sheets
Insufficient Overlap
One of the most common mistakes when installing vapor barriers is not providing enough overlap between sheets. Overlapping is crucial to ensure a continuous and effective moisture barrier, and failing to overlap the sheets by at least 12 inches can create gaps where moisture can seep through. These gaps compromise the entire barrier system, allowing condensation to form within the walls, ceilings, or floors, leading to potential mold growth, structural damage, and reduced energy efficiency. Proper overlapping of sheets provides an additional layer of protection and helps prevent moisture intrusion.
Over-Reliance on Tapes Alone
Another mistake is relying solely on adhesive tape to join vapor barrier sheets without ensuring a proper overlap. While tape plays an essential role in sealing seams, it should not be the only defense against moisture. Without sufficient overlap, the tape is under more stress to hold the barrier together, which increases the likelihood of failure over time, particularly in areas subject to movement or environmental changes. Combining proper overlap with tape ensures a stronger, more durable seal that is less likely to fail under stress.
Using the Wrong Sealant
Incompatible Materials
Using sealants that are not compatible with the vapor barrier material is a critical error that can undermine the entire system. Vapor barriers come in various materials, such as polyethylene or foil-faced kraft paper, and require specific types of sealants for proper adhesion. Using a sealant that doesn’t bond well with the vapor barrier can result in peeling, gaps, or weakened seals, which will allow moisture to pass through. It’s essential to consult the manufacturer’s guidelines to choose the appropriate sealant that matches the vapor barrier material to ensure a lasting and effective seal.
Low-Quality Tape
Low-quality or non-weather-resistant tapes can degrade over time, especially when exposed to temperature fluctuations, humidity, or UV light. Tapes that lose their adhesive strength or break down can cause the vapor barrier to peel away, exposing the building to moisture infiltration. Investing in high-quality, weather-resistant tape is crucial for ensuring that the seals remain intact over the long term. Skimping on tape quality can lead to costly repairs and reduce the overall effectiveness of the moisture control system.
Neglecting Regular Inspections
Wear and Tear
Even with proper installation, vapor barriers can deteriorate over time due to factors like settling, thermal expansion and contraction, or accidental damage during renovations. This wear and tear can cause small tears, gaps, or loosening of seals, allowing moisture to bypass the barrier. Ignoring these changes can result in undetected moisture buildup, leading to mold, mildew, and structural problems. Vapor barriers, especially in high-risk areas like basements or crawl spaces, should be regularly inspected to catch early signs of wear and prevent long-term damage.
Importance of Maintenance
Regular inspections and maintenance are crucial to maintaining the vapor barrier's effectiveness. Any signs of damage or wear should be addressed immediately to ensure the barrier continues to protect against moisture infiltration. Touch-ups, such as reapplying sealant or replacing worn tape, are relatively simple and cost-effective solutions that can significantly extend the life of the vapor barrier. By scheduling routine maintenance checks, homeowners can prevent minor issues from escalating into major moisture problems, ensuring the vapor barrier system continues to perform optimally for years to come.
Best Practices for Long-Term Maintenance of Sealed Vapor Barriers
Regular Inspection and Maintenance
Scheduled Inspections
To ensure the long-term effectiveness of sealed vapor barriers, regular inspections are essential. Vapor barriers should be inspected at least once a year, especially in high-risk areas such as basements, crawl spaces, and attics where moisture issues are more likely to occur. In extreme climates or areas prone to seasonal temperature fluctuations, it may be wise to conduct inspections twice a year, before and after the most intense seasonal changes. These scheduled checks help catch early signs of wear, damage, or seal degradation before they can lead to significant moisture problems.
Addressing Issues Promptly
If any issues are discovered during inspections, it’s crucial to address them immediately. Even small tears, gaps, or peeling in the vapor barrier can allow moisture to infiltrate the building’s walls, floors, or ceilings, leading to mold growth, insulation damage, and structural deterioration. Ignoring minor issues can result in costly repairs down the road. Promptly sealing any leaks or fixing damaged areas ensures that the vapor barrier continues to provide comprehensive moisture protection, preserving the integrity of the building’s structure and air quality.
Repairing Damaged Seals
Identifying Problem Areas
During inspections, it’s important to carefully assess all areas where the vapor barrier may be compromised. Common signs of damage include peeling tape, cracks in the sealant, tears in the barrier material, and areas where the barrier has come loose from the wall or floor. Special attention should be given to seams, overlaps, and areas around penetrations like pipes, ducts, and electrical outlets, as these are frequent points of failure. Also, check for condensation or damp spots, which may indicate that the vapor barrier is no longer functioning properly in that area.
Effective Repair Techniques
When damage is found, repairing it promptly is essential to restoring the barrier’s effectiveness. Here’s a step-by-step guide to repairing or re-sealing damaged areas:
- Clean the damaged area: Ensure the surface is free from dust, dirt, or moisture before beginning the repair. A clean surface allows the new sealant or tape to adhere properly.
- Cut away damaged material: If the vapor barrier is torn or punctured, carefully cut out the damaged section to create a clean area for repair.
- Apply new sealant or tape: Use appropriate sealant or adhesive-backed tape to cover the repair area. Ensure the material overlaps the surrounding barrier by at least 12 inches to ensure a strong bond.
- Press firmly and smooth out: Press the tape or sealant firmly into place, ensuring there are no gaps or air bubbles that could allow moisture to pass through.
- Inspect the repair: After the sealant has set, inspect the repair to ensure it is secure and that no additional gaps or damage are present.
Upgrading Sealants
In some cases, the sealants used in the original installation may not be holding up to environmental conditions or wear over time. If the current sealants are showing signs of degradation, such as cracking, peeling, or loss of adhesion, it may be time to upgrade to more durable or climate-appropriate materials. For example, in extreme climates with significant temperature fluctuations, switching to weather-resistant, UV-stable tapes or sealants can help extend the lifespan of the vapor barrier. During repairs, consider using higher-quality or more resilient materials to ensure the barrier remains effective for years to come.
FAQs
Contact Trench Guys Today!
Trench Guys will do everything we can to ensure your experience with us is excellent.
Request A FREE Estimate
Request a Free Estimate Form
Checkout Recent Post
Got a Question? We’re Here to Help.
You can arrange an appointment or make an enquiry by phone or email, orget in touch to us via our contact form.
Looking for a reliable and professional company to take care of your crawl space, basement and gutter needs? Look no further than Trench Guys! We have years of experience in the industry and can provide you with top-quality services at a competitive price. Contact us today to get started!
CONTACT INFORMATION
Phone: 478-236-6403
Email: Wedigmiddlega@gmail.com
Address: Macon, GA
Business Hours:
Mon-Fri: 6:00 AM - 5:00 PM
Sat-Sun: Closed
ADDITIONAL INFORMATION
Us Across The Web
Geo
Neighborhoods
Niche
Privacy Policy | Terms & Conditions | Sitemap