
Basements are particularly vulnerable to moisture issues due to their proximity to the ground, where dampness and water intrusion are common challenges. Vapor barriers play a critical role in protecting basements from these moisture-related problems by creating a protective layer that prevents water vapor from seeping through walls, floors, and ceilings. Without proper moisture control, basements can quickly become breeding grounds for mold, mildew, and structural damage. Installing vapor barriers in basements helps maintain a dry, healthy environment by effectively blocking moisture, preserving the building’s structural integrity, and improving indoor air quality. Properly sealed vapor barriers are essential for safeguarding basements against the long-term effects of dampness.
Understanding the Need for Vapor Barriers in Basements
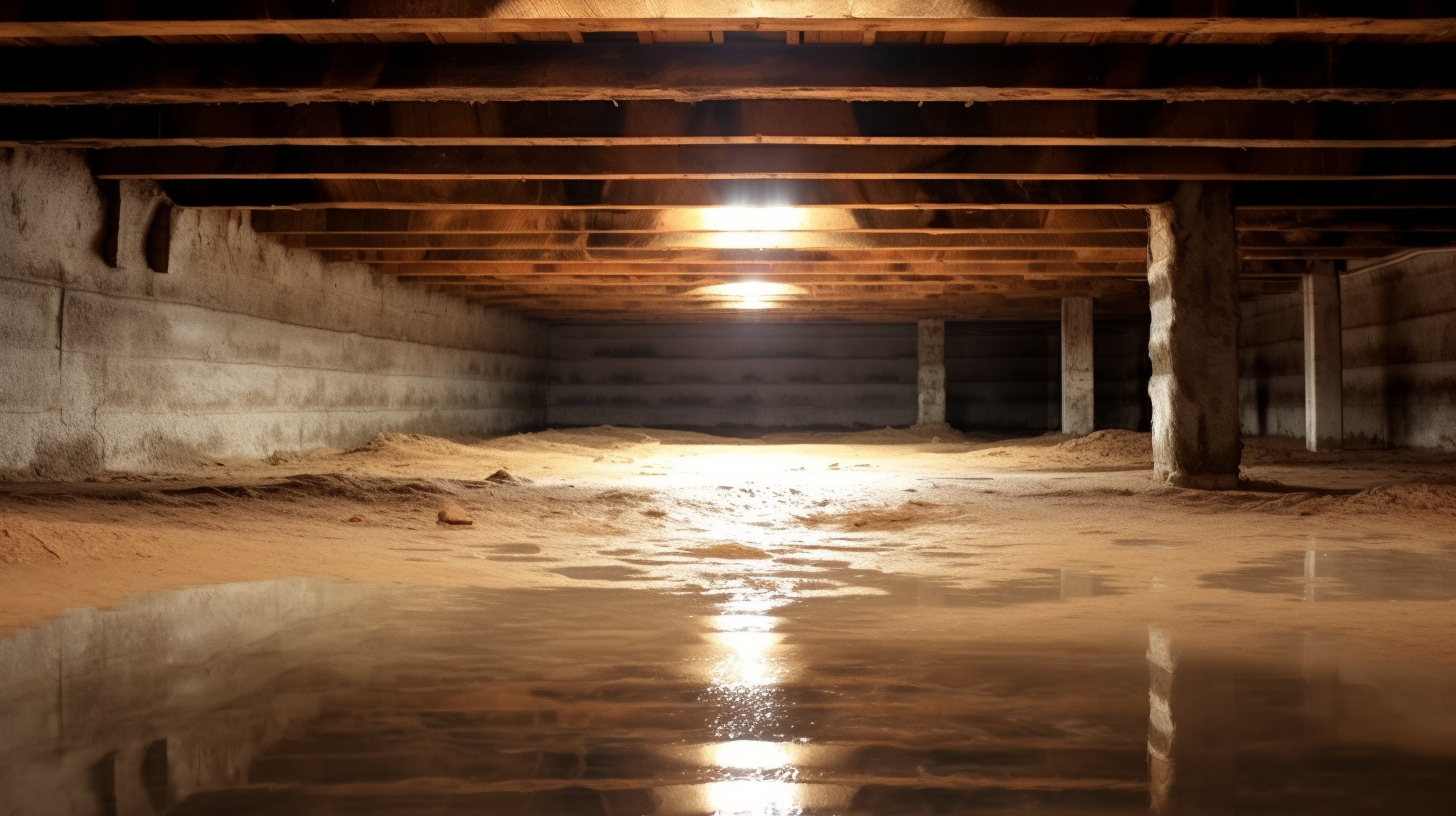
The Unique Challenges of Basement Moisture
Below-Grade Construction
Basements, due to their below-grade construction, are naturally more susceptible to moisture issues compared to other areas of a home. Being surrounded by soil, basements are in direct contact with groundwater and soil moisture, which can lead to water seeping into the structure. Hydrostatic pressure from groundwater pushes moisture through basement walls and floors, increasing the risk of dampness, water intrusion, and long-term moisture buildup. This makes moisture control in basements especially challenging and essential for maintaining a dry, usable space.
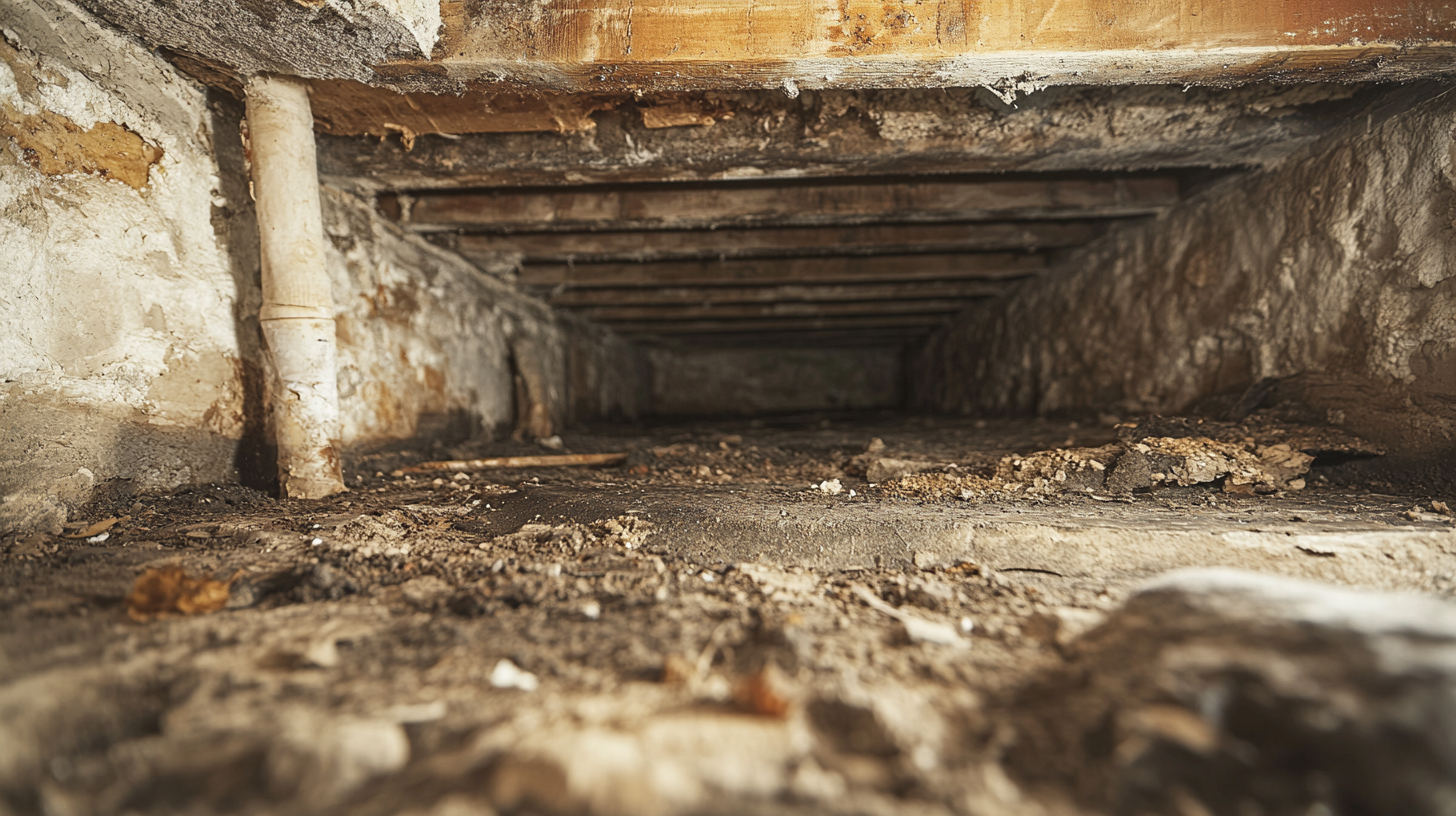
Condensation Risks
In addition to external moisture sources, temperature differences between the basement interior and the surrounding soil can lead to condensation. During warmer months, cool basement walls come into contact with warm, humid air, causing moisture to condense on surfaces. This condensation can accumulate over time, creating damp conditions that foster mold growth, damage insulation, and affect the integrity of building materials. The need to manage both groundwater intrusion and interior condensation makes moisture control in basements particularly complex.
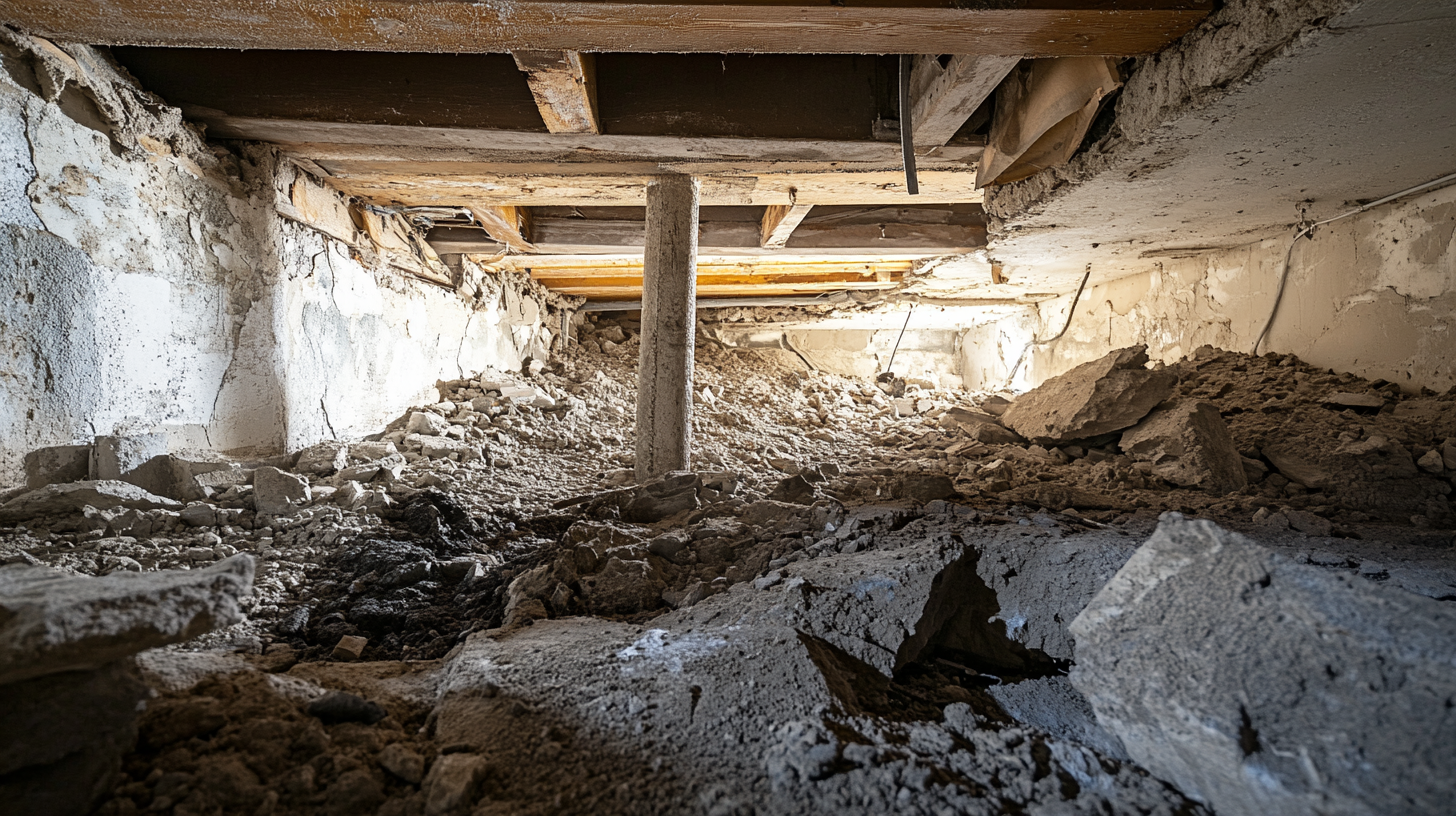
Health and Structural Concerns
Without proper moisture control, basements are at risk for serious health and structural problems. Persistent dampness creates ideal conditions for mold growth, which not only damages walls, floors, and insulation but also contributes to poor indoor air quality. Mold spores can circulate throughout the home, leading to respiratory issues, allergies, and other health concerns for occupants. Additionally, excess moisture weakens building materials over time, causing structural damage such as wood rot and compromised foundations. Vapor barriers are a crucial element in preventing these moisture-related issues from developing.
The Role of Vapor Barriers in Moisture Control
Moisture Barrier Function
A vapor barrier is a critical component in basement moisture control, designed to block water vapor from entering through walls, floors, and ceilings. By acting as a protective layer, the vapor barrier prevents moisture from seeping into the interior space, effectively reducing the risk of condensation and dampness. Installed as part of the building’s moisture management system, vapor barriers create an impermeable or semi-permeable shield that helps maintain a dry environment, preventing mold growth and protecting the structural integrity of the basement.
Complementary Systems
While vapor barriers play a vital role in preventing moisture intrusion, they are most effective when used in conjunction with other moisture control measures. Drainage systems, such as perimeter drains or French drains, help direct groundwater away from the basement, while sump pumps remove any water that may accumulate. Dehumidifiers are also useful for controlling indoor humidity levels, further reducing the risk of condensation and dampness. Together with vapor barriers, these complementary systems provide comprehensive protection against basement moisture, ensuring a healthy and structurally sound environment.
Choosing the Right Vapor Barrier for Basement Construction
Types of Vapor Barriers Suitable for Basements
Polyethylene Sheets
Polyethylene sheets are one of the most commonly used and effective vapor barrier options for basement construction. These plastic sheets are impermeable to moisture, making them highly effective at preventing water vapor from penetrating basement walls and floors. Available in various thicknesses, polyethylene vapor barriers are durable, easy to install, and cost-effective. When installed correctly, they provide an excellent first line of defense against moisture intrusion, helping to maintain a dry and mold-free basement environment. For basements, thicker polyethylene sheets, typically 6 to 10 mils, are recommended to withstand the pressure of groundwater and prevent physical damage during installation.
Foil-Faced Insulation
Foil-faced insulation serves a dual purpose in basement construction by providing both moisture control and thermal insulation. In colder climates, basements can be prone to both moisture issues and heat loss, making foil-faced insulation a smart choice. The reflective foil layer acts as a vapor barrier, blocking moisture from entering the basement while also reflecting heat back into the space, improving energy efficiency. This type of insulation is particularly useful for homeowners who want to address both insulation and moisture control in one product, making it an effective solution for basements with cold external walls.
Liquid-Applied Barriers
Liquid-applied vapor barriers are another option for basements, especially for those with irregular surfaces or hard-to-reach areas. These barriers are applied as a liquid, which then dries to form a seamless, flexible protective layer. Unlike sheet barriers, liquid-applied barriers can conform to the shape of the surface, providing full coverage even on uneven walls or around complex penetrations such as pipes and ducts. This type of vapor barrier is particularly useful in situations where a custom-fit moisture barrier is needed, and it provides long-lasting protection against moisture infiltration.
Factors to Consider When Selecting a Vapor Barrier
Permeance Rating
The permeance rating, or "perm rating," of a vapor barrier indicates how much moisture can pass through the material, and it’s a key factor to consider when selecting a vapor barrier for basement construction. Basements in regions with high moisture levels or cold climates, where condensation is a concern, will benefit from vapor barriers with a lower perm rating to effectively block moisture. Conversely, in basements where some vapor diffusion may be needed, a barrier with a higher perm rating might be appropriate. Understanding the moisture dynamics and climate in your area is critical to choosing a vapor barrier that offers the right level of protection.
Thickness and Durability
When selecting a vapor barrier for basements, thickness and durability are essential considerations. Basements are subject to unique pressures, such as hydrostatic pressure from groundwater and physical contact with foundation walls. Thicker vapor barriers (6 to 10 mils or more) are better suited to withstand these forces, providing a more reliable and long-lasting solution. Durability is also important to prevent punctures or tears during installation or subsequent construction activities, ensuring that the vapor barrier remains intact and effective over time.
Compatibility with Basement Insulation
When installing a vapor barrier in a basement, it’s important to ensure compatibility with any insulation materials used. For example, if using insulation such as fiberglass or foam boards, the vapor barrier should be positioned correctly to avoid creating moisture traps between the insulation and the foundation walls. Improper placement can lead to trapped moisture, reducing the effectiveness of both the vapor barrier and the insulation, and can even cause mold to develop within the insulation layers. Ensuring the vapor barrier works in harmony with insulation materials is critical to achieving both moisture control and energy efficiency in the basement.
Best Practices for Installing Vapor Barriers in Basements
Preparing the Basement for Vapor Barrier Installation
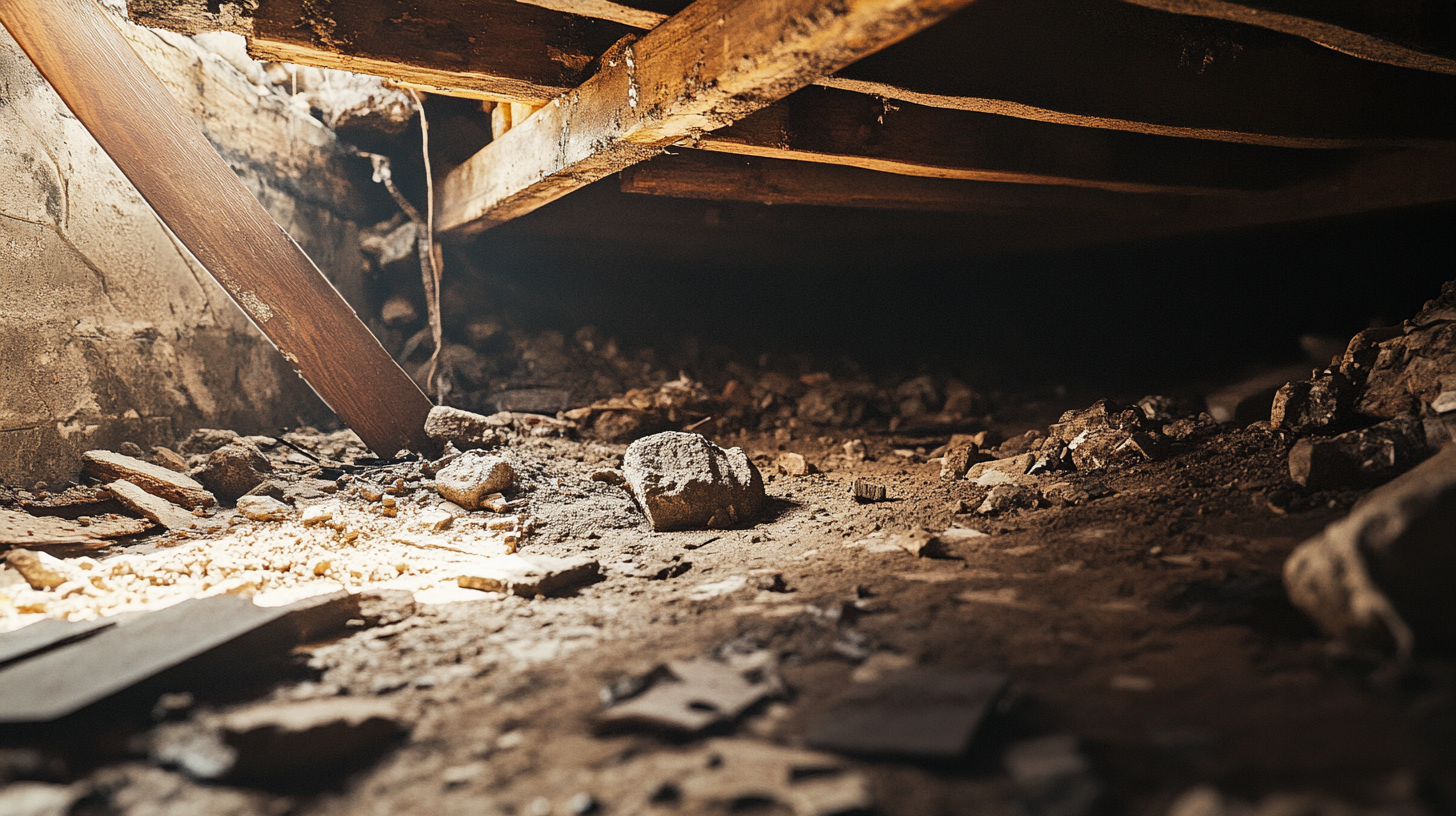
Surface Preparation
Proper surface preparation is critical to ensure that vapor barriers adhere effectively and provide maximum protection against moisture. Before installation, it is important to thoroughly clean and smooth the basement walls and floors. This involves removing any dirt, dust, grease, or debris that might prevent the vapor barrier from forming a tight seal. In addition, repair any cracks, holes, or uneven surfaces to create a smooth and stable foundation for the barrier. Any imperfections can compromise the barrier’s effectiveness, allowing moisture to seep through small gaps or weak points. Ensuring the surfaces are fully prepared sets the stage for a successful vapor barrier installation.
Addressing Existing Moisture Issues
Before installing a vapor barrier, it is essential to address any existing moisture issues in the basement. This includes repairing leaks, sealing cracks, or dealing with damp spots caused by groundwater or condensation. Simply installing a vapor barrier over existing moisture problems will not fix the underlying issues and may even trap moisture, leading to mold growth and structural damage. Use dehumidifiers, sump pumps, or drainage systems to manage the moisture before beginning the vapor barrier installation. Ensuring the basement is dry before installation is key to long-term success.
Step-by-Step Installation Guide
Wall Installation
When installing vapor barriers on basement walls, follow these detailed steps for a secure and effective installation:
- Measure and cut the vapor barrier: Cut the vapor barrier sheets to size, ensuring enough material to cover the walls with a slight overlap at the top, bottom, and sides.
- Position the barrier: Begin at the top of the wall and unroll the vapor barrier downward, smoothing it out as you go to remove any air bubbles or wrinkles.
- Secure the barrier: Use construction adhesive, mechanical fasteners, or double-sided tape to secure the vapor barrier to the wall. Ensure that the barrier is tightly adhered to all areas, particularly at the corners and edges.
- Overlap seams: Where vapor barrier sheets meet, overlap them by at least 12 inches. This overlap is crucial to prevent any gaps that could allow moisture to enter.
- Seal the seams: Use butyl or adhesive-backed tape to seal all overlapping seams, creating a continuous, moisture-proof barrier.
Floor Installation
Installing vapor barriers on basement floors requires careful attention to sealing edges and junctions:
- Cut and position the barrier: Lay the vapor barrier sheets across the floor, ensuring they cover the entire surface area. Extend the barrier up the walls by several inches to create a seamless transition between the floor and wall.
- Seal the edges: Use strong adhesive tape or sealant to secure the edges of the vapor barrier where it meets the walls, making sure there are no gaps at the junction.
- Overlap floor sheets: If using multiple sheets, overlap them by at least 12 inches to prevent moisture from seeping through the seams.
- Seal the overlaps: Apply adhesive tape to the overlaps to create a watertight seal. This prevents moisture from rising through the floor and helps maintain a dry basement environment.
Ceiling Installation
In some cases, especially in heated basements, it may be necessary to install vapor barriers on the ceiling to prevent moisture from escaping upward into the rest of the building:
- Measure and cut the barrier: Cut the vapor barrier sheets to fit the ceiling space, ensuring a snug fit around beams and fixtures.
- Secure the barrier: Use mechanical fasteners or adhesive to attach the barrier securely to the ceiling. Ensure there is no sagging or loose areas where moisture could gather.
- Seal the seams: Overlap the vapor barrier sheets where necessary, using tape to seal all seams and ensure a continuous barrier across the ceiling surface.
Sealing and Finishing Touches
Sealing Around Penetrations
One of the most important steps in vapor barrier installation is sealing around penetrations such as pipes, ducts, and electrical outlets. These areas are common points of moisture intrusion and require extra attention:
- Cut the barrier: Cut the vapor barrier to fit snugly around each penetration, leaving enough material to wrap tightly around the opening.
- Seal with tape or sealant: Use adhesive-backed tape or a durable sealant to secure the barrier tightly around the penetration, ensuring no gaps are left exposed. For larger or irregularly shaped penetrations, consider using gaskets or collars to maintain a secure seal.
Edge Sealing and Overlaps
Ensuring the edges of the vapor barrier are properly sealed is essential for maintaining a continuous moisture barrier:
- Seal all edges: Where the vapor barrier meets the floor, walls, or ceiling, apply a bead of sealant or strong adhesive tape to create a watertight seal.
- Secure overlaps: For any areas where vapor barrier sheets overlap, make sure they are sealed with high-quality tape to prevent gaps. Press the tape firmly to eliminate air bubbles or wrinkles that could compromise the seal.
Inspection and Quality Check
Once the vapor barrier is installed, perform a thorough inspection to ensure the system is airtight and effective:
- Check for gaps or tears: Carefully inspect the entire surface for any gaps, holes, or tears that may have occurred during installation. Patch any imperfections immediately using additional tape or sealant.
- Examine all seams and edges: Ensure that all seams, overlaps, and edges are securely sealed and that no sections of the vapor barrier are loose or peeling.
- Final quality check: Walk through the basement and visually confirm that the vapor barrier is properly installed across walls, floors, and ceilings, and that all penetrations are fully sealed.
By following these best practices for installing vapor barriers in basements, you can create an effective moisture control system that protects the space from dampness, mold, and structural damage.
Common Mistakes to Avoid in Basement Vapor Barrier Installation
Incorrect Placement of the Vapor Barrier
Wrong Side of the Wall
One of the most critical mistakes in basement vapor barrier installation is placing the barrier on the wrong side of the insulation. In basements, the vapor barrier should typically be installed on the interior side (the warm side) of the insulation to prevent moisture from moving from the living space into the wall cavities. When the barrier is incorrectly placed on the exterior (cold side), it can create a moisture trap, leading to condensation buildup within the insulation and wall materials. This trapped moisture fosters mold growth, reduces the effectiveness of the insulation, and can even lead to long-term structural damage. Proper placement ensures that moisture is controlled effectively, reducing the risk of condensation-related issues.
Inadequate Sealing
Another common mistake is failing to properly seal the vapor barrier. Inadequate sealing around seams, edges, and penetrations (such as pipes and ducts) allows moisture to bypass the barrier, undermining its effectiveness. When moisture infiltrates through poorly sealed areas, it can accumulate in the insulation or the wall, leading to mold growth and other moisture-related problems. Properly overlapping and sealing seams with high-quality tape or sealant is crucial to ensuring the barrier functions as intended, keeping the basement dry and protected from dampness.
Using Inappropriate Materials
Low-Quality or Thin Barriers
Using low-quality or thin vapor barriers that are not designed for basement conditions is another mistake that can lead to significant moisture problems. Basements are prone to high moisture levels, so the vapor barrier needs to be durable and thick enough to withstand hydrostatic pressure and resist physical damage. Thin or low-quality materials may be more susceptible to punctures, tears, or degradation over time, allowing moisture to penetrate. It’s essential to select a vapor barrier that is at least 6 to 10 mils thick and made from high-quality materials specifically designed to handle the moisture levels common in basements.
Incompatible with Insulation
Another common error is choosing vapor barrier materials that are not compatible with the type of insulation used in the basement. For instance, certain types of insulation, like fiberglass, may not work effectively with all vapor barriers, especially if the barrier is placed incorrectly or traps moisture between the insulation and the foundation. Incompatible combinations can lead to reduced insulation efficiency, trapped moisture, and mold growth. It’s important to ensure that the vapor barrier and insulation materials are designed to work together, creating a system that both insulates and protects the basement from moisture. Proper coordination between insulation and vapor barrier selection ensures maximum efficiency and moisture control.
Maintenance and Long-Term Care of Vapor Barriers in Basements
Regular Inspection and Monitoring
Scheduled Inspections
Maintaining the effectiveness of a vapor barrier in a basement requires regular inspections to identify any potential issues before they become serious problems. It is recommended to schedule inspections at least once a year, particularly in areas prone to high moisture levels. Seasonal changes, especially in climates with significant temperature fluctuations, can cause wear on the barrier and its seals. During these inspections, focus on checking the integrity of the barrier across walls, floors, and any penetrations to ensure it remains intact and functioning as intended. Routine checks can help catch small issues early, preventing moisture intrusion that could lead to mold, mildew, or structural damage.
Signs of Damage
During inspections, it’s important to know what signs to look for that might indicate the vapor barrier has been compromised. Common signs of damage include tears or punctures in the barrier material, gaps along seams or edges, and areas where the barrier has become loose or detached from the walls or floors. Additionally, look for signs of moisture intrusion, such as damp spots, condensation, or mold growth on or around the barrier. These signs suggest that the barrier is no longer effectively preventing moisture from entering the basement and requires immediate attention to avoid further issues.
Repairing and Re-Sealing
Repair Techniques
If you identify any damage to the vapor barrier, it’s important to repair it promptly to restore its effectiveness. Here’s a step-by-step guide to repairing damaged sections:
- Clean the area: Ensure the damaged area is clean and dry before beginning the repair. Remove any dust, debris, or moisture that could prevent proper adhesion.
- Trim the damaged section: If there is a tear or puncture, trim the edges of the damaged area to create a clean surface.
- Apply new material: Cut a piece of new vapor barrier material large enough to cover the damaged area with at least 12 inches of overlap on all sides.
- Seal the patch: Use adhesive-backed tape or a compatible sealant to secure the patch to the existing vapor barrier. Ensure that the edges are tightly sealed to prevent any gaps.
- Smooth out the repair: Press firmly to remove air bubbles and ensure a smooth, tight bond between the patch and the original vapor barrier.
Re-Sealing Gaps and Edges
Over time, edges and seams of the vapor barrier can become loose, which compromises the barrier’s ability to block moisture. To re-seal these areas:
- Clean the surface: Before re-sealing, ensure that the area is free of dust and moisture for a secure bond.
- Apply fresh tape or sealant: Use high-quality butyl tape or an appropriate sealant along the loosened edge or seam, ensuring full coverage and adhesion.
- Press and smooth: Firmly press the tape or sealant along the seam to eliminate gaps or air pockets, ensuring a complete seal that restores the barrier's moisture-blocking capability.
Upgrading the Vapor Barrier System
When to Upgrade
There are times when upgrading the vapor barrier system may be necessary to maintain long-term effectiveness, such as during major basement renovations or if the existing barrier is outdated. If you’re noticing repeated damage, frequent repairs, or consistent moisture issues, it may be a sign that the current vapor barrier is no longer sufficient for the conditions in your basement. Older vapor barriers, especially those that are thinner or made from less durable materials, may no longer offer adequate protection against moisture infiltration, making an upgrade a worthwhile investment.
Advanced Barrier Solutions
As technology advances, newer and more effective vapor barrier materials and systems have become available. These advanced solutions offer enhanced protection against moisture and are designed to be more durable and long-lasting than traditional barriers. Options such as reinforced polyethylene sheets, multi-layered vapor barriers, and liquid-applied systems provide better resistance to punctures, tears, and water pressure. These solutions also often include improved permeance ratings, ensuring they meet the specific needs of your basement’s moisture levels. Upgrading to these advanced barrier systems can provide better long-term performance and reduce the need for frequent maintenance or repairs.
FAQs
Contact Trench Guys Today!
Trench Guys will do everything we can to ensure your experience with us is excellent.
Request A FREE Estimate
Request a Free Estimate Form
Checkout Recent Post
Got a Question? We’re Here to Help.
You can arrange an appointment or make an enquiry by phone or email, orget in touch to us via our contact form.
Looking for a reliable and professional company to take care of your crawl space, basement and gutter needs? Look no further than Trench Guys! We have years of experience in the industry and can provide you with top-quality services at a competitive price. Contact us today to get started!
CONTACT INFORMATION
Phone: 478-236-6403
Email: Wedigmiddlega@gmail.com
Address: Macon, GA
Business Hours:
Mon-Fri: 6:00 AM - 5:00 PM
Sat-Sun: Closed
ADDITIONAL INFORMATION
Us Across The Web
Geo
Neighborhoods
Niche
Privacy Policy | Terms & Conditions | Sitemap