
Vapor barriers play a crucial role in moisture control by preventing water vapor from penetrating walls, floors, and ceilings, which can lead to mold, mildew, and structural damage. In older homes, where moisture control may not have been a design priority, retrofitting with vapor barriers can significantly improve the building’s comfort, durability, and energy efficiency. By adding a properly installed vapor barrier, homeowners can prevent moisture from damaging insulation and building materials, leading to improved indoor air quality, reduced energy consumption, and a longer-lasting structure. Retrofitting vapor barriers is an effective way to modernize older homes, helping them perform more efficiently and remain healthier for occupants.
Understanding the Need for Retrofitting Vapor Barriers
Common Signs That Your Home Needs a Vapor Barrier Retrofit
Moisture Issues
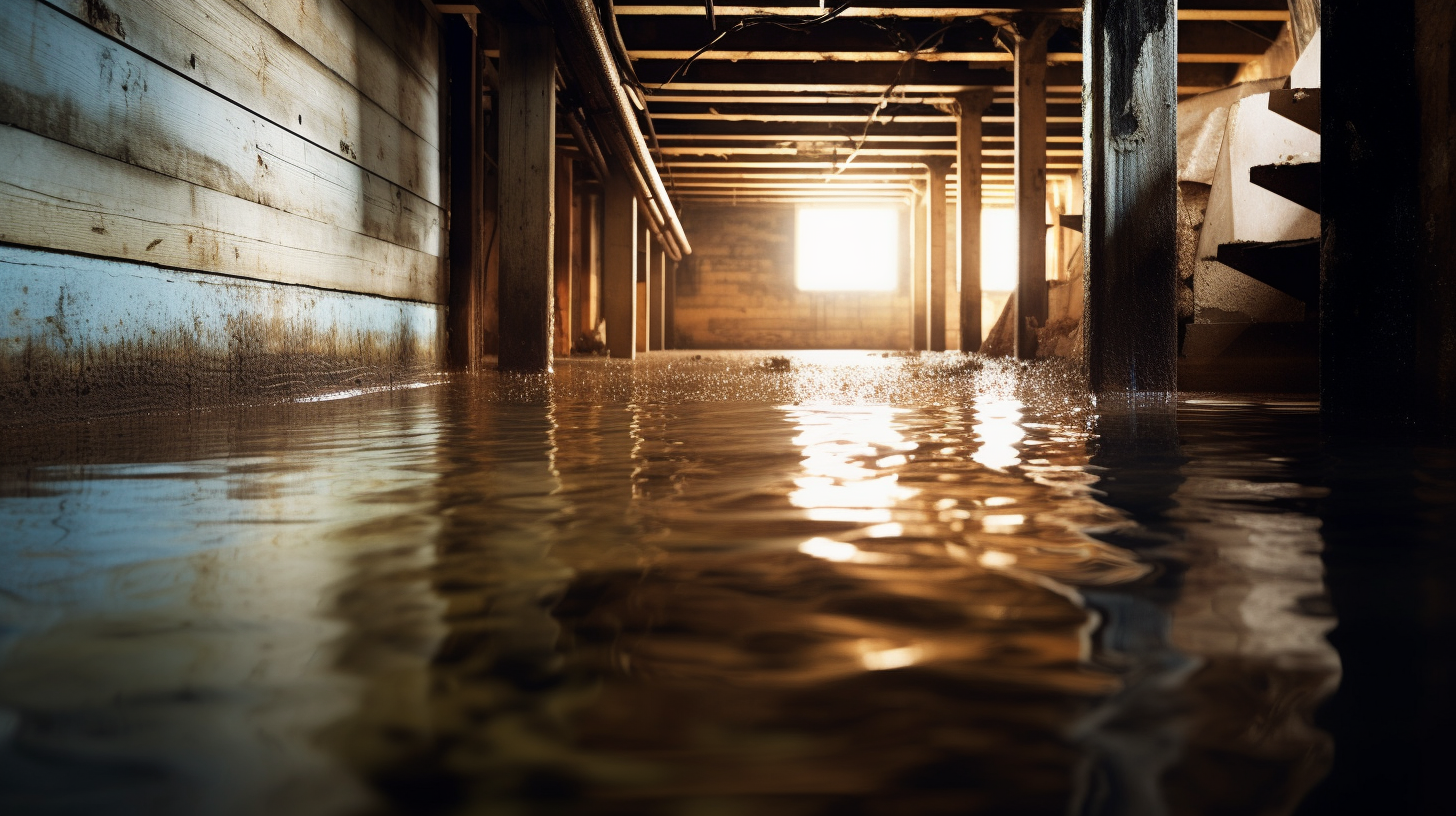
Persistent moisture problems in a home, such as damp walls, mold, mildew, or condensation on windows, are clear indicators that the building may need a vapor barrier retrofit. These issues often arise when moisture penetrates the walls, floors, or ceilings, leading to damage within the home’s structure. If left unchecked, this excess moisture can degrade insulation, promote mold growth, and compromise indoor air quality. Homes experiencing consistent dampness, even with dehumidifiers in use, are strong candidates for a vapor barrier retrofit to prevent further moisture-related damage.
Energy Inefficiency
Unusually high energy bills, drafts, or uneven temperatures throughout the home can be signs that moisture is affecting the insulation and reducing the building’s energy efficiency. Moisture-soaked insulation loses its ability to effectively regulate indoor temperatures, forcing HVAC systems to work harder to maintain comfort. This not only increases energy consumption but also contributes to temperature fluctuations. Retrofitting with vapor barriers can help keep insulation dry, improving its performance and leading to a more energy-efficient home with lower utility costs.
Aging or Inadequate Existing Barriers
Older homes may have outdated or inadequately installed vapor barriers that no longer provide effective moisture control. Over time, these barriers can become damaged, leading to gaps or weaknesses that allow moisture to penetrate. In some cases, homes may not have been built with vapor barriers at all. Retrofitting is essential in these situations to upgrade the home's moisture control system and prevent long-term damage to structural components and insulation. Inspecting and replacing aging or inadequate vapor barriers can dramatically improve the home’s durability and energy performance.
Benefits of Retrofitting Vapor Barriers
Improved Moisture Control
Retrofitting vapor barriers provides a proactive solution to prevent future moisture problems, protecting the home’s structure and the health of its occupants. By installing a properly functioning vapor barrier, homeowners can significantly reduce the risk of mold, mildew, and water damage, particularly in moisture-prone areas like basements or crawl spaces. This not only safeguards the integrity of the home but also creates a healthier living environment, reducing allergens and maintaining better air quality.
Enhanced Energy Efficiency
One of the most significant benefits of retrofitting vapor barriers is the potential for energy savings. When insulation remains dry, it can function more effectively, helping to maintain consistent indoor temperatures and reducing the strain on heating and cooling systems. This improved thermal performance translates to lower energy bills, making the home more energy-efficient. Homeowners can enjoy a more comfortable environment while reducing their overall energy consumption, contributing to a more sustainable lifestyle.
Increased Home Value
A well-maintained home with effective moisture control systems, such as updated vapor barriers, is more attractive to potential buyers. Retrofitting vapor barriers not only enhances the home’s performance but also provides peace of mind for future owners, knowing that moisture-related issues have been addressed. These improvements can increase the home’s market value, making it a more appealing investment. Buyers are more likely to pay a premium for homes that are energy-efficient, structurally sound, and equipped with modern moisture management solutions.
Assessing Your Home for a Vapor Barrier Retrofit
Conducting a Thorough Moisture Inspection
Identifying Problem Areas
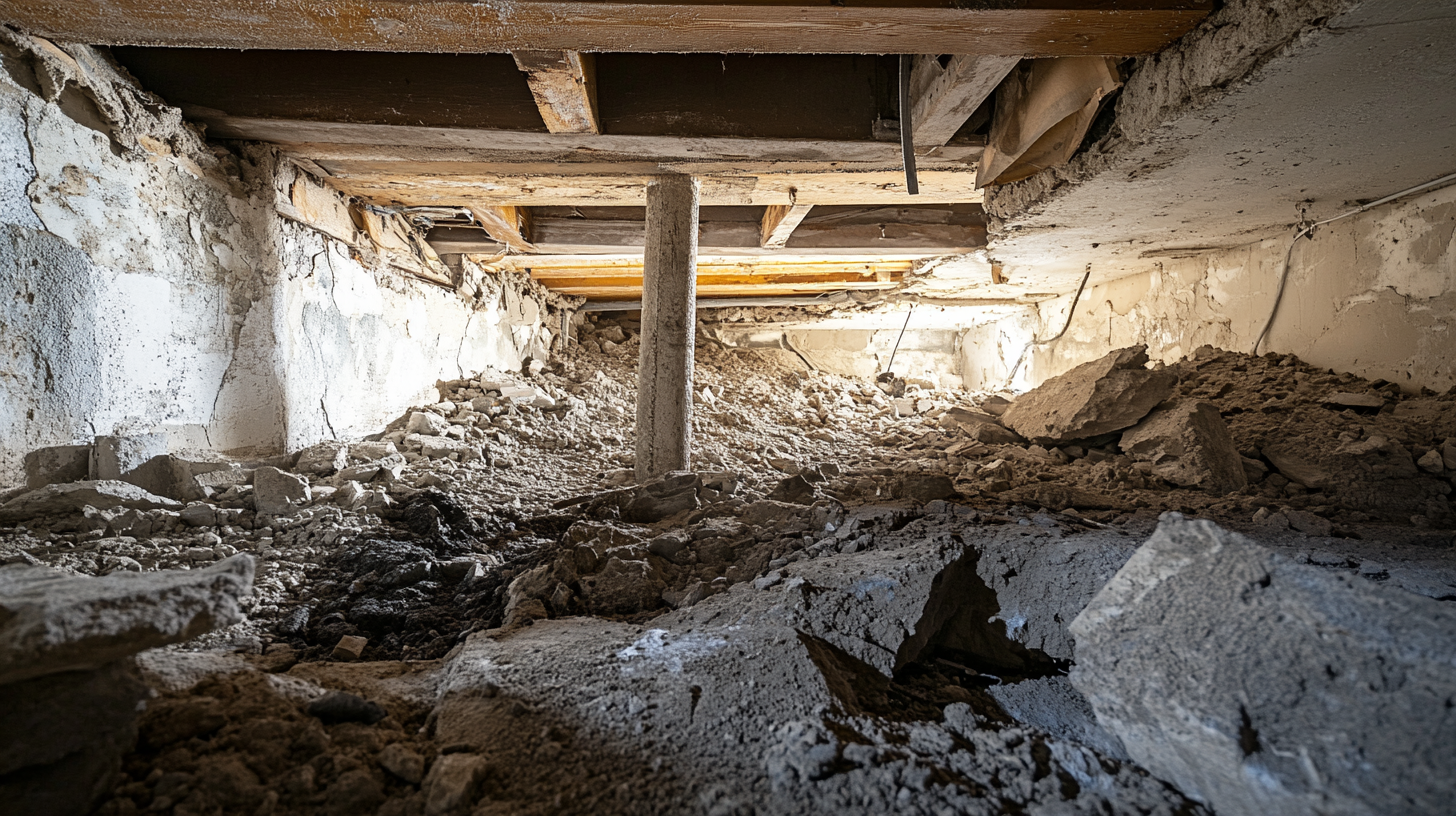
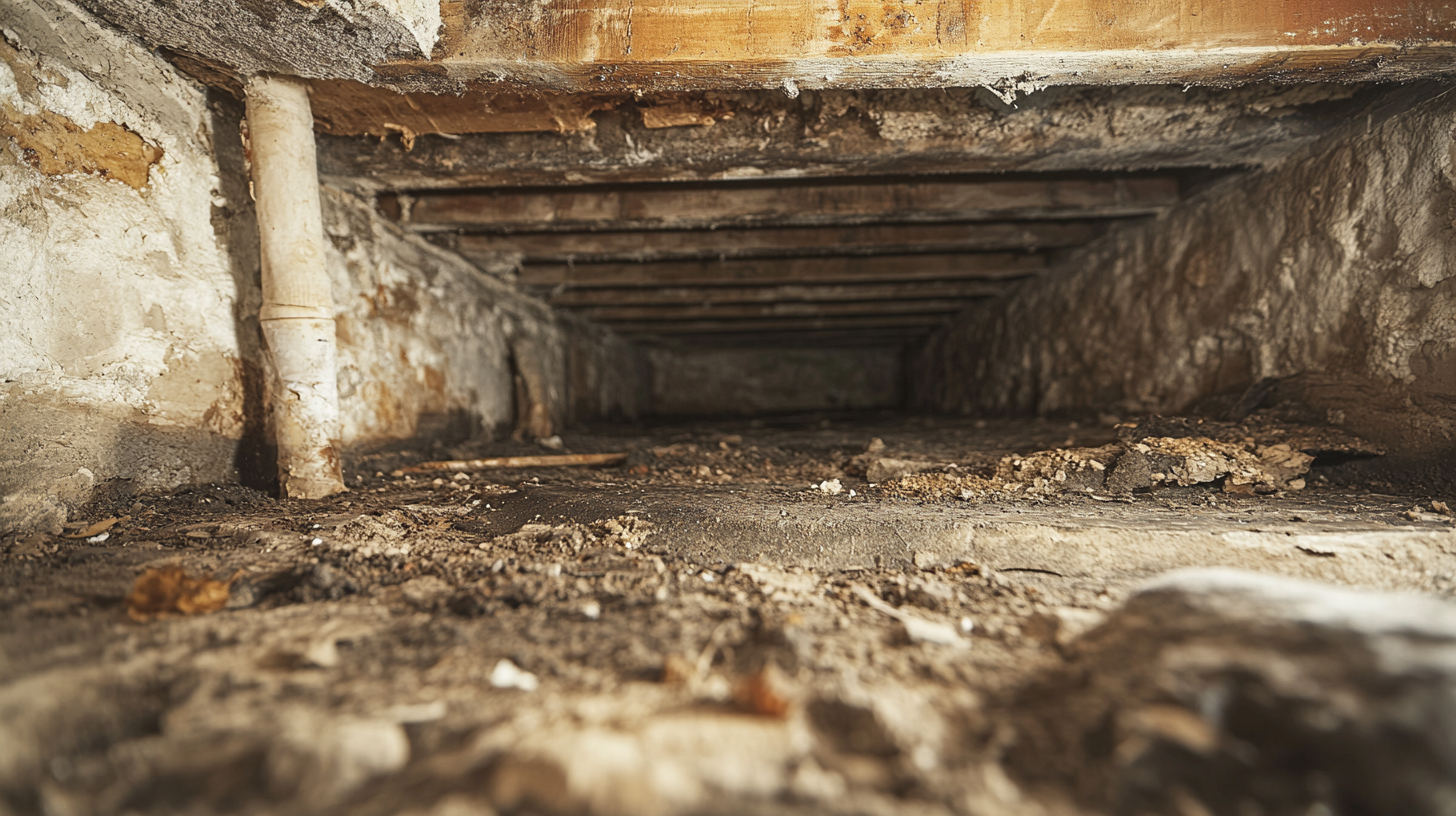
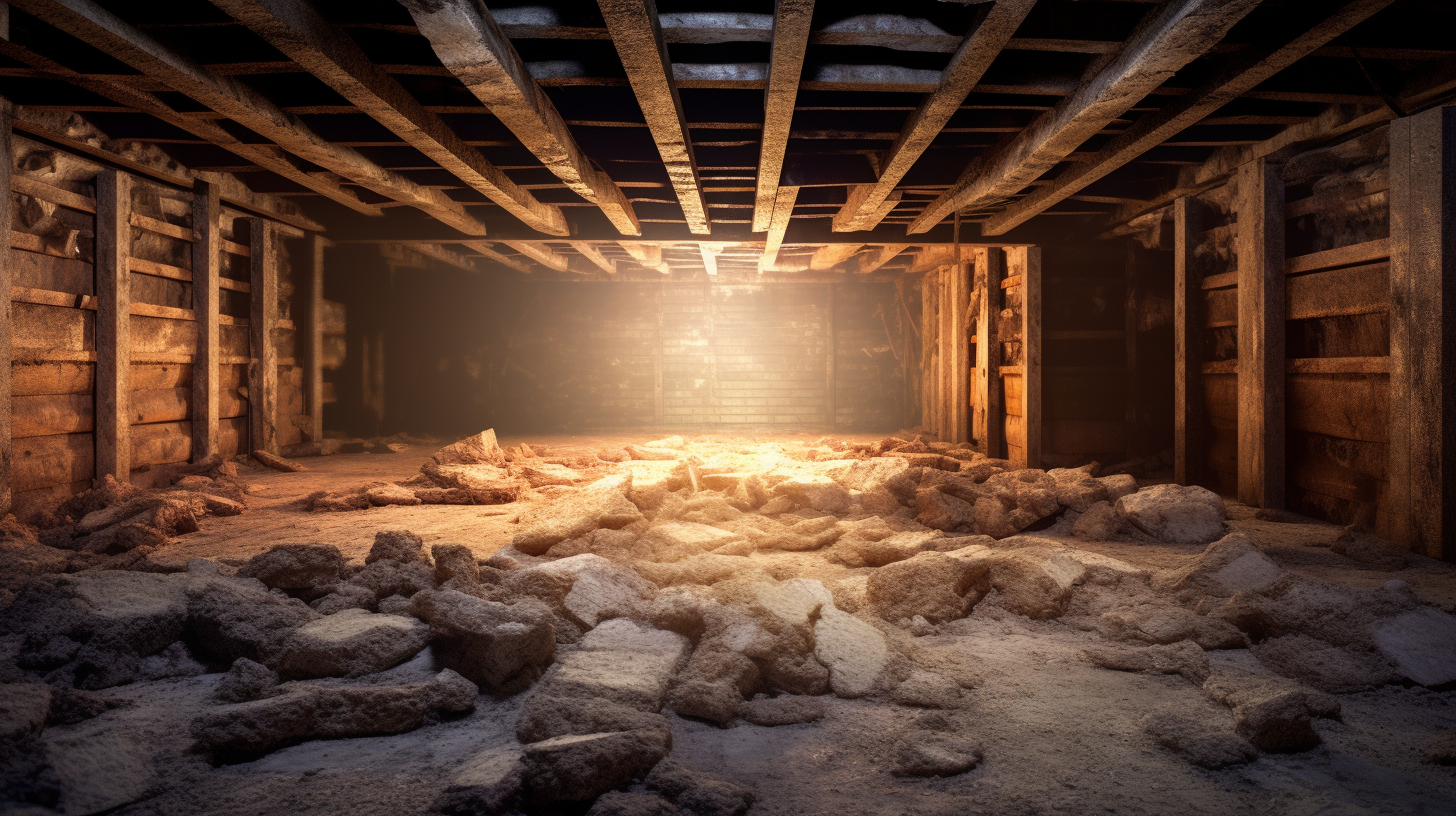
The first step in assessing your home for a vapor barrier retrofit is identifying areas where moisture issues are most prevalent. Basements, crawl spaces, and exterior walls are common problem zones, as they are more exposed to dampness from the ground or outside air. Look for signs such as persistent dampness, water stains, mold, mildew, or peeling paint. Pay particular attention to corners, areas near windows or doors, and places where insulation may have been compromised. Identifying these problem areas early helps prioritize where retrofitting may be necessary.
Using Moisture Meters and Thermal Imaging
To detect hidden moisture problems that may not be visible to the naked eye, tools like moisture meters and thermal imaging cameras can be incredibly useful. Moisture meters allow you to measure the moisture levels in walls, floors, and ceilings, providing an accurate assessment of where moisture is accumulating. Thermal imaging cameras can reveal temperature differences caused by dampness behind walls or insulation, helping to locate moisture that might otherwise go unnoticed. Using these tools provides a more comprehensive understanding of moisture infiltration and aids in determining whether a vapor barrier retrofit is needed.
Professional Assessment
If moisture issues in the home are extensive or difficult to diagnose, it is highly recommended to hire a professional for a detailed moisture inspection. Professionals have the experience and advanced tools to identify the full scope of moisture problems, including those that may be affecting the structure in subtle ways. They can also provide guidance on the best course of action for addressing these issues, whether that means replacing existing vapor barriers, improving ventilation, or addressing structural problems. A professional assessment ensures that all potential issues are identified and addressed properly, safeguarding the home from future damage.
Evaluating Existing Vapor Barriers
Inspecting Current Barriers
If your home already has vapor barriers installed, it’s important to inspect them to determine whether they are still intact and effective. Check for signs of wear, such as cracks, tears, or gaps in the barrier material. Also, ensure that the vapor barriers are correctly placed—usually on the warm side of the insulation in cold climates or the exterior side in warm, humid climates. Poor placement or damaged barriers can lead to moisture problems. Identifying these issues during an inspection allows for targeted repairs or replacements.
Determining the Scope of Retrofitting
Based on the condition and effectiveness of your existing vapor barriers, decide whether to replace, repair, or supplement them. If the barriers are in relatively good condition but show some signs of wear, simple repairs—such as patching small tears or resealing gaps—may be sufficient. However, if the vapor barriers are outdated, incorrectly placed, or severely damaged, a full replacement may be necessary. In some cases, especially in older homes, supplementing existing barriers with modern materials in key areas can enhance moisture control without requiring a complete overhaul. By carefully evaluating the state of your current vapor barriers, you can determine the most efficient and cost-effective approach to retrofitting.
Choosing the Right Vapor Barrier for Retrofitting
Material Options for Retrofitting
Polyethylene Sheets
Polyethylene sheets are one of the most common and cost-effective options for retrofitting vapor barriers. Available in various thicknesses, typically between 6 and 20 mil, they are durable and highly impermeable to moisture, making them an excellent choice for areas like basements, crawl spaces, and walls. Polyethylene sheets are easy to install and can be used for large areas, providing a reliable barrier against water vapor. For homeowners seeking an affordable, straightforward retrofit solution, polyethylene sheets offer a balance of affordability and performance.
Foil-Faced Insulation
For homes in colder climates where additional thermal protection is required, foil-faced insulation can be an ideal vapor barrier retrofit option. This material combines insulation with a built-in vapor barrier, reflecting heat back into the home while preventing moisture from entering the wall assembly. It’s particularly useful for attics, walls, and ceilings where both moisture control and enhanced thermal efficiency are priorities. Retrofitting with foil-faced insulation helps improve the overall energy performance of the home while addressing moisture issues, making it a great dual-purpose solution.
Liquid-Applied Barriers
Liquid-applied vapor barriers are an excellent option for retrofitting in areas with irregular surfaces or difficult access. This material is applied as a liquid and then hardens to create a seamless, fully adhered moisture barrier. It is particularly useful in retrofits for spaces like crawl spaces, foundations, or around pipes and ducts where traditional sheet materials may be hard to install. Liquid-applied barriers offer superior coverage in hard-to-reach areas and provide a continuous barrier without the need for seams or overlaps, reducing the risk of gaps that could allow moisture to penetrate.
Factors to Consider When Selecting a Vapor Barrier
Climate Considerations
When choosing a vapor barrier for retrofitting, it’s crucial to consider the local climate to ensure the material has the appropriate permeance and durability. In cold climates, low-permeance vapor barriers are generally used on the interior (warm side) to prevent moisture from condensing within the insulation. In warm, humid climates, a higher-permeance material is often necessary to allow moisture to escape, preventing it from being trapped inside the walls. For mixed climates, variable-permeance barriers that adjust to seasonal changes are ideal, providing moisture control without risking condensation buildup. Understanding your climate’s moisture patterns helps ensure you choose the most effective vapor barrier for long-term performance.
Compatibility with Existing Materials
Selecting vapor barriers that are compatible with existing insulation and building materials is essential to avoid issues like off-gassing, poor adhesion, or chemical reactions that could degrade the barrier or insulation. Some insulation materials, such as spray foam or fiberglass, work better with specific types of vapor barriers. For example, a polyethylene sheet might pair well with fiberglass insulation, while liquid-applied barriers may be more compatible with spray foam due to their ability to form a tight seal around irregular surfaces. Ensuring compatibility between new vapor barriers and existing materials helps maximize the effectiveness of both systems and avoids unintended complications.
Thickness and Durability
The thickness and durability of a vapor barrier are key factors in ensuring its long-term effectiveness, particularly in high-moisture areas like basements, crawl spaces, and exterior walls. Vapor barriers typically range from 6 to 20 mil in thickness, with thicker barriers offering greater resistance to tears, punctures, and long-term wear. In areas prone to high moisture or physical stress, such as under floors or in contact with soil, selecting a thicker vapor barrier (e.g., 10 mil or greater) is recommended. Thinner barriers may be sufficient for areas like attics or interior walls, where moisture levels are lower. Choosing the right thickness ensures that the vapor barrier performs effectively for years to come, providing reliable moisture protection without the need for frequent replacements.
Step-by-Step Guide to Retrofitting Vapor Barriers
Preparing the Home for Retrofitting
Clearing the Area
Before retrofitting a vapor barrier, it’s essential to properly prepare the area where the barrier will be installed. This involves removing any obstacles such as furniture, insulation, or debris to ensure a clean work environment. Cleaning surfaces is also crucial, as dust, dirt, and existing moisture can prevent the vapor barrier from adhering properly. Repair any existing damage to walls, floors, or ceilings, such as cracks or holes, which could allow moisture to bypass the barrier. Taking these steps ensures a smooth installation process and maximizes the effectiveness of the vapor barrier.
Addressing Existing Moisture Issues
It’s vital to address any pre-existing moisture problems before installing a vapor barrier. This includes fixing leaks in the roof, walls, or plumbing and improving exterior drainage to divert water away from the foundation. Additionally, using dehumidifiers to reduce indoor moisture levels can help dry out the space, creating optimal conditions for installation. If moisture is present in basements or crawl spaces, it’s important to resolve these issues before retrofitting to prevent the new barrier from trapping moisture and causing further damage.
Installing the Vapor Barrier
Walls and Ceilings
When retrofitting vapor barriers on walls and ceilings, start by measuring and cutting the material to fit the area. Secure the vapor barrier to the studs or joists using staples, nails, or adhesive, ensuring it lies flat without wrinkles or gaps. Overlap seams by at least 6 to 12 inches and use adhesive tape to seal them tightly, creating a continuous barrier. Pay special attention to sealing the edges around windows, doors, and other penetrations to prevent moisture from bypassing the barrier. Ensure that the vapor barrier is placed on the correct side (warm side in cold climates) to avoid condensation buildup.
Floors and Crawl Spaces
Retrofitting vapor barriers in basements and crawl spaces requires special attention to ground surfaces and perimeters. Begin by laying a thick polyethylene sheet or other suitable vapor barrier material over the entire floor area, ensuring that it extends up the walls by at least 6 inches to create a secure seal. Overlap all seams by 12 inches and tape them securely to prevent gaps. For crawl spaces, be sure to cover the entire ground surface, sealing all perimeters and around any penetrations, such as pipes or supports, to prevent moisture from rising into the living space. This installation is particularly important for preventing ground moisture from affecting the home’s foundation and insulation.
Attics and Roofs
In attics and roof spaces, installing vapor barriers must be done carefully to avoid compromising ventilation. Lay the vapor barrier directly over the insulation, ensuring it covers the entire surface. Overlap seams and tape them securely to create a continuous moisture barrier. However, it’s important to leave space for ventilation systems to function properly, as sealing the attic too tightly can lead to trapped moisture and poor air circulation. Proper ventilation prevents condensation buildup in the attic while still allowing the vapor barrier to protect against moisture infiltration.
Sealing and Finishing
Sealing Around Penetrations
When installing vapor barriers, special care must be taken around any penetrations, such as pipes, ducts, and electrical wiring. These areas are common points for moisture to bypass the barrier, so it’s essential to use compatible sealants or gaskets to seal tightly around them. Ensure that each penetration is carefully sealed without leaving gaps, as even small openings can compromise the barrier’s effectiveness. Using flexible sealants designed to bond with both the vapor barrier material and surrounding surfaces is recommended for long-term protection.
Ensuring Proper Overlaps
To maintain a continuous vapor barrier, it’s crucial to ensure that all vapor barrier sheets are overlapped correctly. The recommended overlap is at least 6 to 12 inches, and all seams should be taped or sealed with adhesive to prevent gaps that could allow moisture to enter. Press down firmly along the seams to ensure a tight bond and to eliminate any air pockets that could reduce the effectiveness of the barrier. Proper overlapping and sealing create a seamless moisture barrier that provides comprehensive protection for the home.
Final Inspection and Testing
Once the vapor barrier is installed, conducting a thorough final inspection is key to ensuring the barrier’s effectiveness. Check all seams, edges, and penetrations to confirm that they are properly sealed, and there are no gaps or areas of damage. It’s also a good idea to test the vapor barrier by observing moisture levels in the space over time, especially in basements and crawl spaces. Monitoring these areas will help ensure that the vapor barrier is functioning as intended, keeping moisture out and preserving the insulation’s effectiveness. A properly installed and sealed vapor barrier will provide long-lasting protection against moisture intrusion.
Common Challenges and How to Overcome Them
Dealing with Difficult Access Areas
Tight Spaces and Obstacles
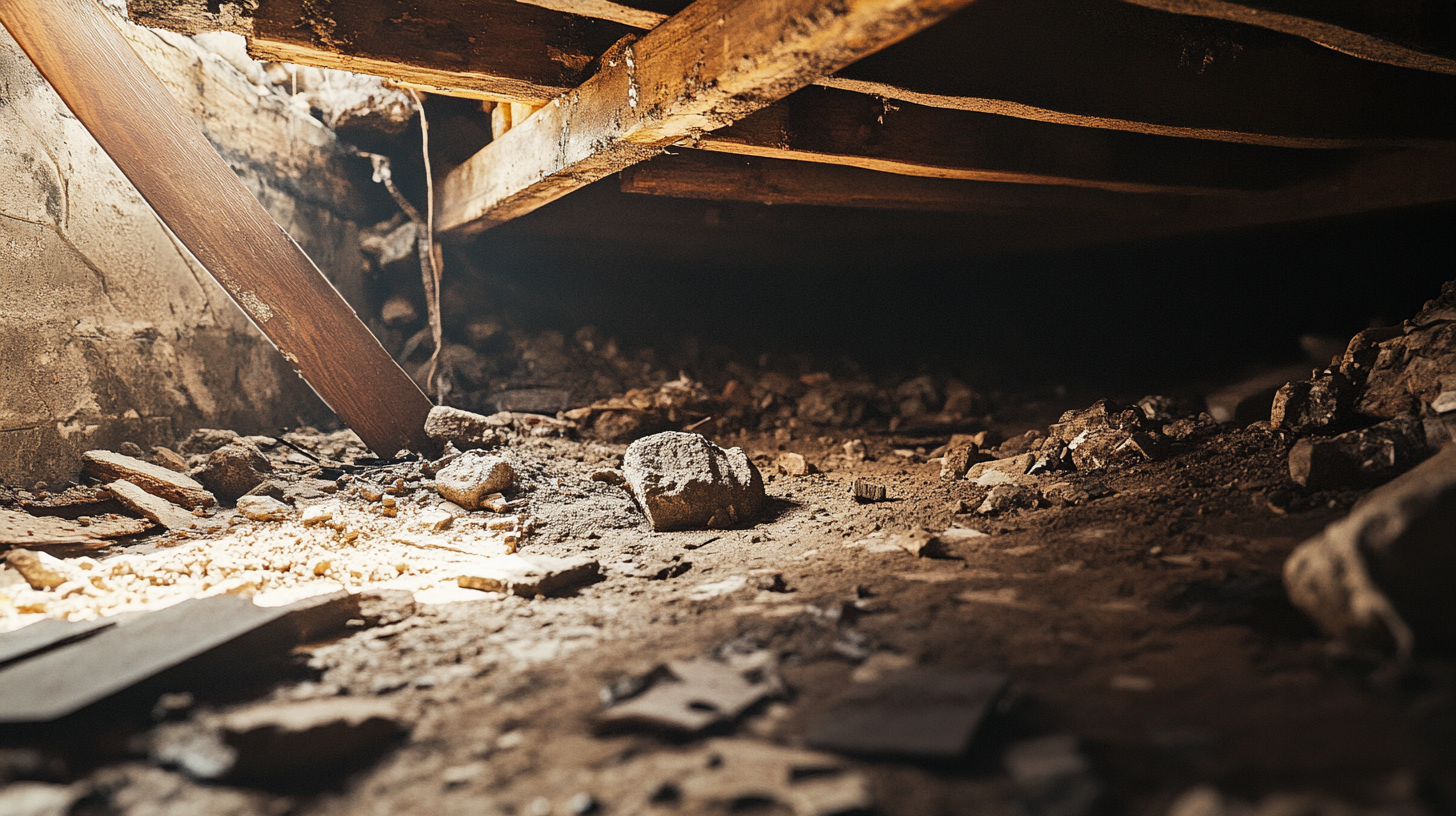
One of the common challenges when retrofitting vapor barriers is working in tight or obstructed spaces, such as behind walls, within narrow crawl spaces, or around structural elements. In these areas, flexibility is key. Strategies include cutting the vapor barrier material into smaller sections to fit around obstacles and using tools like long-handled rollers to apply the material in hard-to-reach spots. For extremely tight spaces, consider partial disassembly of wall or floor panels to gain better access. Ensuring the barrier remains continuous, even in tight spaces, is critical to its effectiveness.
Irregular Surfaces
When dealing with uneven or irregular surfaces, such as rough foundations or jagged walls, traditional vapor barrier sheets may not provide a complete seal. In these cases, liquid-applied vapor barriers are an ideal solution. These barriers are applied as a spray or brush-on liquid, which then hardens into a continuous, seamless layer, conforming to the contours of the surface. For more complex areas, custom-fitted vapor barriers, combined with flexible sealants, can also help cover irregular surfaces while maintaining a tight moisture barrier. Using the right approach ensures these challenging surfaces are fully protected from moisture.
Managing Cost and Time Constraints
Prioritizing High-Risk Areas
When budget or time constraints are a factor, it’s important to prioritize the areas of the home most at risk for moisture problems. High-risk areas such as basements, crawl spaces, and exterior walls that are prone to dampness should be addressed first. These spaces are more likely to suffer from moisture-related damage, including mold growth, insulation degradation, and structural weakening. By focusing on these critical zones, homeowners can address the most pressing moisture concerns and maximize the benefits of their vapor barrier retrofit, even if the entire home cannot be done immediately.
DIY vs. Professional Installation
For homeowners managing tight budgets, deciding between a DIY vapor barrier installation and hiring a professional can be challenging. A DIY retrofit can save money upfront, especially for smaller, more accessible areas, but it comes with risks such as improper installation, incorrect material selection, or misplacement of the vapor barrier. These mistakes could lead to future moisture problems. Professional installation, while more costly, ensures the vapor barrier is installed correctly, especially in difficult areas or high-moisture environments. For larger projects or areas with complex moisture issues, hiring a professional may be the best long-term investment.
Avoiding Common Mistakes
Improper Placement
One of the most common mistakes in vapor barrier installation is improper placement. In cold climates, the vapor barrier should be placed on the warm side of the insulation (typically the interior), while in warm, humid climates, it should be placed on the exterior side. Incorrect placement can trap moisture inside the wall assembly, leading to condensation and mold growth. Understanding the building’s climate and ensuring the vapor barrier is positioned relative to the insulation and other building materials is crucial for proper moisture control.
Inadequate Ventilation
Another frequent challenge when retrofitting vapor barriers is ensuring that the areas remain properly ventilated. Over-sealing a space without allowing for adequate airflow can trap moisture behind the barrier, leading to condensation, mold, and poor indoor air quality. To prevent this, ensure that there is sufficient ventilation, especially in areas like attics, crawl spaces, and basements. Installing vents or fans in conjunction with the vapor barrier can help manage humidity levels and allow the space to breathe, preventing moisture from becoming trapped within the structure. Proper ventilation is key to maintaining the effectiveness of the vapor barrier and ensuring long-term moisture control.
FAQs
Contact Trench Guys Today!
Trench Guys will do everything we can to ensure your experience with us is excellent.
Request A FREE Estimate
Request a Free Estimate Form
Checkout Recent Post
Got a Question? We’re Here to Help.
You can arrange an appointment or make an enquiry by phone or email, orget in touch to us via our contact form.
Looking for a reliable and professional company to take care of your crawl space, basement and gutter needs? Look no further than Trench Guys! We have years of experience in the industry and can provide you with top-quality services at a competitive price. Contact us today to get started!
CONTACT INFORMATION
Phone: 478-236-6403
Email: Wedigmiddlega@gmail.com
Address: Macon, GA
Business Hours:
Mon-Fri: 6:00 AM - 5:00 PM
Sat-Sun: Closed
ADDITIONAL INFORMATION
Us Across The Web
Geo
Neighborhoods
Niche
Privacy Policy | Terms & Conditions | Sitemap