
Moisture is one of the most persistent and damaging elements that can affect the integrity of your home, especially when it comes to your roof. A crucial solution to this problem is the installation of vapor barriers. Vapor barriers are specially designed materials that prevent the movement of moisture through walls, floors, and, most importantly, the roof structure. By blocking moisture infiltration, these barriers protect your home from the risks of mold, mildew, and structural decay.
Roof structures, being particularly vulnerable to moisture build-up, can suffer significant long-term damage if not properly shielded. The importance of vapor barriers lies in their ability to maintain the dryness of critical areas, ensuring that excess water vapor does not accumulate and compromise the strength of the building materials. Whether you're constructing a new home or improving an existing one, understanding how vapor barriers work and why they are essential can help you make informed decisions about your home’s durability and safety.
What is a Vapor Barrier?
Definition and Purpose
A vapor barrier is a material specifically designed to prevent moisture in the form of vapor from passing through walls, floors, and roofs. Unlike liquid water, water vapor can move through building materials, leading to condensation, mold growth, and even structural damage over time. The primary purpose of a vapor barrier is to protect vulnerable parts of the home, particularly in areas where moisture is more likely to accumulate, such as attics or roof cavities.
When it comes to roofing, vapor barriers play a crucial role in maintaining the integrity of the structure. In the roof cavity or attic, warm air from inside the home can rise and meet cooler external surfaces, leading to condensation. Vapor barriers are installed to prevent this moisture from entering the roofing structure, effectively reducing the risk of dampness, rot, and mold growth that could otherwise compromise the lifespan of the roof.
How Vapor Barriers Differ from Waterproofing Membranes
While vapor barriers and waterproofing membranes both serve the purpose of protecting buildings from moisture-related damage, they differ significantly in the type of moisture they are designed to manage. A vapor barrier addresses water vapor, the invisible moisture in the air that can penetrate walls, floors, and roofs. This is particularly important in preventing condensation and humidity-related problems within the building's structure.
In contrast, waterproofing membranes are designed to block liquid water from penetrating surfaces. These membranes are typically used in areas exposed to rain or standing water, such as exterior walls or foundations. While vapor barriers are often employed within the building envelope to control moisture levels, waterproofing membranes are more commonly applied to surfaces directly exposed to water.
Both systems work to maintain a dry and stable environment, but vapor barriers are essential for controlling indoor moisture levels and preventing damage caused by condensation, while waterproofing membranes are used for direct protection against liquid water exposure.
Why Your Roof Needs a Vapor Barrier
Preventing Moisture Buildup
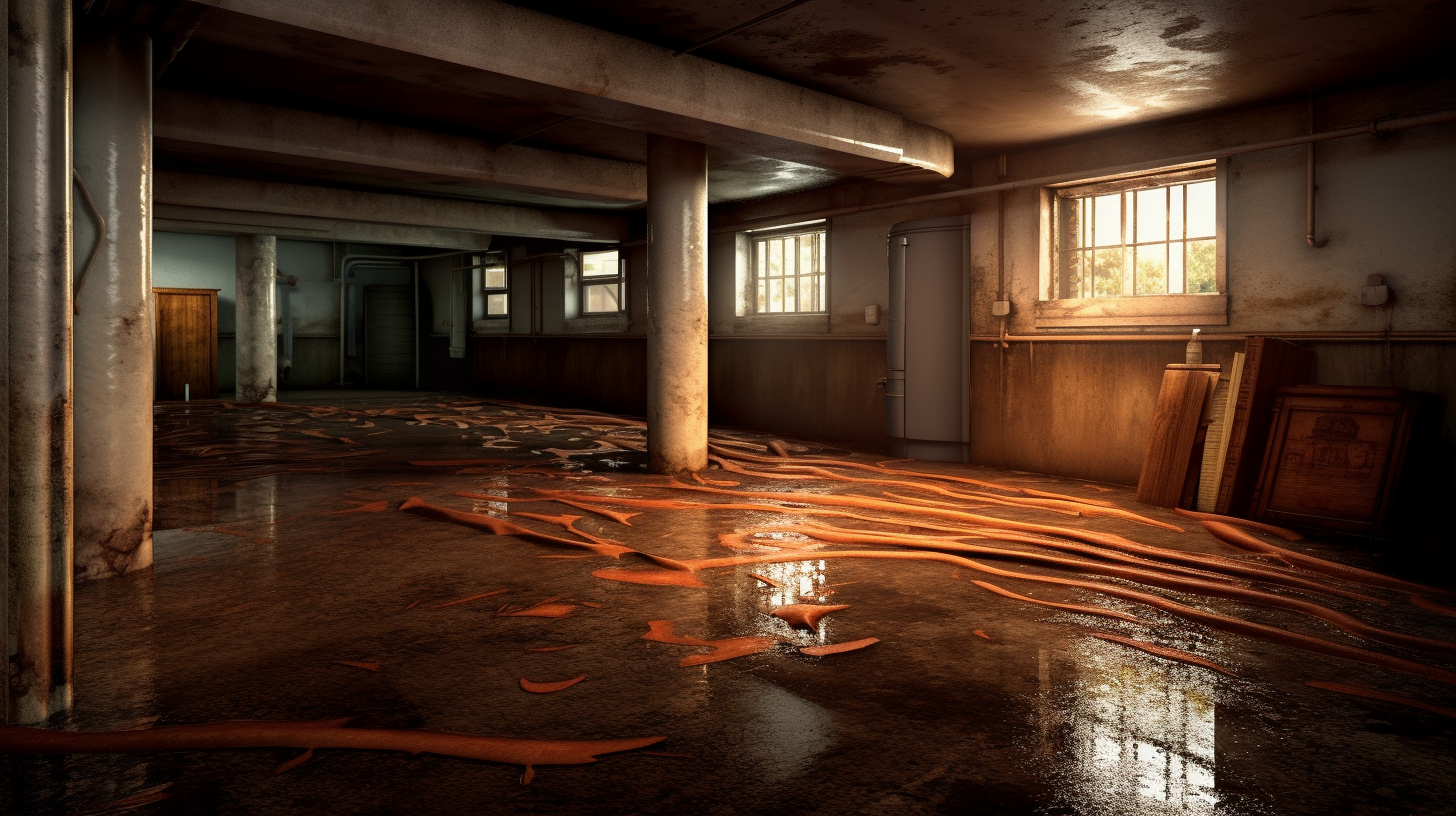
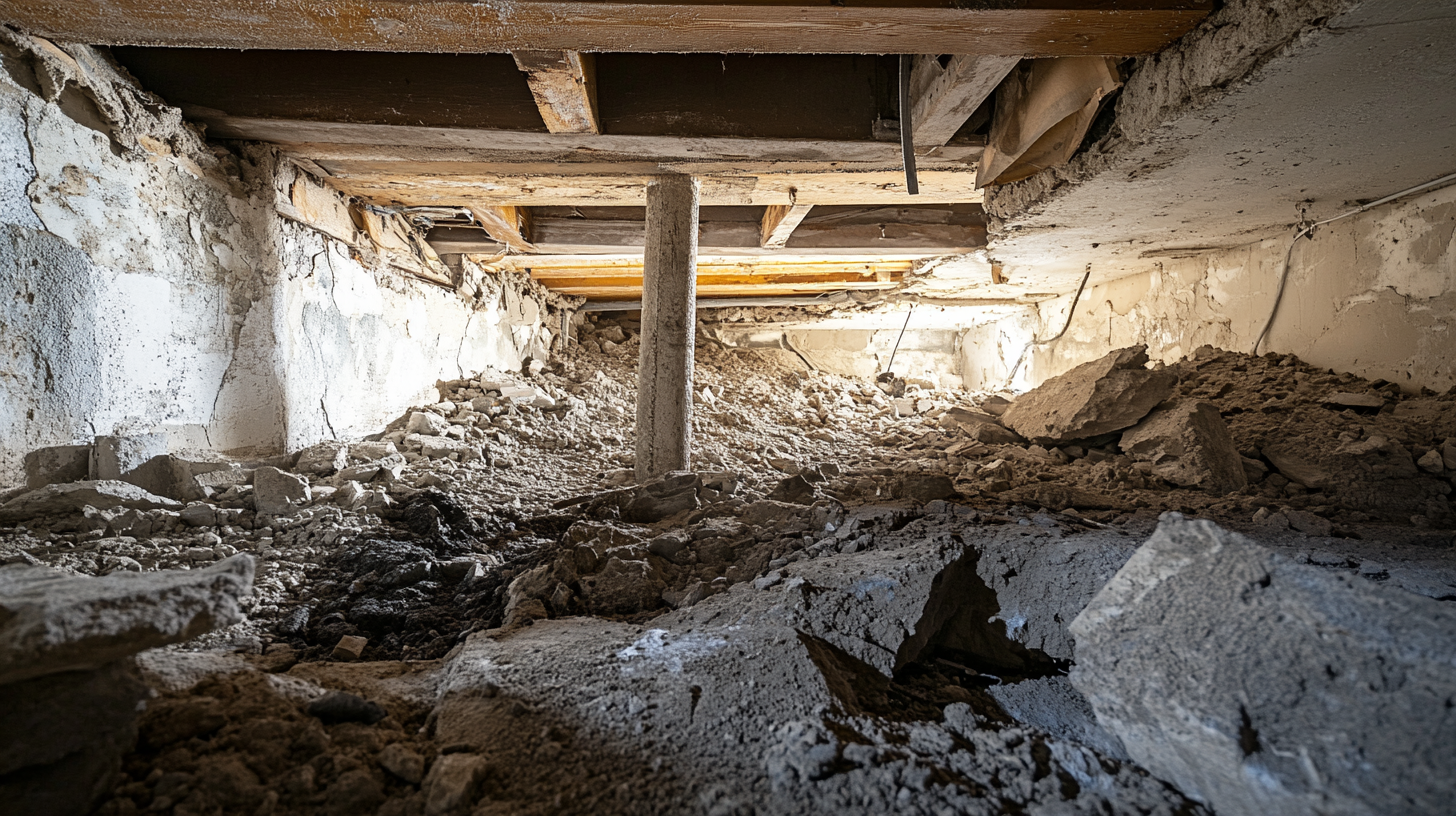
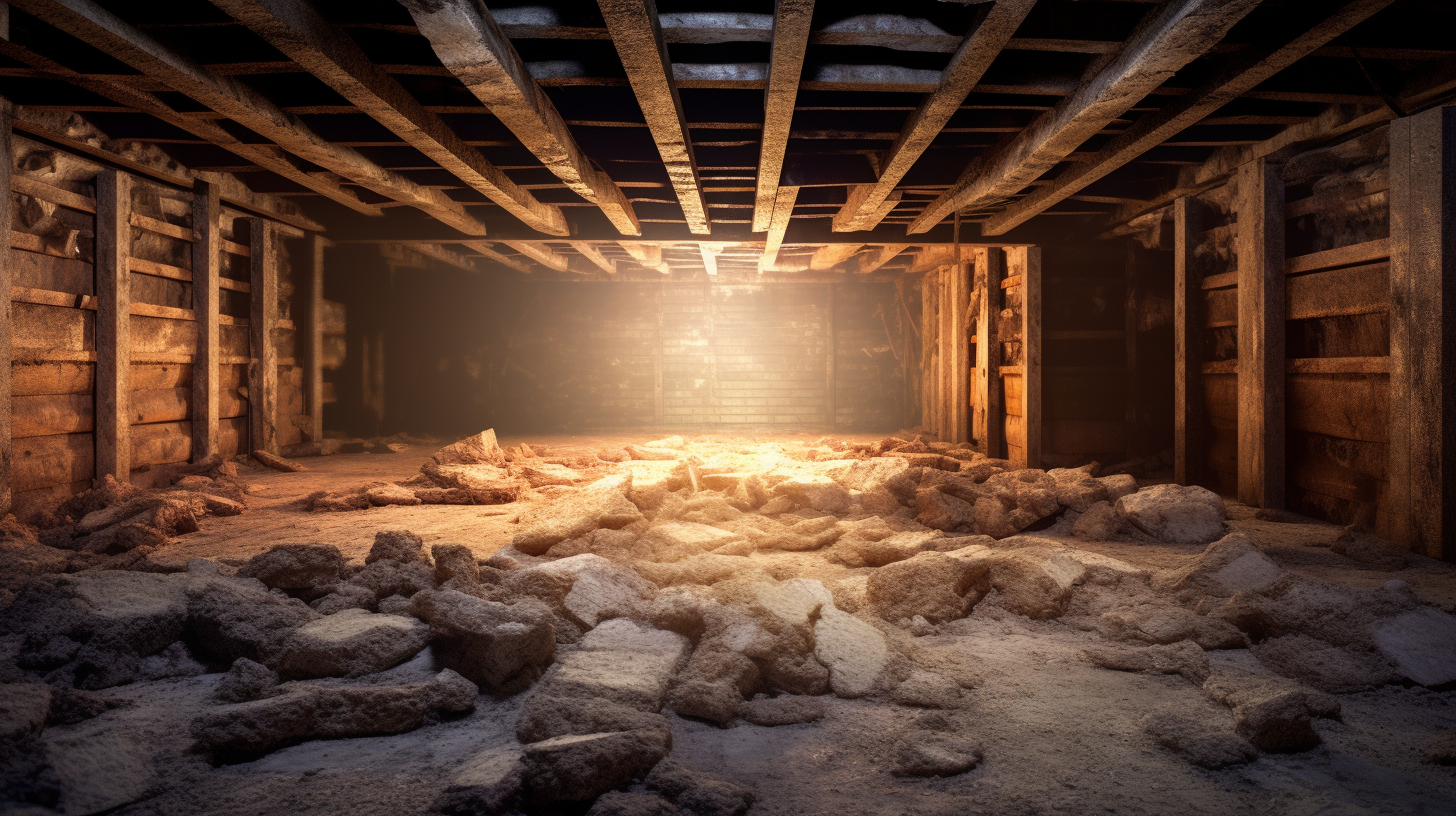
Moisture buildup in your roof is a serious issue that can lead to various forms of damage, ranging from condensation to wood rot and even compromised insulation. When warm, moisture-laden air rises and encounters the cooler surfaces of the roof, it can condense into water. This water then soaks into materials like wood, weakening the structure and promoting decay. Over time, untreated moisture can cause significant structural damage, especially to the roof deck and framing.
Additionally, roof insulation is particularly vulnerable to moisture. When insulation gets wet, its ability to retain heat diminishes, reducing the overall energy efficiency of your home. Without proper moisture control, condensation buildup can degrade insulation materials, leaving your home less protected from the elements.
Roofs in different climates face unique challenges. In cold climates, condensation tends to form when warm indoor air meets the cold roof deck, increasing the risk of moisture-related damage. On the other hand, hot climates can experience high humidity levels, which also lead to moisture buildup in the attic or roof cavity. A vapor barrier acts as a critical line of defense, regulating moisture levels and preventing these issues from developing, no matter the climate.
The Role of Vapor Barriers in Energy Efficiency
A well-installed vapor barrier can contribute significantly to your home’s energy efficiency. One of the primary ways it achieves this is by maintaining the integrity of your insulation. When insulation becomes damp due to moisture intrusion, it loses its thermal resistance, meaning your home will require more energy to maintain a comfortable temperature. By preventing moisture from penetrating your insulation, vapor barriers ensure that your roof stays dry, allowing your insulation to perform optimally.
Moreover, when a vapor barrier helps to prevent condensation, it also minimizes the risk of heat loss. Moisture-laden air conducts heat more readily, so keeping your roof cavity dry reduces unnecessary heat transfer, keeping your home warmer in the winter and cooler in the summer. This not only lowers your energy bills but also reduces your home’s environmental footprint.
Preventing Mold and Mildew Growth
Unchecked moisture in the attic or roof cavity can quickly lead to the growth of mold and mildew. These fungi thrive in damp environments, and when condensation builds up in the roof, it provides the perfect conditions for their proliferation. Mold and mildew can grow on wood, insulation, and even drywall, causing damage that may go unnoticed until it has spread extensively.
The presence of mold and mildew isn't just harmful to your home—it can also pose serious health risks to residents. Mold spores can trigger respiratory issues, allergies, and other health concerns, particularly in those with asthma or weakened immune systems. By installing a vapor barrier, you can prevent the buildup of moisture that fosters mold and mildew growth, protecting both your home and the health of those living in it.
Types of Vapor Barriers for Roofs
Classifications Based on Permeability
Vapor barriers are classified according to their permeability, or how much moisture they allow to pass through. The right vapor barrier for your roof will depend on your climate, insulation type, and the specific needs of your home. Let’s explore the three main classifications:
Class I (Impermeable Vapor Barriers)
Class I vapor barriers are designed to block nearly all moisture from passing through. They are ideal for regions with high humidity or areas where moisture control is critical. These barriers are typically used in climates where preventing the accumulation of moisture is essential to avoid condensation and rot. Examples include:
Polyethylene sheets, which are thick plastic sheets that create an impermeable layer against moisture.
- Foil vapor barriers, which reflect heat and block vapor, commonly used in high-humidity environments like bathrooms and kitchens.
- Class II (Semi-Permeable Vapor Barriers)
Class II vapor barriers allow a limited amount of moisture diffusion while still offering protection against significant vapor transfer. These are suitable for areas that need to balance moisture control without completely blocking airflow, such as homes in moderate climates. Common materials include:
- Kraft-faced fiberglass insulation, which has a paper backing that acts as a semi-permeable barrier, allowing the structure to "breathe" while limiting moisture penetration.
- Class III (Permeable Vapor Barriers)
Class III vapor barriers are the most permeable and allow moisture to move more freely. These barriers are used in specific climate zones, typically in areas where the risk of trapped moisture is low and some vapor diffusion is beneficial to the building's overall health. Examples include:
- Latex paint, which allows for moisture diffusion while providing a minimal barrier.
- Asphalt-coated paper, which is often used in building envelopes that need to manage moisture without completely sealing it off.
Common Materials Used
Understanding the materials used for vapor barriers can help in selecting the right product for your roof. Here are some of the most commonly used vapor barrier materials:
Polyethylene Sheeting
This is one of the most widely used vapor barrier materials, particularly in Class I applications. It is a plastic film that blocks moisture effectively, making it ideal for areas with high humidity.
Foil-backed Gypsum Board
This material combines the insulating properties of gypsum board with a foil backing that acts as an impermeable vapor barrier, suitable for areas requiring both insulation and moisture protection.
Spray Foam Insulation
Spray foam acts as both an insulator and a vapor barrier. It creates a tight seal around cracks and crevices, preventing air and moisture from infiltrating the roof cavity.
Kraft-faced Insulation
This semi-permeable material has a paper backing that helps control moisture. It is commonly used in attics and walls where moderate moisture control is needed.
Choosing the Right Vapor Barrier for Your Roof
Selecting the right vapor barrier for your roof is crucial for protecting your home from moisture-related damage and ensuring proper energy efficiency. The choice depends on a few key factors:
- Climate: In humid climates, where moisture is a constant concern, Class I vapor barriers are typically the best choice. In drier or colder climates, a Class II or Class III barrier may be more appropriate, allowing some vapor diffusion to prevent moisture from becoming trapped.
- Roof Type: The structure and materials of your roof also play a role. Metal roofs, for example, may benefit from more impermeable barriers to prevent condensation, while shingle roofs may require a semi-permeable solution.
- Insulation Needs: If you are using insulation that is susceptible to moisture, such as fiberglass, it's essential to pair it with a vapor barrier that will keep the insulation dry and effective.
Choosing the right vapor barrier is about understanding your specific roof and climate conditions to ensure long-term durability and protection for your home.
Installation Considerations for Vapor Barriers in Roofs
Placement of the Vapor Barrier
One of the most important considerations when installing a vapor barrier is its placement within the roof assembly. The correct positioning depends largely on whether your roof is classified as a cold roof or a warm roof, as well as your climate.
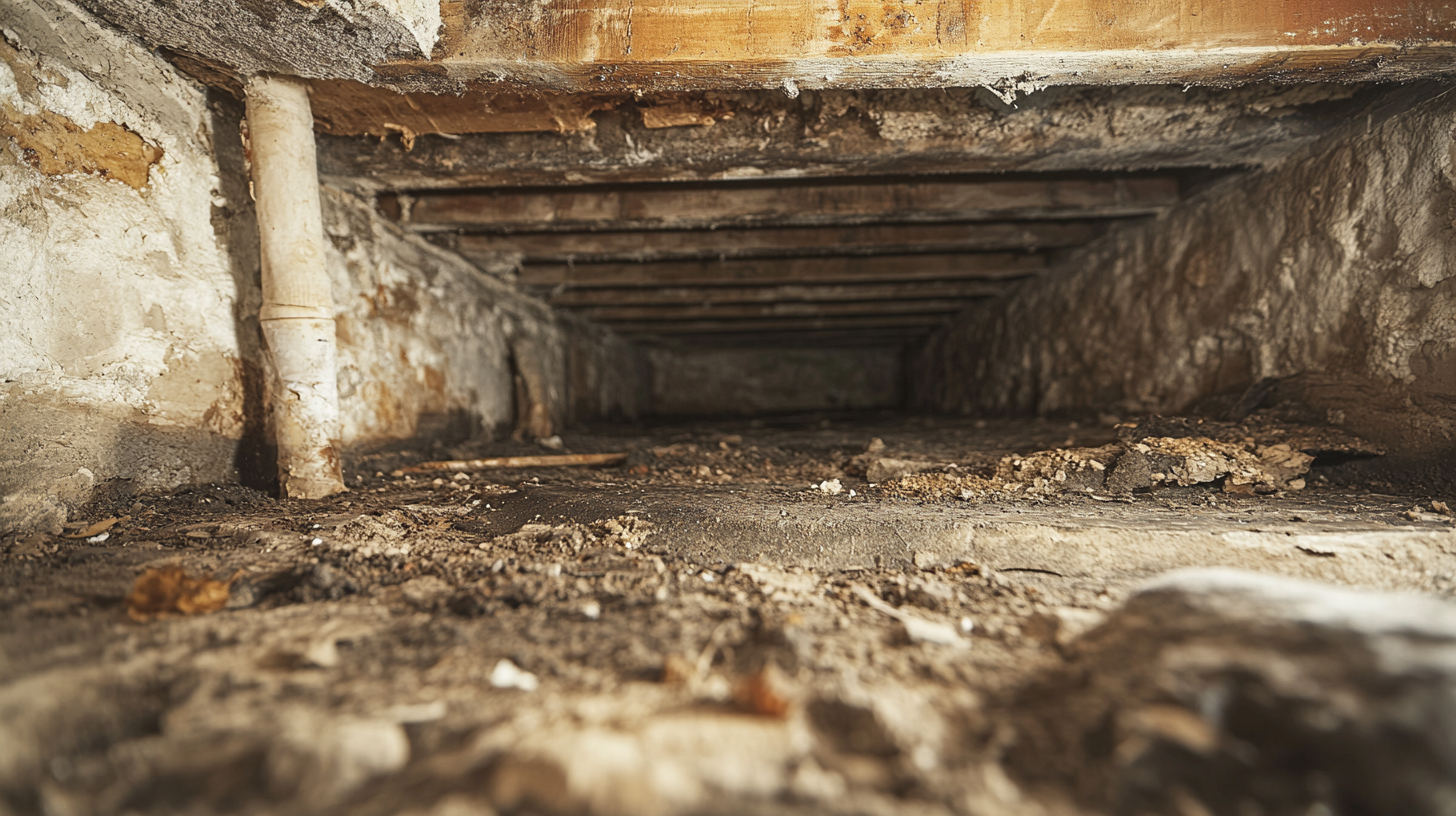
Cold Roofs: In cold roof assemblies, the insulation is installed directly under the roof deck, leaving an air gap between the insulation and the roof surface. For these types of roofs, the vapor barrier is typically installed directly beneath the insulation, on the warm side (interior side) of the structure. This placement helps prevent warm, moist air from escaping into the colder roof cavity, where it can condense and cause damage.
Warm Roofs: In a warm roof assembly, the insulation is placed above the roof deck, keeping the entire roof structure warm. Here, the vapor barrier is often installed above the insulation to ensure moisture doesn’t become trapped between layers. This design is particularly beneficial in climates where significant temperature differences between the interior and exterior can cause condensation buildup inside the roof.
Understanding your specific roof type and climate is essential for proper vapor barrier placement, as improper installation can lead to trapped moisture, reducing the efficiency of the barrier and potentially causing long-term damage.
Professional Installation vs. DIY
Installing a vapor barrier may seem like a straightforward task, but there are several factors that can complicate the process. Whether to hire a professional or tackle the installation as a DIY project depends on the complexity of your roof structure and your experience with home improvements.
Professional Installation: In most cases, it’s advisable to hire a professional, especially for more complex roof assemblies or if you are unfamiliar with the materials involved. A certified installer will ensure that the vapor barrier is placed correctly, avoiding gaps or overlaps that could lead to trapped moisture or ineffective protection. Additionally, professional installation often comes with warranties that can be voided by DIY mistakes.
DIY Installation: For simpler projects, such as in smaller spaces like a garage or shed, a knowledgeable homeowner might attempt to install a vapor barrier themselves. However, improper installation poses risks, such as incorrect sealing, which could allow moisture to accumulate, leading to mold growth or structural damage. DIY mistakes can also void manufacturer warranties, leaving you unprotected in the event of damage or failure.
Before attempting a DIY installation, it’s crucial to weigh the potential risks and complexities involved, especially if your home is in a climate with significant temperature fluctuations or high humidity.
Local Building Codes and Regulations
Before installing a vapor barrier, it is essential to check local building codes and regulations. In many areas, there are specific requirements related to vapor barriers, particularly in climates prone to extreme humidity or cold temperatures. Local building codes may dictate not only whether a vapor barrier is required but also the type of barrier to be used and its proper placement.
For example, some regions may mandate the use of specific materials for vapor barriers in roofs, or restrict their use in particular types of buildings. Failure to comply with these codes could result in penalties or the need to redo the work to meet the legal standards. Additionally, adhering to local regulations is important if you plan to sell your home, as improper installations can affect home inspections and future resale value.
Consulting with a local contractor or checking with your local building authority can ensure your installation complies with the relevant regulations and avoids potential legal or structural issues down the line.
The Importance of Ventilation in Conjunction with Vapor Barriers
How Ventilation Works with Vapor Barriers
While vapor barriers are essential for preventing moisture from entering your roof structure, they cannot completely eliminate the risk of moisture buildup. Even with a well-installed vapor barrier, small amounts of moisture can still make their way into the roof cavity. This is where proper ventilation becomes crucial. Ventilation works in tandem with vapor barriers by allowing any residual moisture that does accumulate to be safely expelled from the roof.
Ventilation systems, such as soffit vents, ridge vents, and attic fans, create airflow that circulates through the attic or roof space. This air movement helps expel moist, warm air that might otherwise condense and cause problems like mold, mildew, or rot. Together, vapor barriers and proper ventilation create a balanced system that both prevents moisture intrusion and removes any moisture that does get through.
Signs of Poor Ventilation
Poor ventilation can lead to various issues in your roof and attic space. If you notice any of the following signs, it may indicate that your roof’s ventilation system is not functioning properly:
- Ice dams forming on the roof in winter: Ice dams occur when warm air escapes into the attic and melts snow on the roof, which then refreezes at the edges, creating a dam that can cause water damage.
- Hot, stuffy attic in the summer: A poorly ventilated attic traps heat, making the space unbearably hot during warm months. This can also increase cooling costs for your home.
- Mold or mildew growth in the attic: If you spot mold or mildew in your attic, it's a sign that excess moisture is not being expelled properly, and your attic is retaining too much humidity.
Best Practices for Ensuring Proper Ventilation
Ensuring that your roof has adequate ventilation is key to maintaining a healthy and moisture-free home. Here are some best practices for optimizing your roof’s ventilation system:
- Soffit Vents: Installing soffit vents along the eaves of your roof allows cool, fresh air to enter the attic. This creates a natural flow of air as it moves from the soffits and exits through the higher points of the roof.
- Ridge Vents: Ridge vents, installed along the peak of the roof, provide a continuous opening for warm air to escape. These vents work in conjunction with soffit vents to allow air to flow freely through the attic space.
- Attic Fans: In some cases, mechanical ventilation like attic fans may be necessary to improve air circulation. Attic fans help actively pull air out of the attic, especially in hot climates or where natural ventilation alone is insufficient.
By combining these ventilation strategies with a properly installed vapor barrier, you can ensure that your home stays protected from moisture buildup, maintaining the integrity of the roof structure and improving overall energy efficiency.
FAQs
Contact Trench Guys Today!
Trench Guys will do everything we can to ensure your experience with us is excellent.
Request A FREE Estimate
Request a Free Estimate Form
Checkout Recent Post
Got a Question? We’re Here to Help.
You can arrange an appointment or make an enquiry by phone or email, orget in touch to us via our contact form.
Looking for a reliable and professional company to take care of your crawl space, basement and gutter needs? Look no further than Trench Guys! We have years of experience in the industry and can provide you with top-quality services at a competitive price. Contact us today to get started!
CONTACT INFORMATION
Phone: 478-236-6403
Email: Wedigmiddlega@gmail.com
Address: Macon, GA
Business Hours:
Mon-Fri: 6:00 AM - 5:00 PM
Sat-Sun: Closed
ADDITIONAL INFORMATION
Us Across The Web
Geo
Neighborhoods
Niche
Privacy Policy | Terms & Conditions | Sitemap