
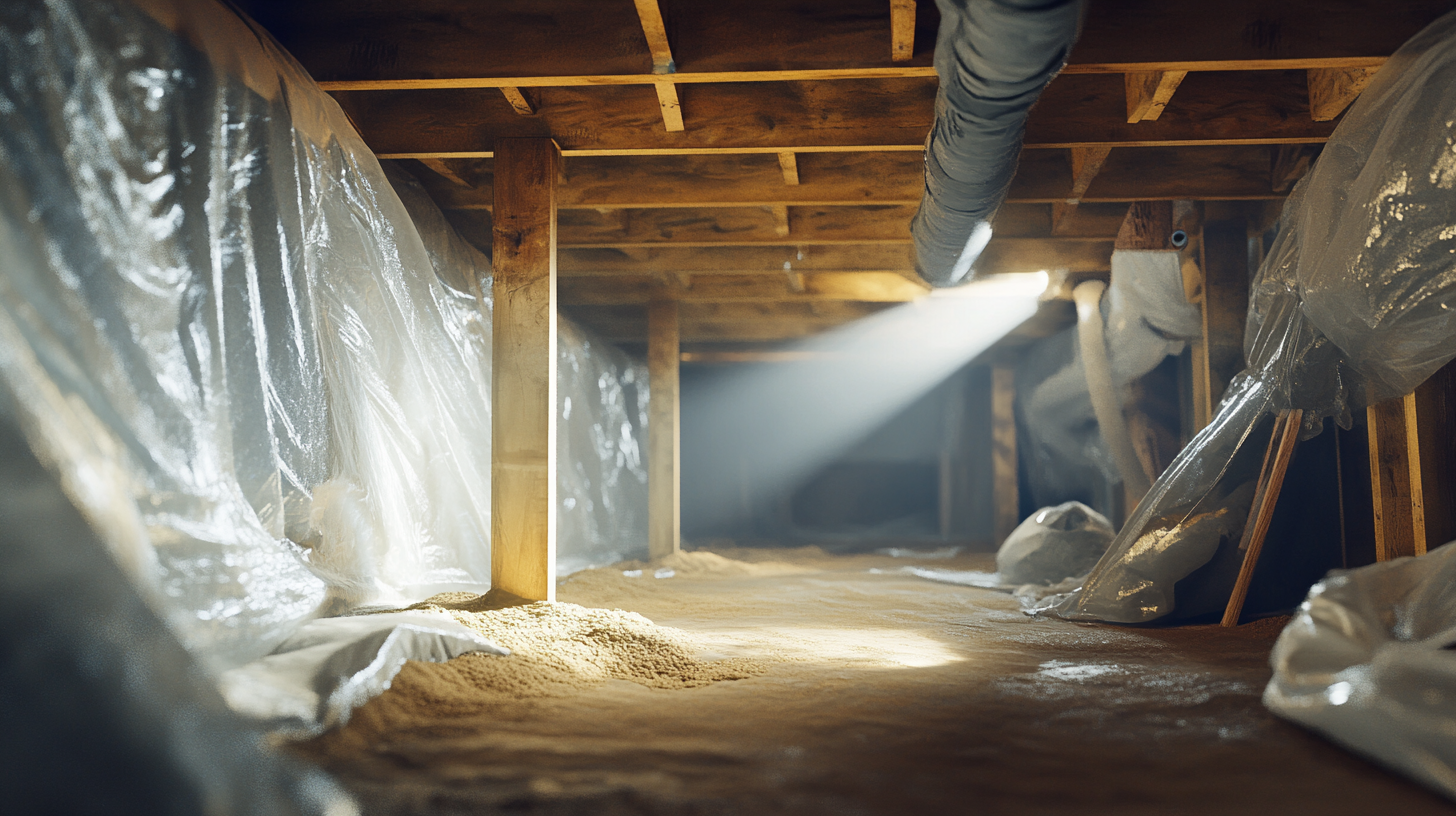
Vapor barriers are a critical component in home construction and maintenance, designed to control moisture and protect the structural integrity of buildings. By preventing water vapor from passing through walls, floors, and ceilings, vapor barriers help safeguard homes from common moisture-related issues such as mold growth, wood rot, and insulation damage. Installed in key areas like crawlspaces, basements, walls, attics, and floors, vapor barriers create a protective layer that stops moisture from seeping into vulnerable parts of the home. This not only preserves the home's structure but also contributes to a healthier indoor environment by reducing humidity and preventing the buildup of mold and other pollutants.
Why Vapor Barriers Are Important in Attic Spaces
Moisture Control in Attics
Attic spaces are particularly vulnerable to moisture issues due to the natural movement of warm, moist air from living spaces rising into the attic. When this moist air hits cold surfaces, such as roof decking or framing, it can condense and accumulate, leading to a range of moisture-related problems.
- Mold and Mildew Growth: Unchecked moisture in the attic creates an ideal environment for mold and mildew to grow. This not only compromises indoor air quality but also poses health risks for the home's occupants.
- Insulation Damage: Moisture can seep into insulation materials, causing them to degrade and lose their effectiveness. When insulation becomes wet, it loses its R-value, reducing its ability to retain heat and resulting in energy loss.
- Structural Issues: Over time, excess moisture can lead to wood rot in the attic's framing and roof decking. This structural deterioration weakens the integrity of the roof, potentially leading to costly repairs or even compromising the safety of the building.
Energy Efficiency and Comfort
Vapor barriers contribute significantly to energy efficiency in attic spaces by helping to maintain insulation performance and regulate attic temperatures.
- Prevents moisture from saturating insulation, preserving its R-value and ensuring that the home’s thermal barrier remains intact.
- Helps regulate attic temperatures, reducing heat loss during winter and preventing excessive heat gain in the summer, which minimizes strain on heating and cooling systems.
- Improves overall comfort: By keeping moisture out of the attic, vapor barriers prevent drafts, temperature fluctuations, and humidity issues, resulting in a more comfortable living environment.
- Lowers energy costs: Effective moisture control means that heating and cooling systems operate more efficiently, reducing energy consumption and leading to lower utility bills.
By protecting attic spaces from moisture, vapor barriers play a key role in maintaining energy efficiency, preserving the home's structure, and ensuring a comfortable indoor environment year-round.
Best Practices for Installing Vapor Barriers in Attics
Proper Placement of Vapor Barriers
Install on the Warm Side:
In cold climates, it’s critical to install the vapor barrier on the warm side of the insulation, between the living space and the attic. This placement prevents warm, moist air from rising and reaching the cold surfaces in the attic, where it can condense and lead to moisture problems. By blocking moisture before it enters the attic, the vapor barrier keeps the insulation and framing dry, protecting the home’s structural integrity.
Avoid Installing on the Cold Side:
Installing a vapor barrier on the cold side of the insulation, closer to the roof, can trap moisture within the insulation. This moisture becomes trapped between the vapor barrier and the cold attic surfaces, leading to mold growth, insulation degradation, and potential structural damage over time. Correct placement is essential to prevent moisture buildup and ensure long-term protection.
Ensure Continuous Coverage:
For maximum effectiveness, vapor barriers in the attic should cover the entire ceiling below the attic space. Continuous coverage prevents warm, moist air from seeping through gaps and entering the attic, where it could cause condensation and moisture-related issues. Any interruptions in the vapor barrier's coverage can compromise its performance, so attention to detail during installation is crucial.
Choosing the Right Vapor Barrier Material for Attics
When selecting a vapor barrier material for attic spaces, it's important to choose one that suits the specific needs of the home and the climate.
- Polyethylene Sheeting: A standard and cost-effective option for attic vapor barriers, typically available in 6 mil thickness for durability and tear resistance.
- Foil-backed Gypsum Board: An alternative for attic installations that combines vapor control with additional insulation, offering dual benefits for moisture management and energy efficiency.
- Spray Foam Insulation: This option serves as both insulation and a vapor barrier, ideal for attics with tight spaces or irregular surfaces where traditional materials might be difficult to install.
Overlapping and Sealing Joints
Properly overlapping and sealing the joints of a vapor barrier is critical to ensuring its effectiveness. Gaps in the barrier can allow moisture to pass through, undermining the moisture control efforts.
- Overlap Seams: Ensure that all vapor barrier seams are overlapped by at least 6 to 12 inches. This overlap creates a stronger barrier and reduces the risk of gaps where moisture could penetrate.
- Seal Seams Properly: Use vapor barrier tape specifically designed for the material (such as polyethylene) to seal the seams effectively. Generic tapes may not provide a strong enough bond or may degrade over time.
- Seal Edges and Penetrations: Apply caulk or foam sealant around the edges and any penetrations, such as ductwork, pipes, or electrical fixtures, to create a complete seal. Properly sealing these areas prevents moisture from bypassing the vapor barrier and entering the attic.
By following these best practices, homeowners can ensure that their attic vapor barrier is installed correctly, providing optimal protection against moisture, mold, and energy loss.
Key Areas to Focus on During Vapor Barrier Installation in Attics
Around Attic Hatches and Doors
Attic hatches and doors are common weak points where air and moisture can seep into the attic, making them crucial areas to focus on during vapor barrier installation. If not properly sealed, these areas can allow warm, moist air to escape from the living space and condense on cooler attic surfaces, leading to mold and structural issues.
- Install a vapor barrier around the attic hatch: Ensure that the vapor barrier fully covers the edges of the attic hatch or door, creating a continuous seal between the living space and the attic.
- Ensure proper sealing with foam or weatherstripping: To create an airtight seal, apply foam insulation or weatherstripping around the hatch frame, preventing air and moisture from leaking into the attic through gaps or cracks.
Sealing Around Pipes, Vents, and Electrical Penetrations
Any penetrations through the attic floor, such as pipes, vents, or electrical wiring, are potential points where moisture can bypass the vapor barrier. Proper sealing around these areas is essential for maintaining the integrity of the vapor barrier and ensuring effective moisture control.
- Moisture can easily travel through gaps: Gaps around pipes, electrical wiring, and ventilation ducts can provide a path for moisture to enter the attic, undermining the vapor barrier’s effectiveness.
- Use caulk or expanding foam: Seal around pipes, ducts, and electrical penetrations with caulk or expanding foam to block moisture from traveling through these openings and ensure the vapor barrier remains intact.
Ensuring Proper Ventilation Alongside Vapor Barriers
While vapor barriers are critical for controlling moisture in the attic, they must be used in conjunction with proper ventilation to prevent moisture from becoming trapped. Adequate ventilation ensures that any residual moisture that makes its way into the attic can escape, maintaining a balanced environment.
- Ridge, soffit, or gable vents should be used: These vents provide necessary air circulation, helping to expel any moisture that enters the attic and preventing condensation buildup.
Balancing Ventilation and Vapor Barriers:
- Ridge and Soffit Vents: These vents work together to promote continuous airflow through the attic, with air entering through the soffit vents and exiting through the ridge vent, helping to regulate temperature and moisture levels.
- Gable Vents: In homes without ridge vents, gable vents can provide effective cross-ventilation, allowing air to flow horizontally through the attic space to remove excess moisture.
By focusing on these key areas during vapor barrier installation, homeowners can ensure that their attic remains dry and free from moisture-related problems, while also maintaining proper ventilation to prevent trapped moisture.
Common Mistakes to Avoid When Installing Vapor Barriers in Attics
Installing the Vapor Barrier on the Wrong Side
One of the most common mistakes when installing vapor barriers in attics is placing the barrier on the cold side of the insulation, which is closer to the roof. In cold climates, warm air from the living space rises and can carry moisture with it. If the vapor barrier is installed on the cold side, it can trap moisture inside the insulation, leading to condensation, mold growth, and insulation degradation.
- Why it’s problematic: Vapor barriers must be installed on the warm side (the side facing the living space) to prevent warm, moist air from reaching the colder attic surfaces where condensation can form. Installing the barrier on the cold side disrupts the moisture control process, causing moisture to accumulate inside the insulation rather than being blocked before it reaches the attic.
Failing to Properly Seal Joints and Edges
Properly sealing the joints and edges of the vapor barrier is critical for its effectiveness. Failing to do so can result in several problems:
- Gaps or holes in the vapor barrier: Poor sealing allows moisture to bypass the vapor barrier and accumulate in the insulation. Even small gaps can allow enough moisture through to cause significant mold growth and damage over time.
- Incomplete sealing around attic hatches or penetrations: Areas around attic hatches, pipes, vents, and electrical penetrations are common weak points where moisture can enter. If not sealed properly, these areas create pathways for moisture to infiltrate, compromising the overall effectiveness of the vapor barrier and leading to condensation issues.
Overusing Vapor Barriers in Humid Climates
In humid climates, the overuse of vapor barriers can actually cause more harm than good. Vapor barriers prevent moisture from passing through, but in regions where humidity is high, this can trap moisture inside walls or attics, leading to mold growth and damage.
- Why overuse is a problem: In humid or coastal climates, excess moisture in the air can enter the walls or attic from the outside. If a vapor barrier is installed without proper consideration, it can trap that moisture inside the building envelope, creating an environment conducive to mold and mildew growth.
- Recommendation: Consult local building codes or a professional to determine whether vapor barriers are necessary in your region. In some cases, vapor-permeable materials or smart vapor retarders that allow moisture to escape while still providing moisture control may be a better solution in humid climates.
By avoiding these common mistakes, homeowners can ensure that their vapor barriers are installed correctly and provide the intended protection against moisture, mold, and structural damage.
Additional Tips for Effective Vapor Barrier Installation in Attics
Pair Vapor Barriers with High-Quality Insulation
For optimal moisture control and energy efficiency, vapor barriers should be paired with the right insulation. Together, they create a protective system that helps regulate temperature and prevent moisture issues in the attic.
- Fiberglass Insulation: This popular insulation type works effectively with a vapor barrier, but only if moisture is kept out. The vapor barrier helps prevent moisture from entering the insulation, preserving its effectiveness and preventing mold growth.
- Spray Foam Insulation: Spray foam serves as both insulation and a vapor barrier, offering an all-in-one solution. It seals gaps, provides excellent insulation, and prevents moisture from entering the attic, making it ideal for tight spaces and complex attic layouts.
Monitor Attic Humidity Levels
After installing a vapor barrier, it’s important to monitor attic humidity levels regularly to ensure proper moisture control. A hygrometer can help you track the humidity and prevent problems before they arise.
- Ideal Humidity Levels: Keep attic humidity levels below 60% to prevent the growth of mold and mildew. Consistent humidity control is crucial for maintaining a healthy and dry attic space.
- Dehumidifiers: If humidity levels remain high even after the vapor barrier installation, consider adding a dehumidifier to the attic. This can help reduce excess moisture, especially in homes with significant moisture issues or in humid climates.
Inspect the Vapor Barrier Annually
Regular maintenance is key to ensuring the long-term effectiveness of your vapor barrier. Homeowners should inspect their attic vapor barriers at least once a year for any signs of wear or damage.
- Check for tears, punctures, or unsealed seams: Small tears or unsealed seams can allow moisture to seep in, negating the protective effects of the vapor barrier. Address any damage immediately to maintain its effectiveness.
- Inspect around attic hatches and penetrations: These areas are prone to moisture infiltration. Ensure that the vapor barrier is properly sealed around hatches, pipes, and electrical penetrations to prevent air or moisture leaks.
- Look for signs of moisture: During your inspection, check for mold, damp insulation, or other signs of moisture buildup. These indicate that the vapor barrier may not be functioning properly and that repairs or additional moisture control measures may be needed.
By following these additional tips, homeowners can ensure that their vapor barriers are installed effectively, properly maintained, and continue to provide protection against moisture-related issues in their attic spaces.
FAQs
Contact Trench Guys Today!
Trench Guys will do everything we can to ensure your experience with us is excellent.
Request A FREE Estimate
Request a Free Estimate Form
Checkout Recent Post
Got a Question? We’re Here to Help.
You can arrange an appointment or make an enquiry by phone or email, orget in touch to us via our contact form.